
PERKS
Field Medic – Can be described as a jack-of-all-trades class. He can carry a fair amount of weapons, heal much quicker and in greater capacity than any other class either by injection or remotely via a variety of medi-guns, and has the second fastest movement speed behind only the Berserker. Where the Medic drops off is damage output, as that is not his role, but is almost always needed. The best tool for a medic however is the Kevlar vest, which allows him to survive an ungodly amount of damage, giving him the highest survivability versus any other class. The drawback is that unlike the Berserker, the medic cannot escape grab-and-holds from ZEDs, and once the armour runs out he will die as fast as the rest.
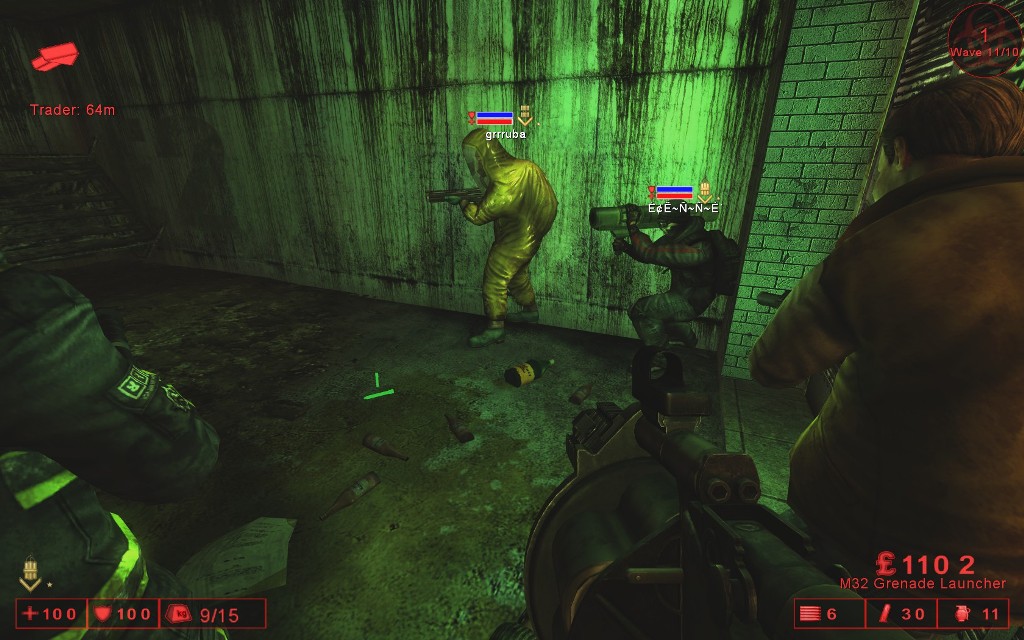
Support Specialist – Is definitely the best class in the game. Extremely high damage and penetration, the ability to carry the most weight, and utilizing the highest amount of grenades at 11 (even more so than the Demolitions!), makes him a nightmare for ZEDs. He has no direct counter, being able to dispatch enemies both close and far away, and of any type. Reload times take forever, but due to the amount a Support can carry, switching between weapons (primarily shotguns) is essential to buy time and reload other weapons to full stock. The Support is also the best at welding, which can keep your squad alive when a score of ZEDs are smashing away closed doors. At higher difficulties you will always find Support Specialists, and in case you don’t, you will most likely die.
Sharpshooter – As their name suggests are the best for picking off targets. Headshots are obvious areas to hit for all classes, but it comes naturally to the Sharps, which due to the perk enjoys one-shot headshot kills versus virtually every ZED. Where he suffers, even though having a high reload rate, is in melee range as the Sharpshooter doesn’t have the rate of fire with his effective weapons to dispatch a large amount of ZEDs at once. Hence, you’ll see him at the back of your group picking off Husks, Sirens, Bloats, Fleshpounds, and Scrakes with precise punishing high-penetration shots.
Commando – Are a lot like Sharpshooters, but use assault rifles rather than more extreme weapons. They are great for picking off small-mid tier ZEDs because of increased bullet penetration, but they are awful versus larger ZEDs due to their abysmal damage output. Their weapons carry a large ammo pool and they have a better-than-average reload rate, but their ammo per clip is low. Unlike other classes, Commandos can see cloaked units and their health bars (this includes the Patriarch).
Berserker – Is my favourite class and arguably the most fun to play. Specializing in melee weapons, the Berserker, like the Support Specialist doesn’t have a direct counter (sometimes suffers against ranged units like Husks and Sirens), but maps can be considered counters as he is not best suited to every single map. The Field Medic has high survivability, but the Berserker has higher resiliency. If ZEDs could think, they would have a few choice words for the Berserker. Having the highest speed and best damage resistance of any class, catching a Berserk is a pain. Furthermore he cannot be grabbed. If there is any space around, he will never be surrounded.
The ability to one-shot every ZED aside from a Scrake and Fleshpound gives him the ability of literally passing a hot knife through butter (except sub the butter for a ZED and the knife for a katana). The Berserker is the hardest perk to master, as much of his game is revolved around skillful spacing, kiting, dodging, and awareness. He is also the cheapest to maintain, as all he uses for the most part are melee weapons, relying on scrounging for ammo packs to refill spent ammunition and rarely utilizing guns/explosives.
Firebugs – Are very good at taking out a large amount of ZEDs are once. Like the Commando, Support Specialist, and Demolitions, they are good at taking out trash mobs (low priority, less dangerous specimens). Their flamethrower carries a large gas pool and their burns cause a damage-over-time effect to conserve it. They are fairly decent at surviving when surrounded, but will get absolutely smashed if going up against large ZEDs like the Fleshpound or Scrake, and have a hard time dispatching Husks since they are also fire-based. The burn damage is a great tool when fighting the Patriarch as it leaves a trail of flame when he is cloaked and can lead to him cancelling a health injection.
Demolitions – The explosives variant of Firebugs. You will typically find them at the middle or back of the line. Unlike Firebugs, at range, Demolitions can take out bigger ZEDs using pipe bombs, LAW rockets, and/or grenade rounds. Once surrounded though, they are as good as dead. I always think of them as glass cannons, and their increased explosive damage as a double-edged tool. They are also the most expensive to maintain, as explosives cost a massive chunk of money, and usually requires the entire team chipping in to refill his ammo. Thus, they are best suited to Fleshpound waves near the end of the match. One wrong move and you blow yourself up as Demolitions, but at a safe range, they can be absolutely devastating.
“THIS is a real weapon!”
MISCELLANEOUS
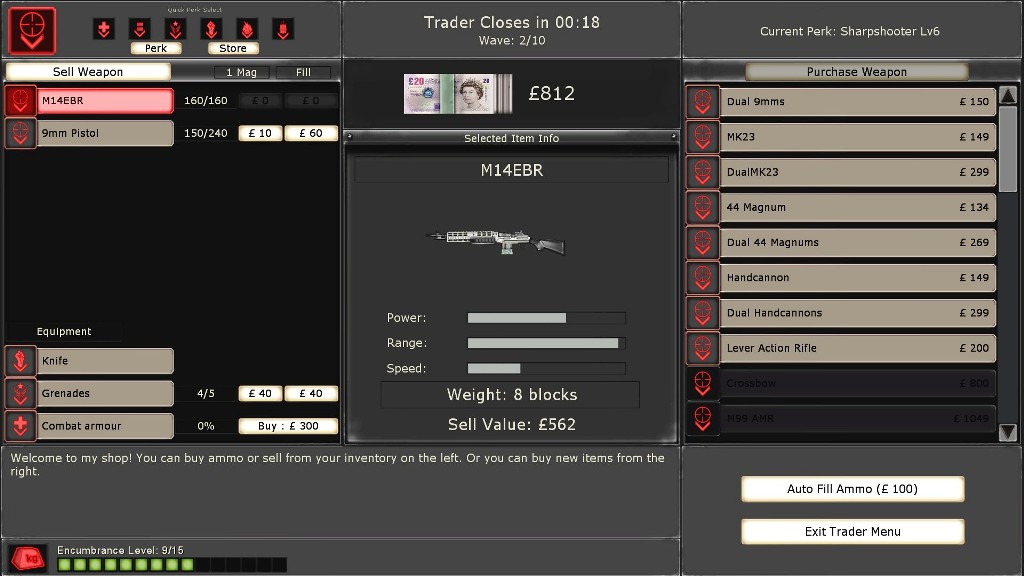
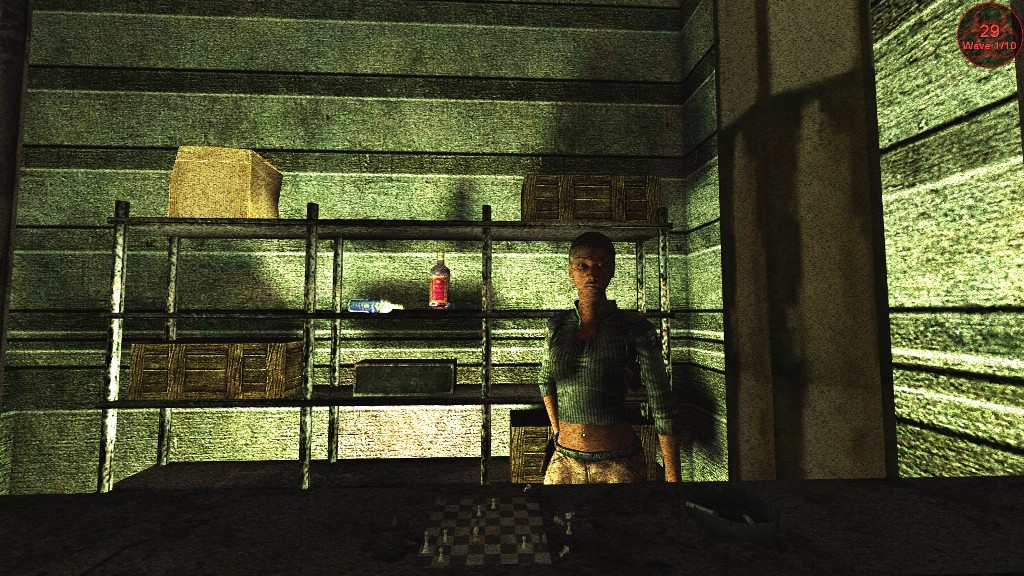
Trader – The Trader is a mysterious woman with no name and no information about her true self. She sends audio broadcasts during the entire match, notifying players of their current status with her and the wave in question, but does not interact with players or ZEDs directly. These notifications tend to come in the form of sexual innuendos for the most part, which some may or may not like (they are cheesy to be honest). The Trader sells everything you may need to survive: ammo, armour, grenades, whatever. Being the third NPC female in the game, the Trader can be considered a mini-game within Killing Floor. After a wave ends, a red ribbon marker will guide you to her bunker in the shortest and fastest way possible based off your current location:
“Lots of lovely guns, just waiting for you!”
She has different locations, usually three or four depending on the size of the map, all of which are randomly occupied by her at the end of each wave. Therefore, as virtually every map has a camping spot where a team can hole up, getting to the Trader can be difficult. She is only active for one minute, and if you are 150 meters away from her, chances are great you will not get to her and back to your spot in time, and will get jumped by ZEDs on the way.
Therefore, it is beneficial to leave a few ZEDs straggling behind before every wave so you have enough time to reach her. It is good etiquette to do this, as well as buy your items as fast as possible, as a disciplined team will only survive if they maneuver and stick together. Once the timer runs out, the Trader will close her doors, teleporting you outside and the next wave will begin, with her new location marked by a red arrow.
“I like the big ones, don’t you?”
You have obviously not seen EVE Online and Dust 514 yet…?
Having played Dust 514 on my PS3 (back when I was still into console gaming) I can tell you that while it is radically different from Killing Floor, it is also FAR inferior. I don’t get exactly what your point is, but I am telling you right here and now that it is invalid. I picked up Killing Floor just about a month ago (on the 23rd of December) and it has provided me with one of the best video gaming experiences ever. Great gameplay (I would definitely agree that it’s a 9), free new content multiple times every year, and a hands down blast to play with friends. 22 hours and counting…
Hi Deepak,
I am looking for the graphics card, I looked about it on
my friend’s site: https://techgigi.com/asus-rog-strix-gtx-1070-ti/. It
is ASUS ROG STRIX GTX 1070 Ti, Can you suggest me any other? I am really
confused between the normal one and the Ti version…
Really solid breakdown here. L4D and KF get compared way too often even though they scratch totally different itches. L4D is great for quick, chaotic fun with friends, while Killing Floor leans into slower, more tactical waves where teamwork actually matters. The whole Horzine storyline is simple but it does enough to set the mood, especially when the Patriarch shows up. If anyone’s interested in how much work goes into making games like these, this article is a cool read: https://gamepackstudio.com/how-much-does-it-cost-to-make-a-video-game/ Makes you appreciate how much effort went into both franchises.