
Our last ‘Quick Hit’ in our Learning to Run With Flash 2.0 Series was titled, ‘Where is My New SSD?‘ and it did just that. It explained why some appear to lose their SSD on installation and how to get on the right track once again. In that, we tackled how to initialize ones disk, but not the specifics of disk initialization which we will examine in this report.
Understandably, this is a very basic article but it’s funny how we all pick things up, not only when reading information we already know, but also, in putting such together as its author. For example, I never knew I could capture an open menu (as you will see below) by setting the timer on Snipping Tool to a 3-second delay and then clicking on the menu. The only difficulty is it cannot grab that specific shot of the Snipping Tool with the Timer menu open. Jump in with a comment if you can find a way to do this!
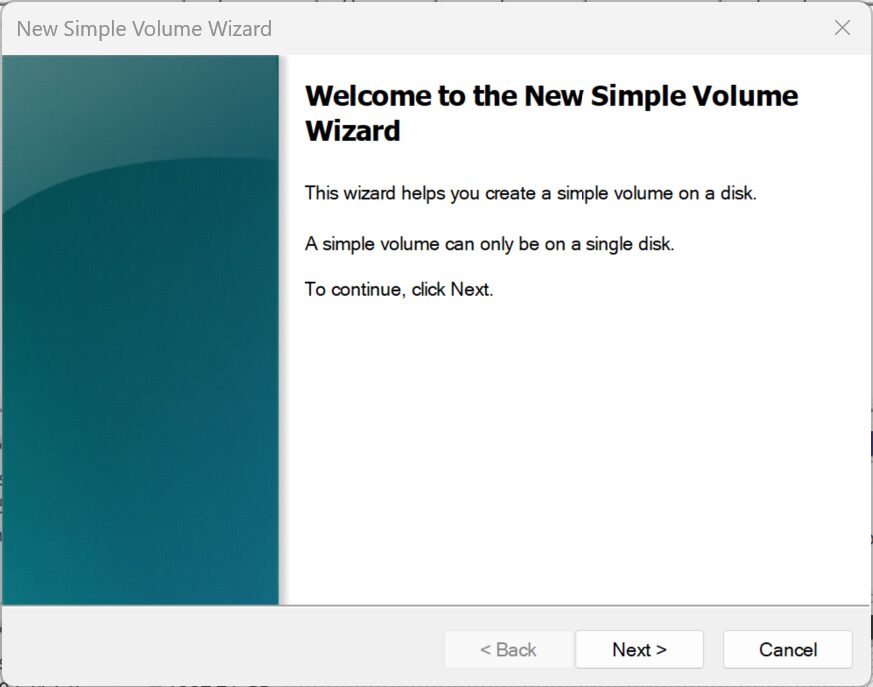
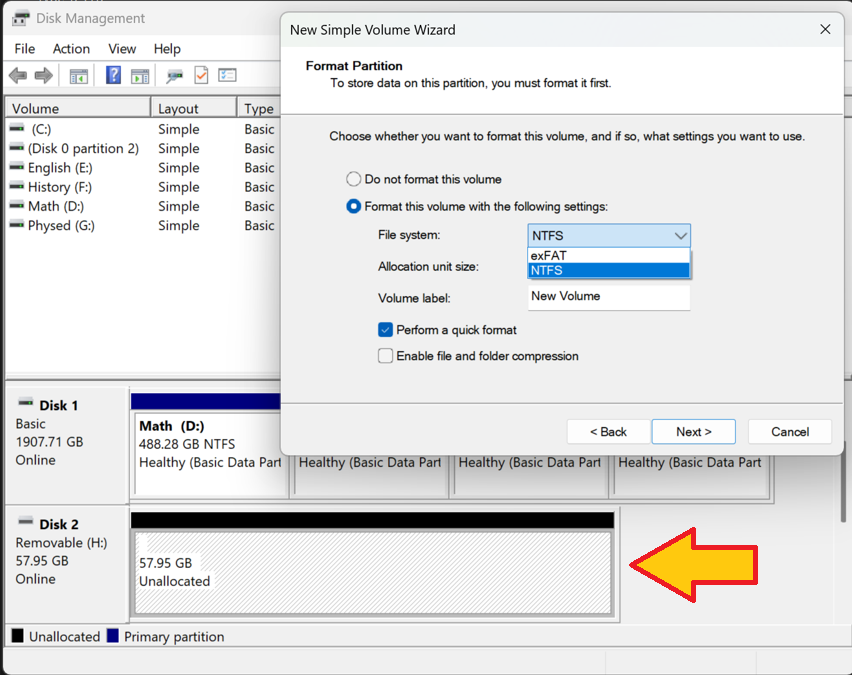
So let’s Initialize our SSD through the New Simple Volume Wizard, the SSD being wrongly named a ‘Disk’ still by windows. An SSD is definitely not in any way a disk, disk being identified as a a thin circular object: such as. a. usually disc : a phonograph record. b. : a round flat plate coated with a magnetic substance on which data for a computer is stored. Remember now. To get here, simply right click on the Windows Icon or type .Disk Management .into your Search Window, right click on your unallocated SSD and creat a new simple volume to get you on your way!
VOLUME SIZE
When you come to the Volume Size screen, it will be automatically set to the maximum megabyte size of your SSD and you don’t have to change it, simply select ‘Next’.
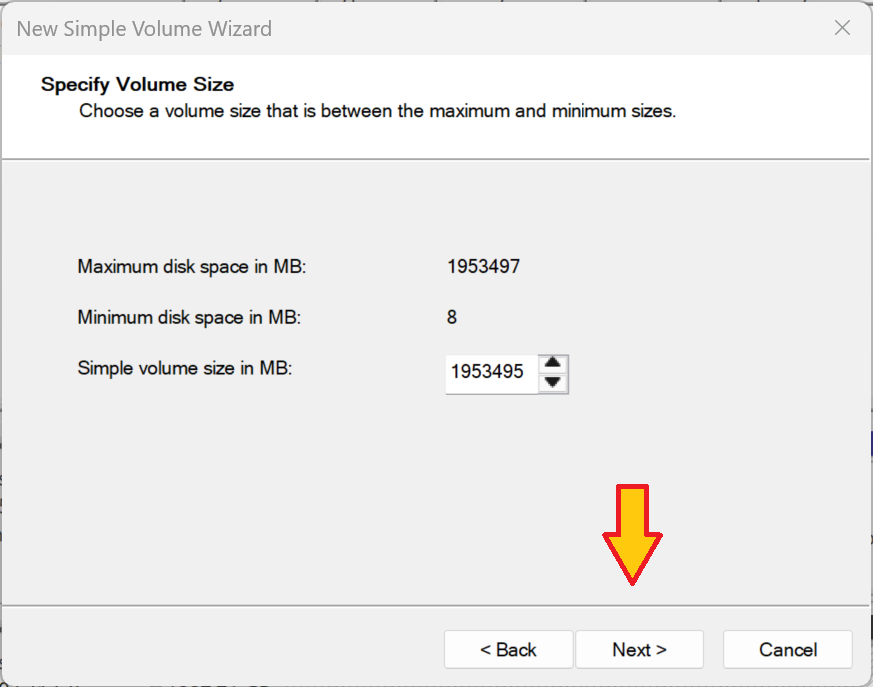
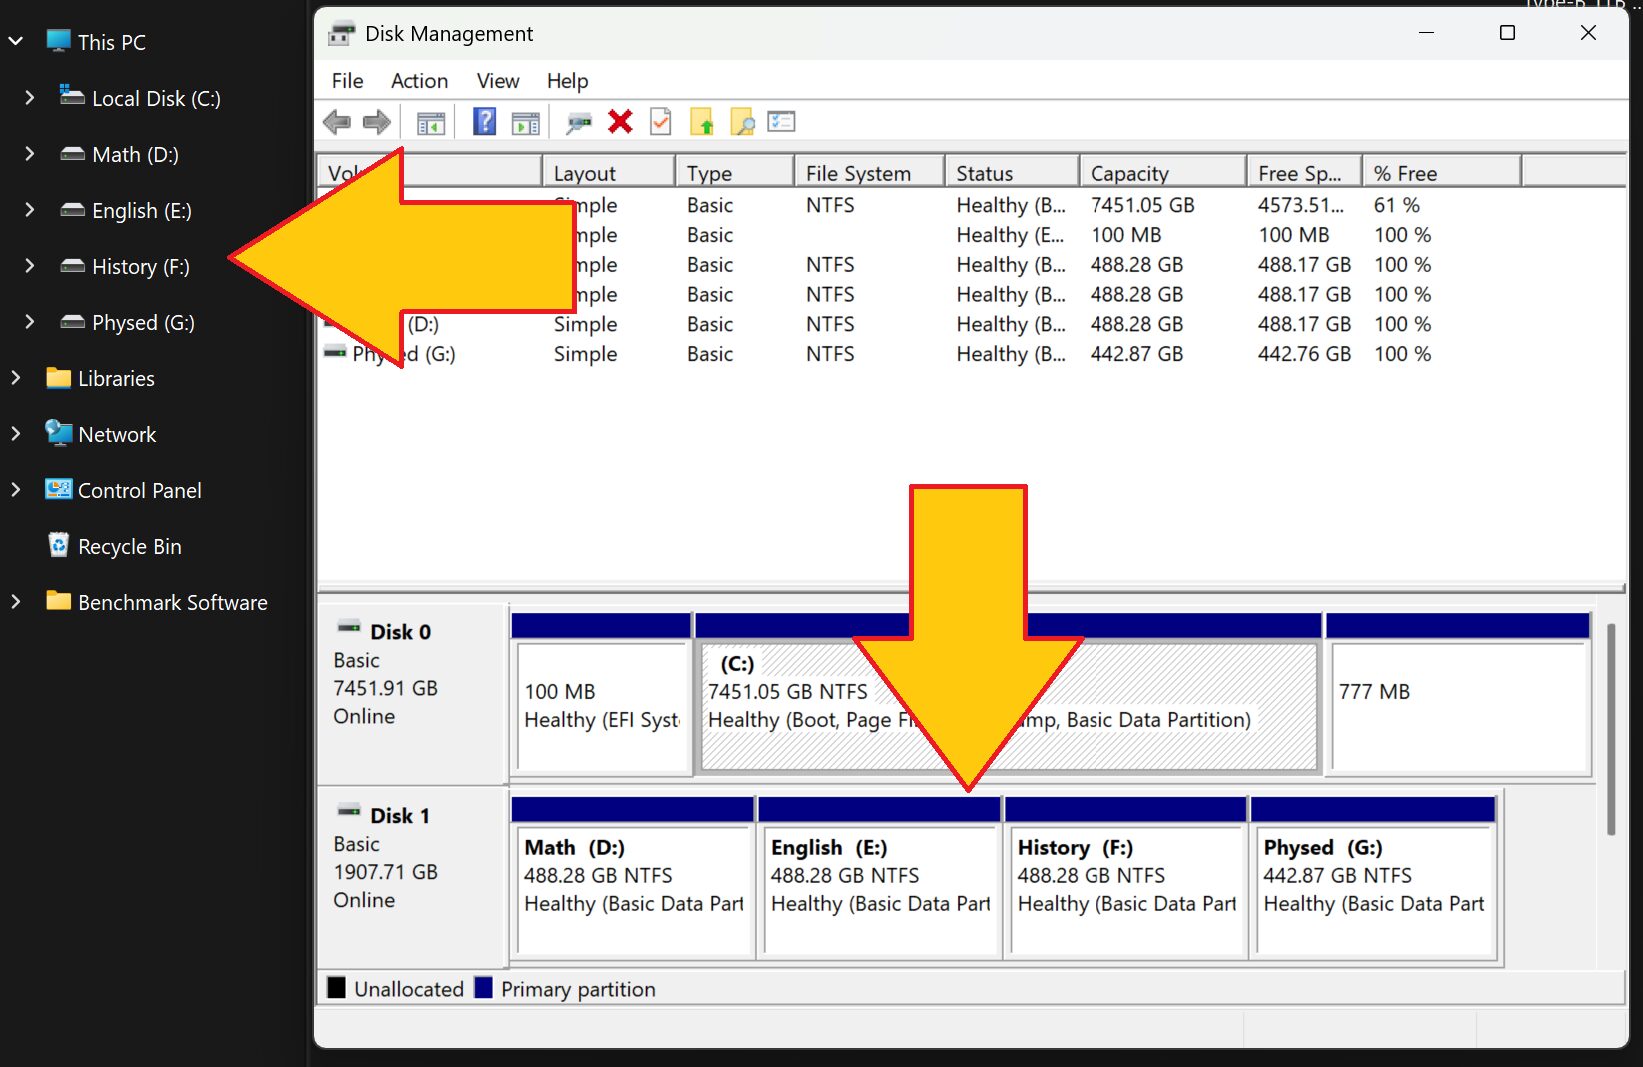
Why would we change it? Organization. As just an example, let’s say you are a teacher who teaches math, english, history and physed. Wouldn’t it be nice to have four separate locations, one for each subject?
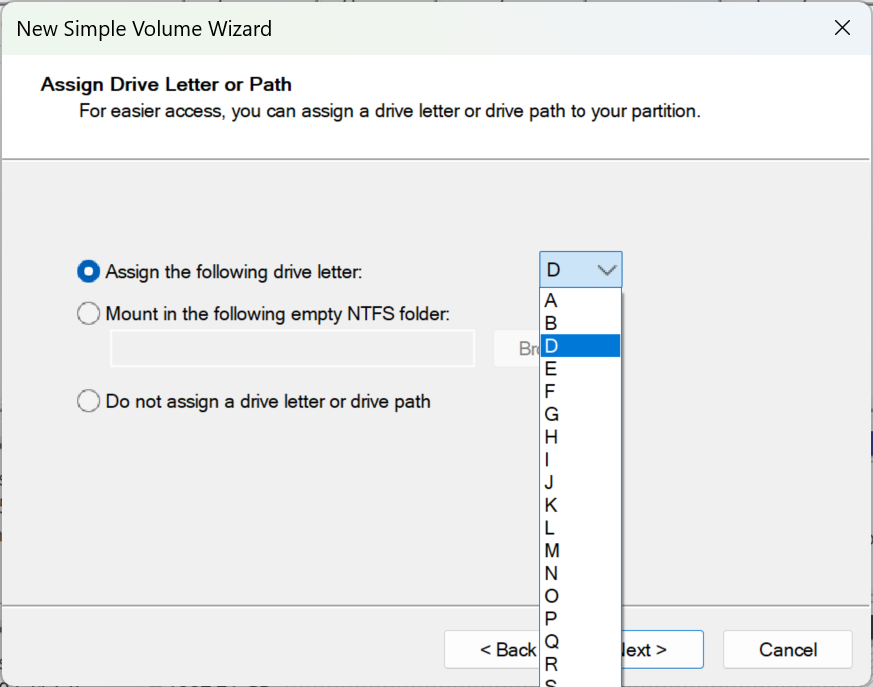
DRIVE LETTER SELECTION
Personalize your SSD any further. If it is your primary drive, it will be ‘C:’. Other than that, the world is yours. Choose a drive letter. When is the last time we saw ‘A’ used as a drive letter. Yup…I am dating myself here. ‘A’ was the norm for 5 1/4″ and 3 1/2″ some time ago.
NTFS OR exFAT
Last but not least, how do we know what ‘file system’ to create, NTFS or exFAT (formerly FAT32). What is a file system? Think of your SSD before it is formatted as a large field and then consider it a well mapped city once it has been developed, initialized, and formatted. In the city, you have plenty of storage locations and can find each through well mapped out directions. That is what formatting does.
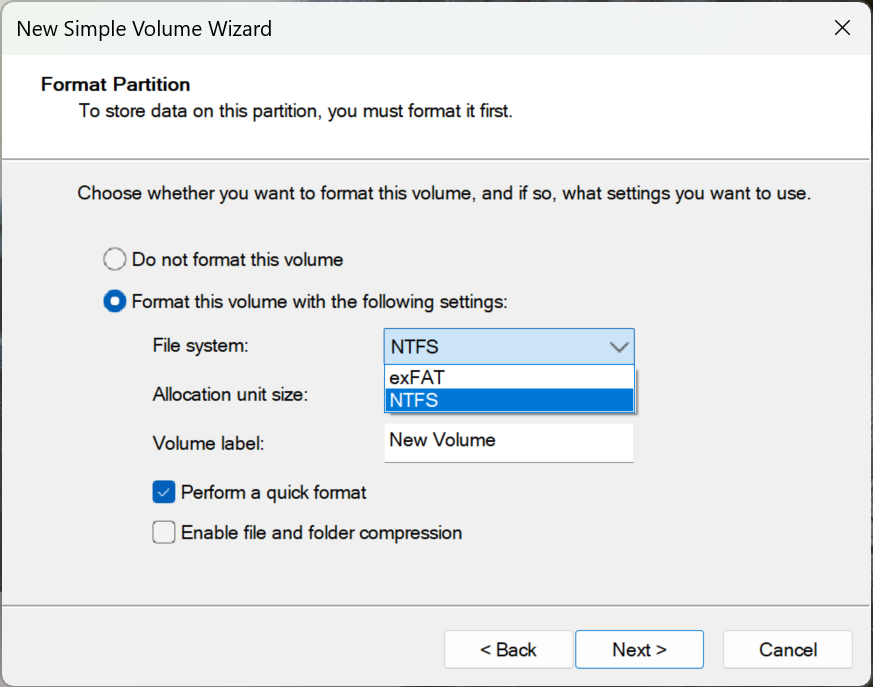
Both NTFS accomplish the same, to a certain extent, except NTFS (New Technology File System) was created for PC systems in particular, and not so for MacOS. NTFS does not have mass OS compatibility, although it is faster, more efficient, uses file encryption to reduce space, and is meant specifically for large file systems. Select NTFS for your SSD.
exFAT (Extended File Allocation Table) is the modern version of FAT32 which was originally restricted to 2TB file space, but expanded to 4TB. It has mass compatibility with Windows, MacOS and Linux, whereas a NTFS file can only be read by MacOS and not written to.
exFAT is used for external storage such as external SSDs, and SSD cards in order to allow sales for as wide an audience as possible. When something is preformatted in exFAT, it will work in Windows, MacOS, cameras, surveillance equipment, PS4, XBox, or any device that requires an SD or microSD card.
You will encounter external media that does not work unless your SD or microSD card is formatted in exFAT. This is when we use exFAT at The SSD Review.
NOTE: You will actually still encounter external devices that won’t recognize your card unless it is formatted in FAT32. Google is your friend in this case.
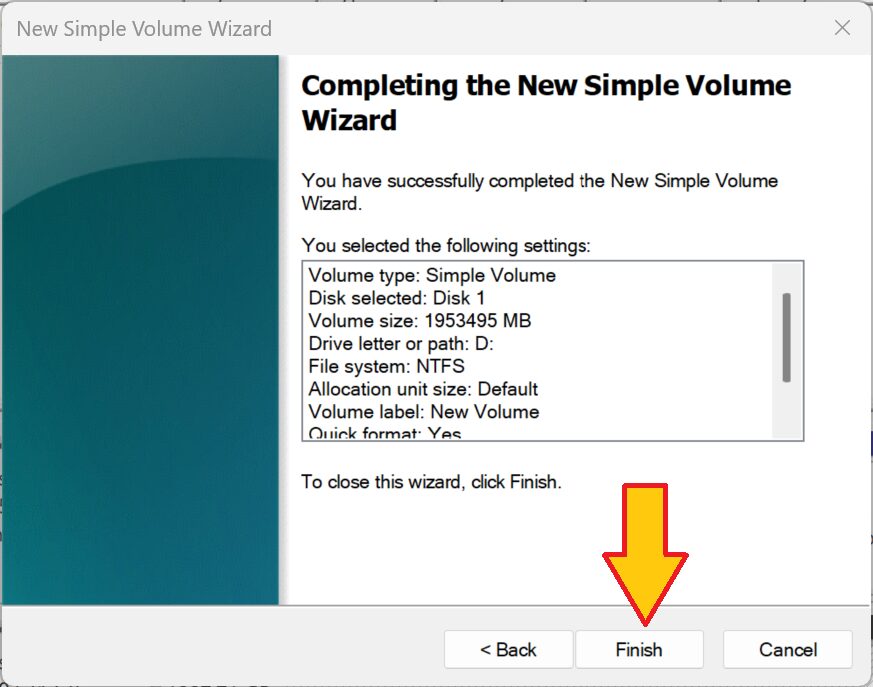
And that’s it. Select ‘Finish’ and we are on our way with our new SSD! Check back soon for our next installment of Learning to Run with Flash 2.0. We will tackle ‘Optimize Drive’ next time.