
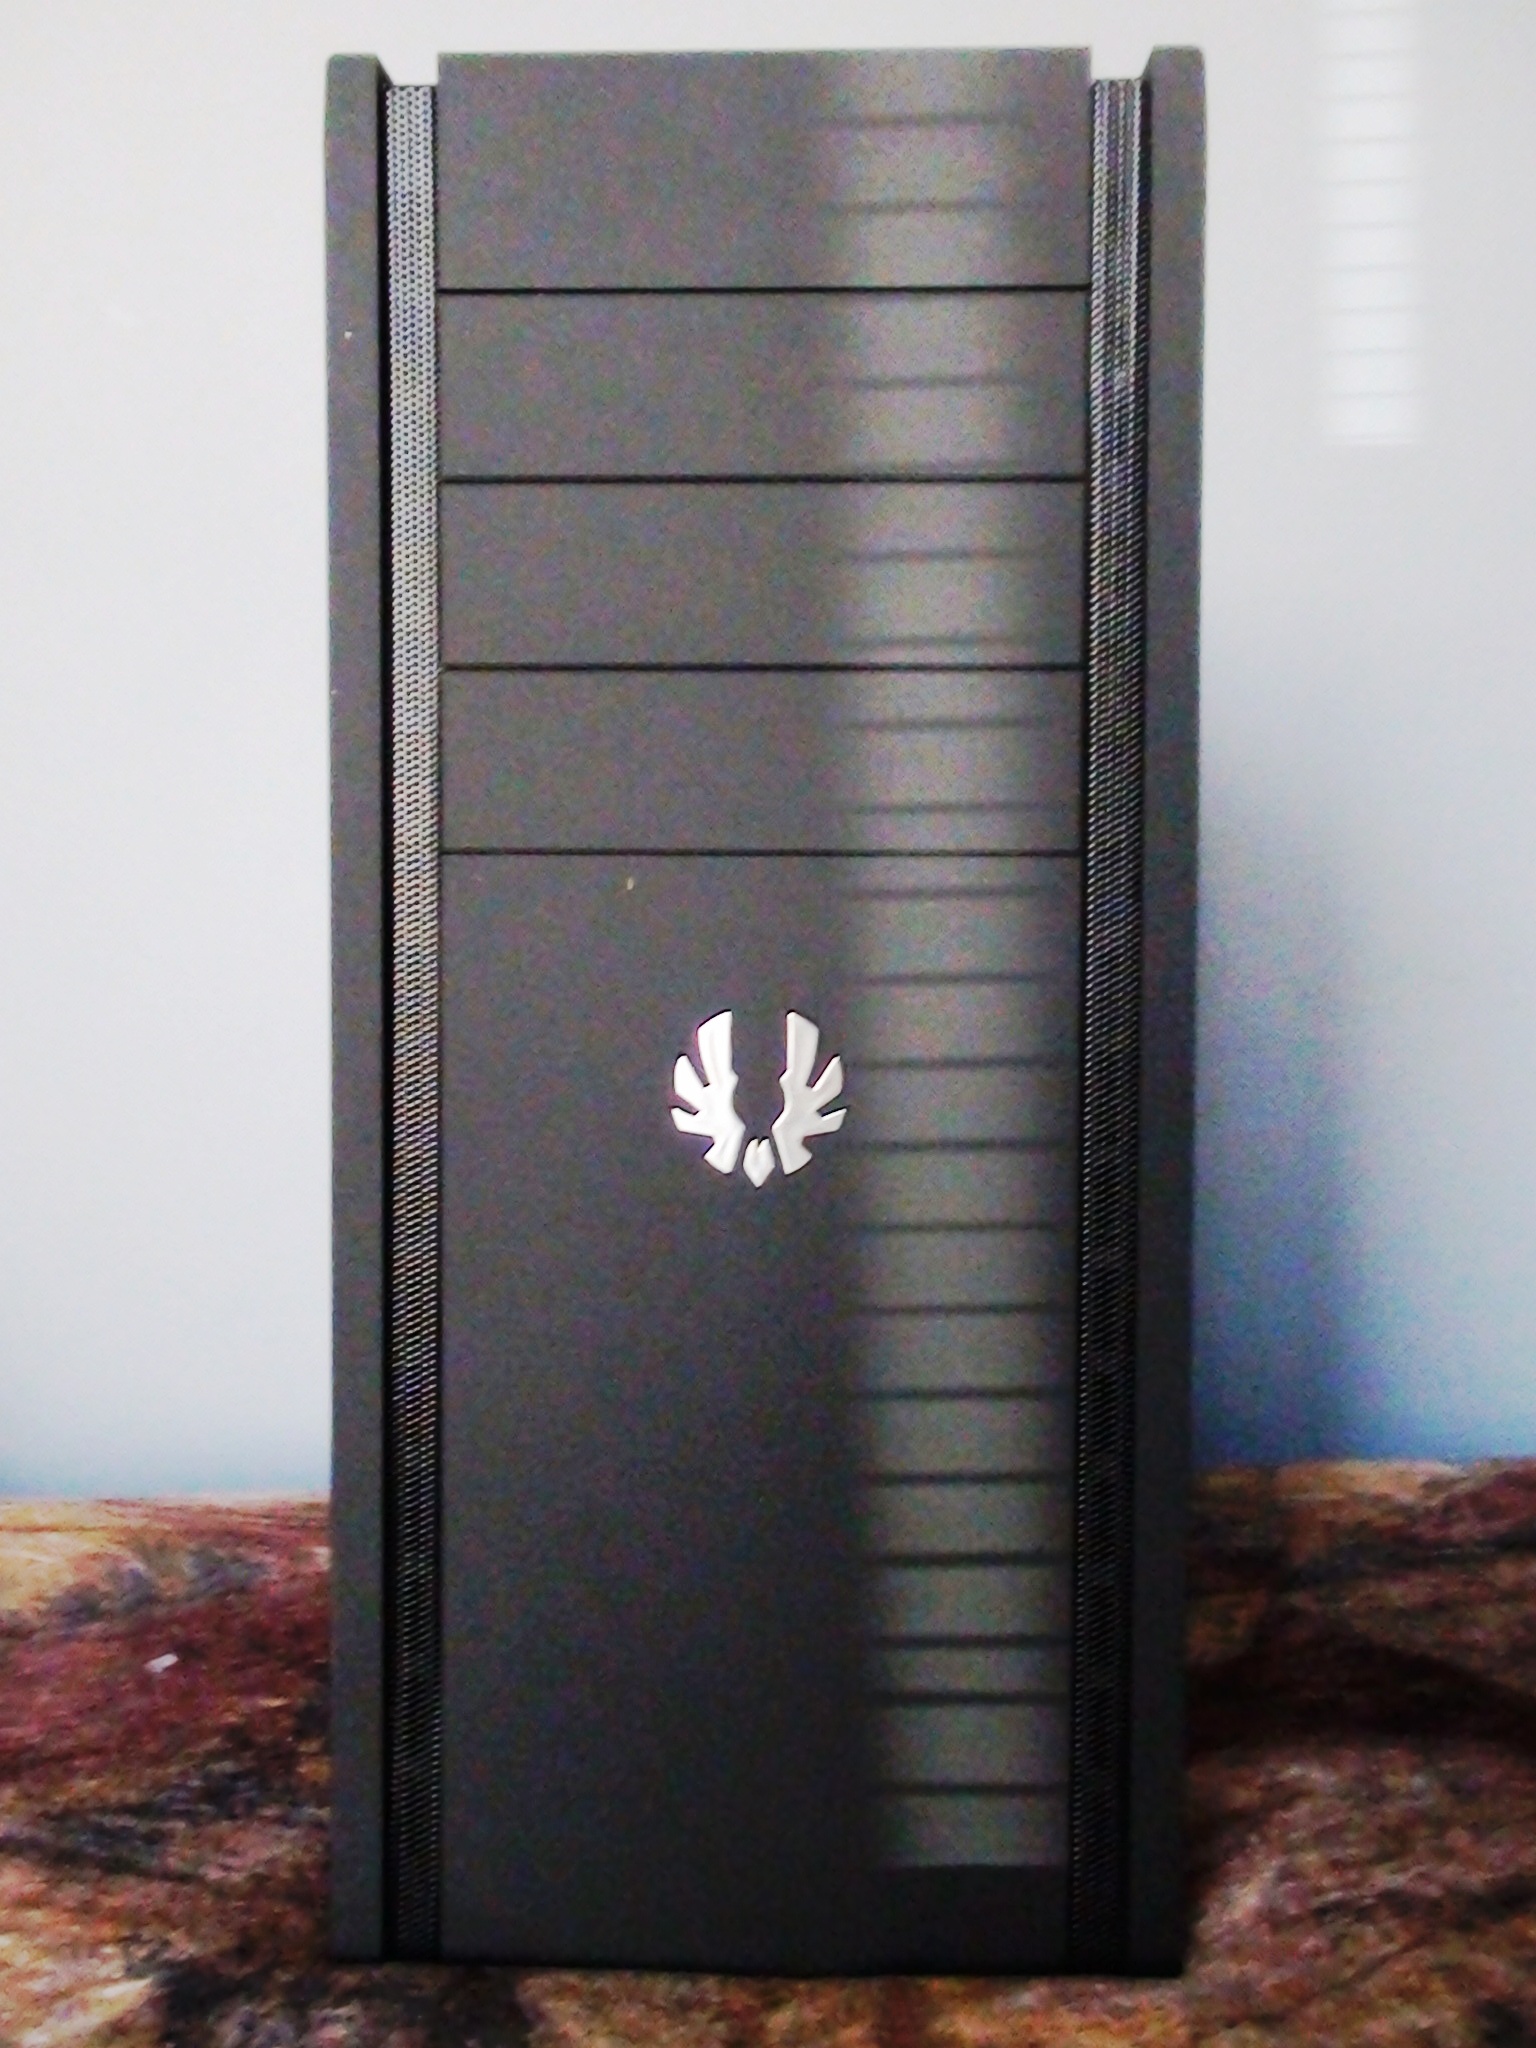
To start off the review, I would like to present my favourite feature on the Shinobi, the SofTouch layer, which is essentially a matte-black, anti-scratch mesh that flows from the front of the chassis to the top, and all the way back. I REALLY liked this design by BitFenix. It makes you want to touch the case every time you see it, and the areas where it is layered on are cleverly though out as those are the places you will touch the most:
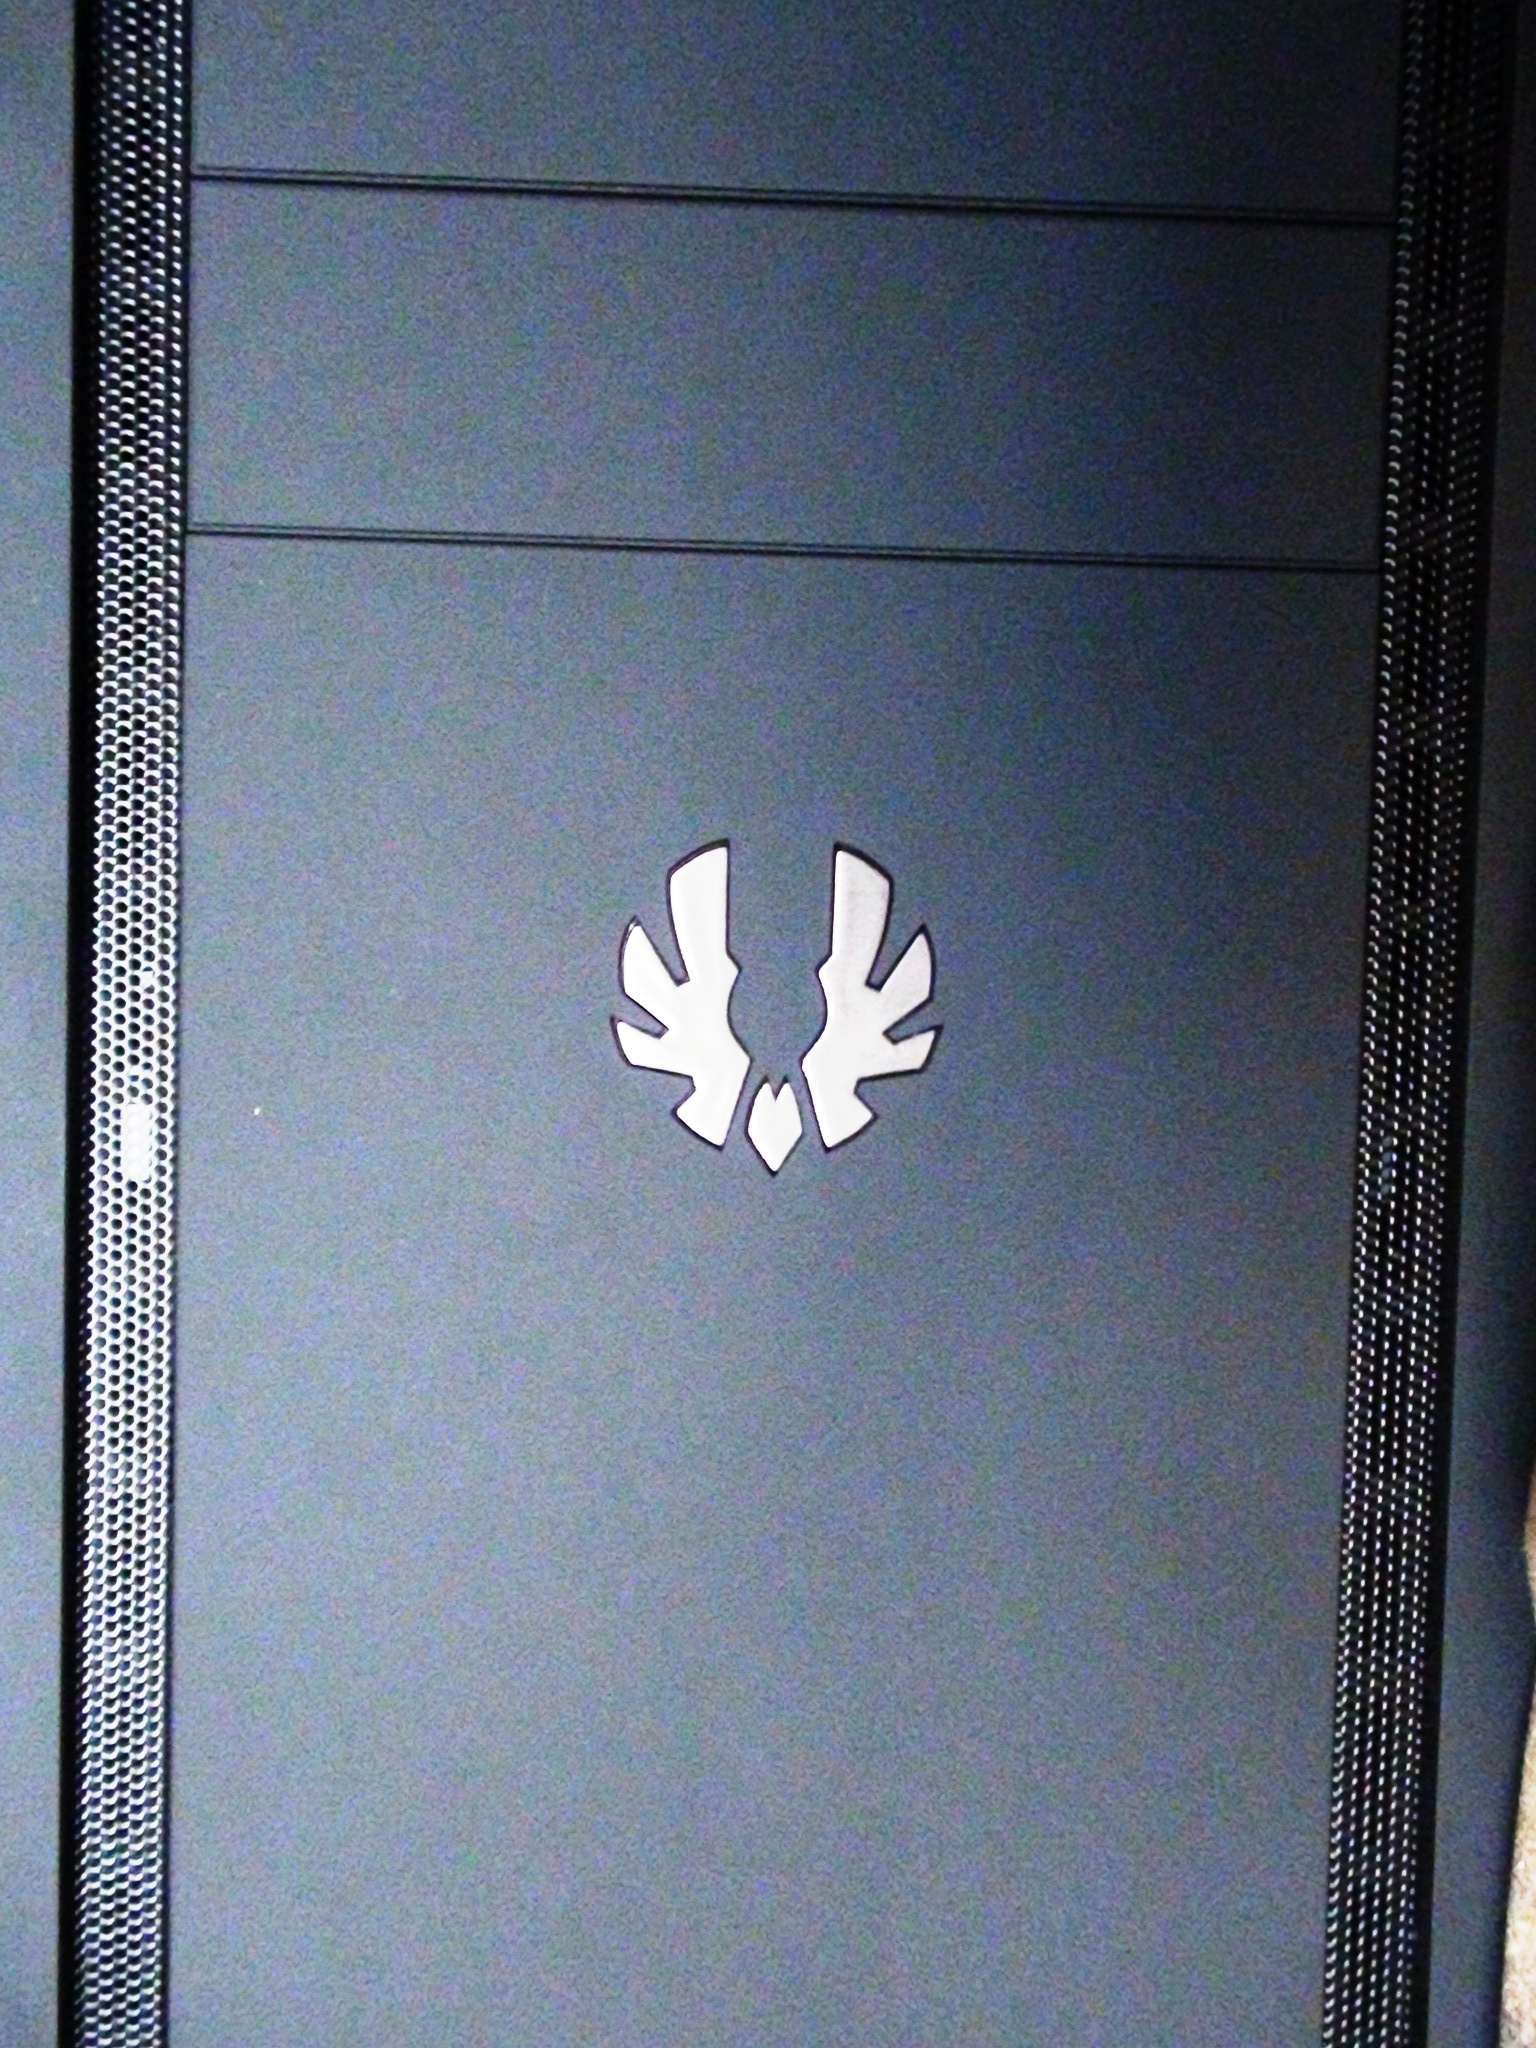
Up-close shot of the shiny BitFenix logo. It would have been neat had the logo illuminated, but It still looks stylish as it is:
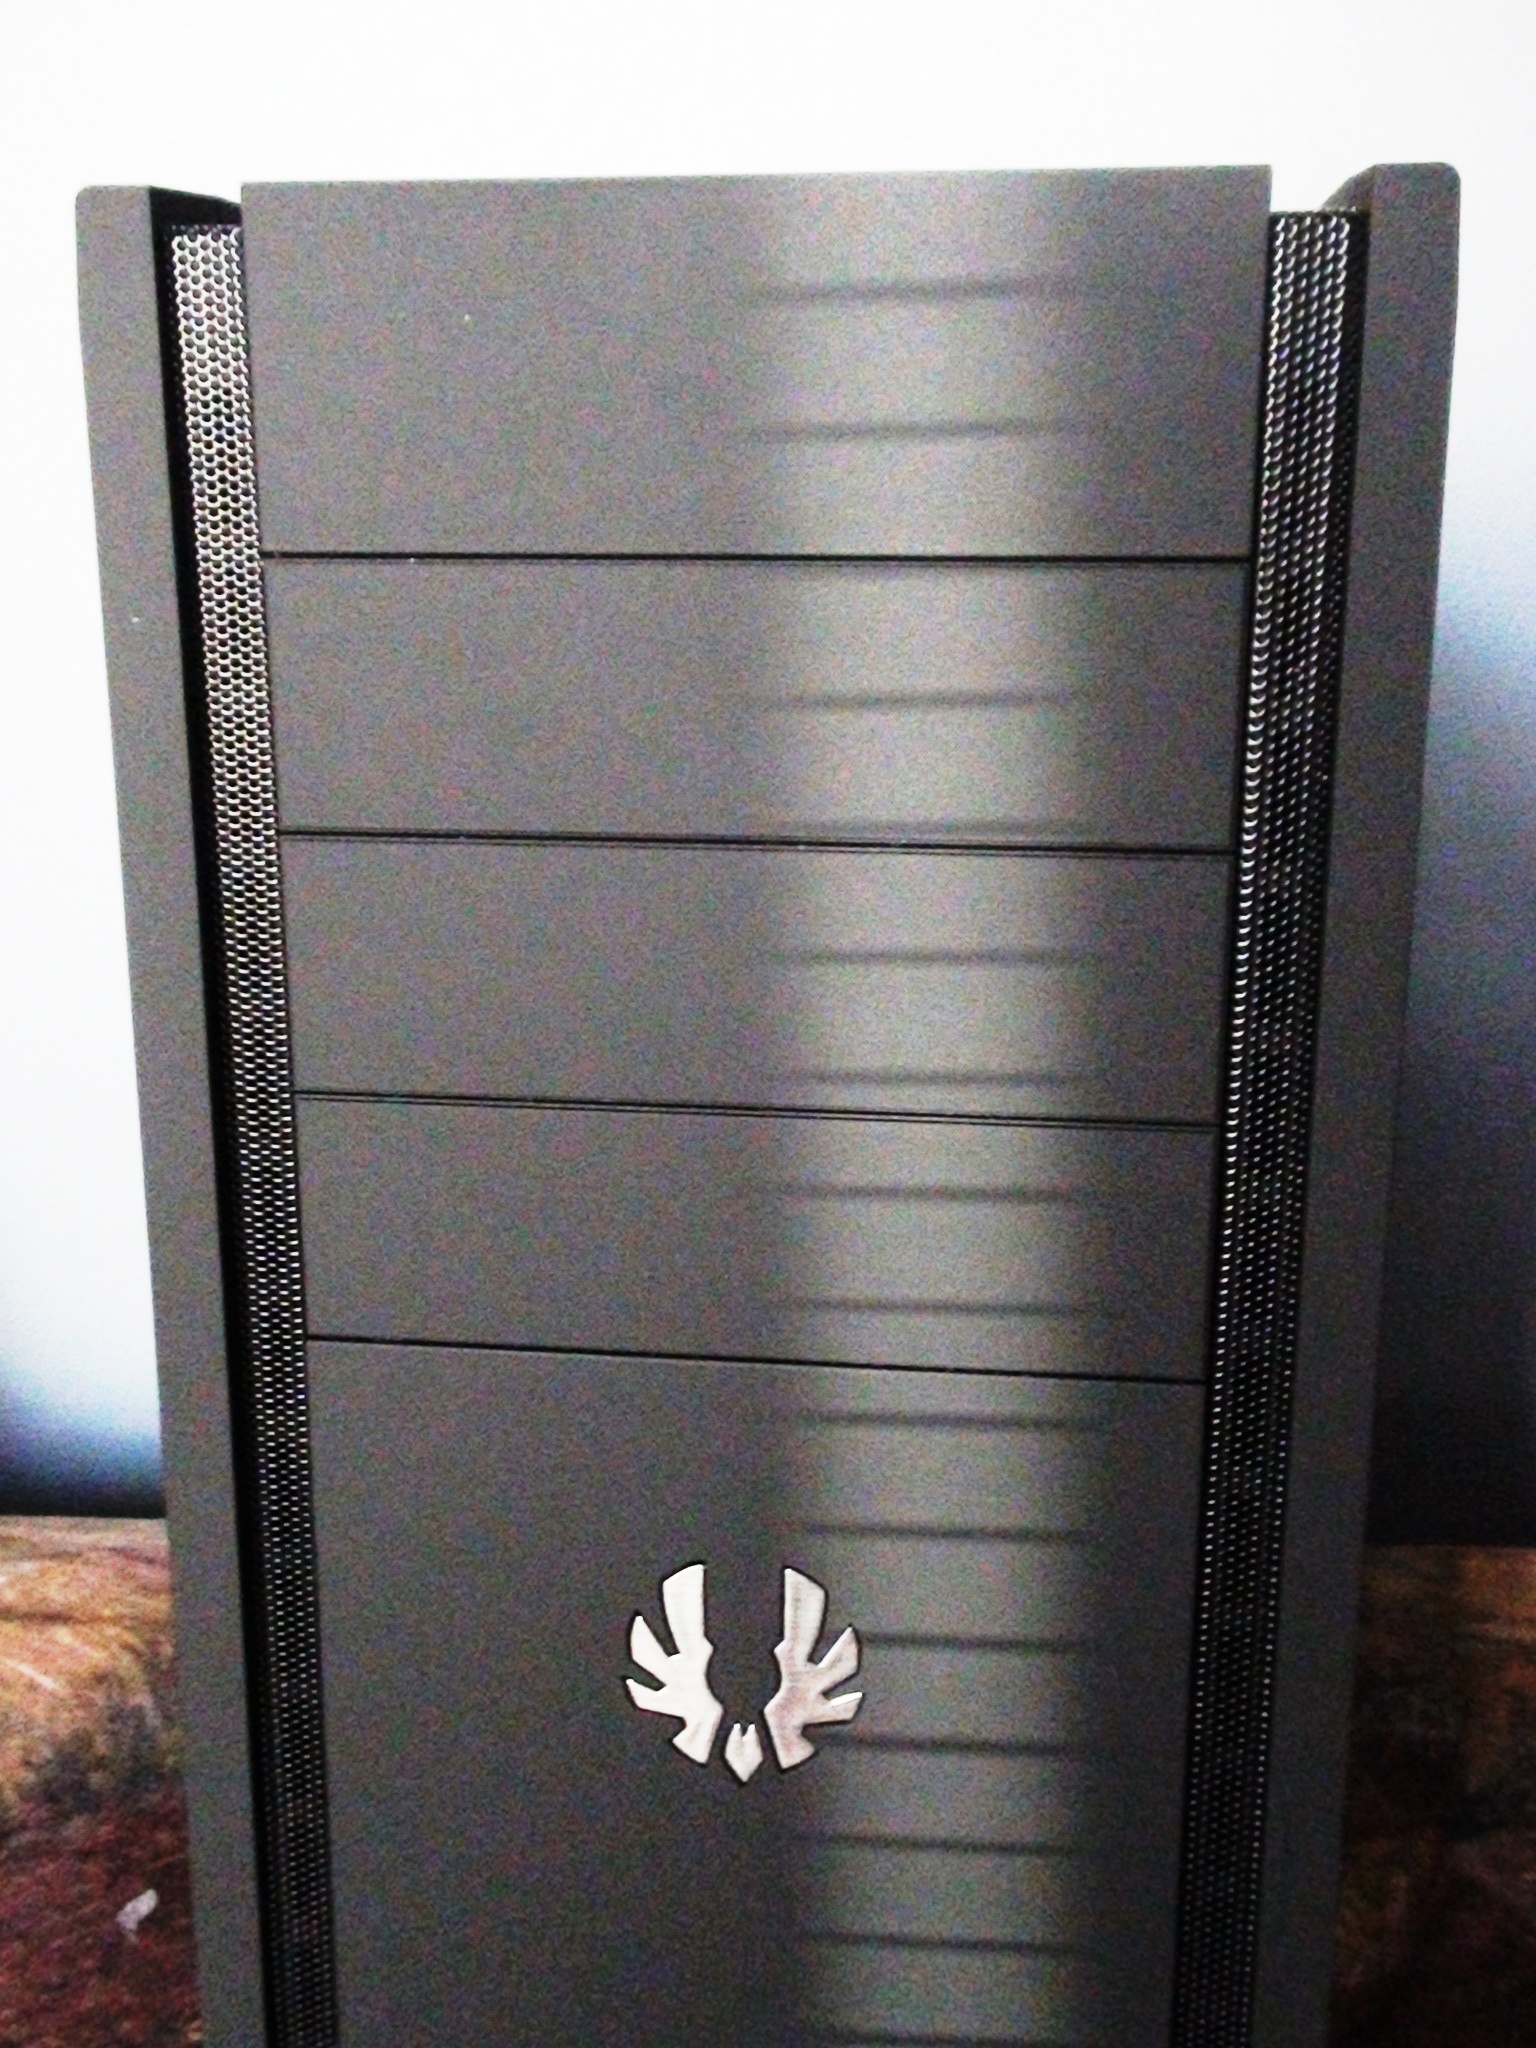
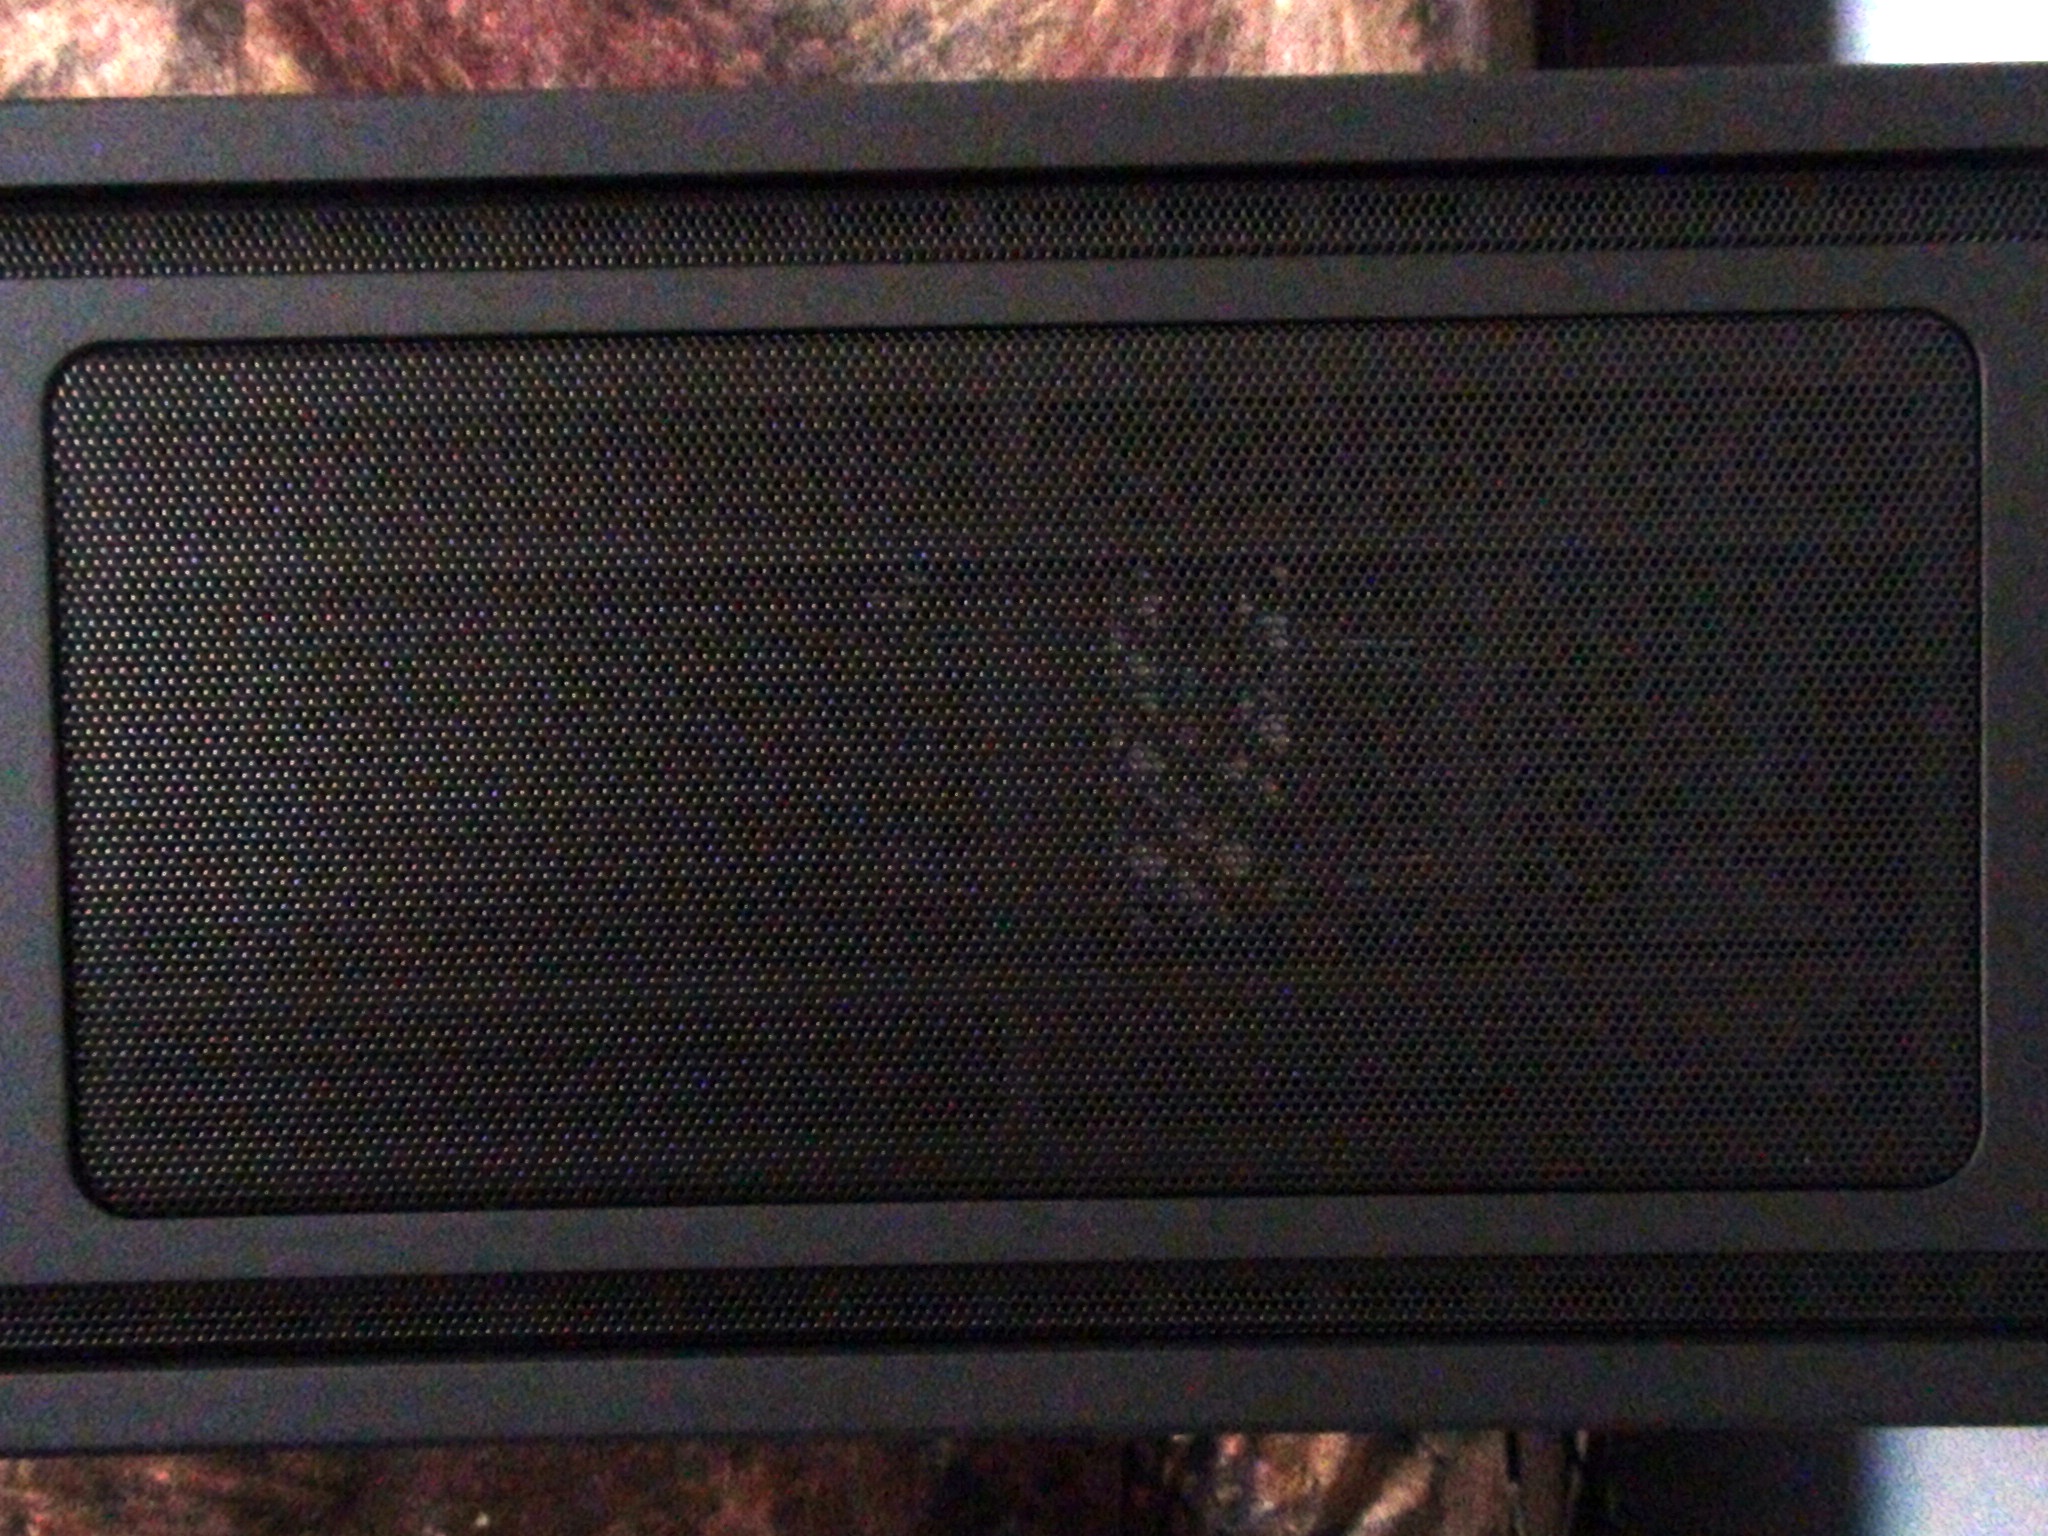
Zooming out a bit, we see three 5.25 drive bays, the BitFenix logo again, as well as two perforated mesh strips that run from the bottom of the case to the top and back.
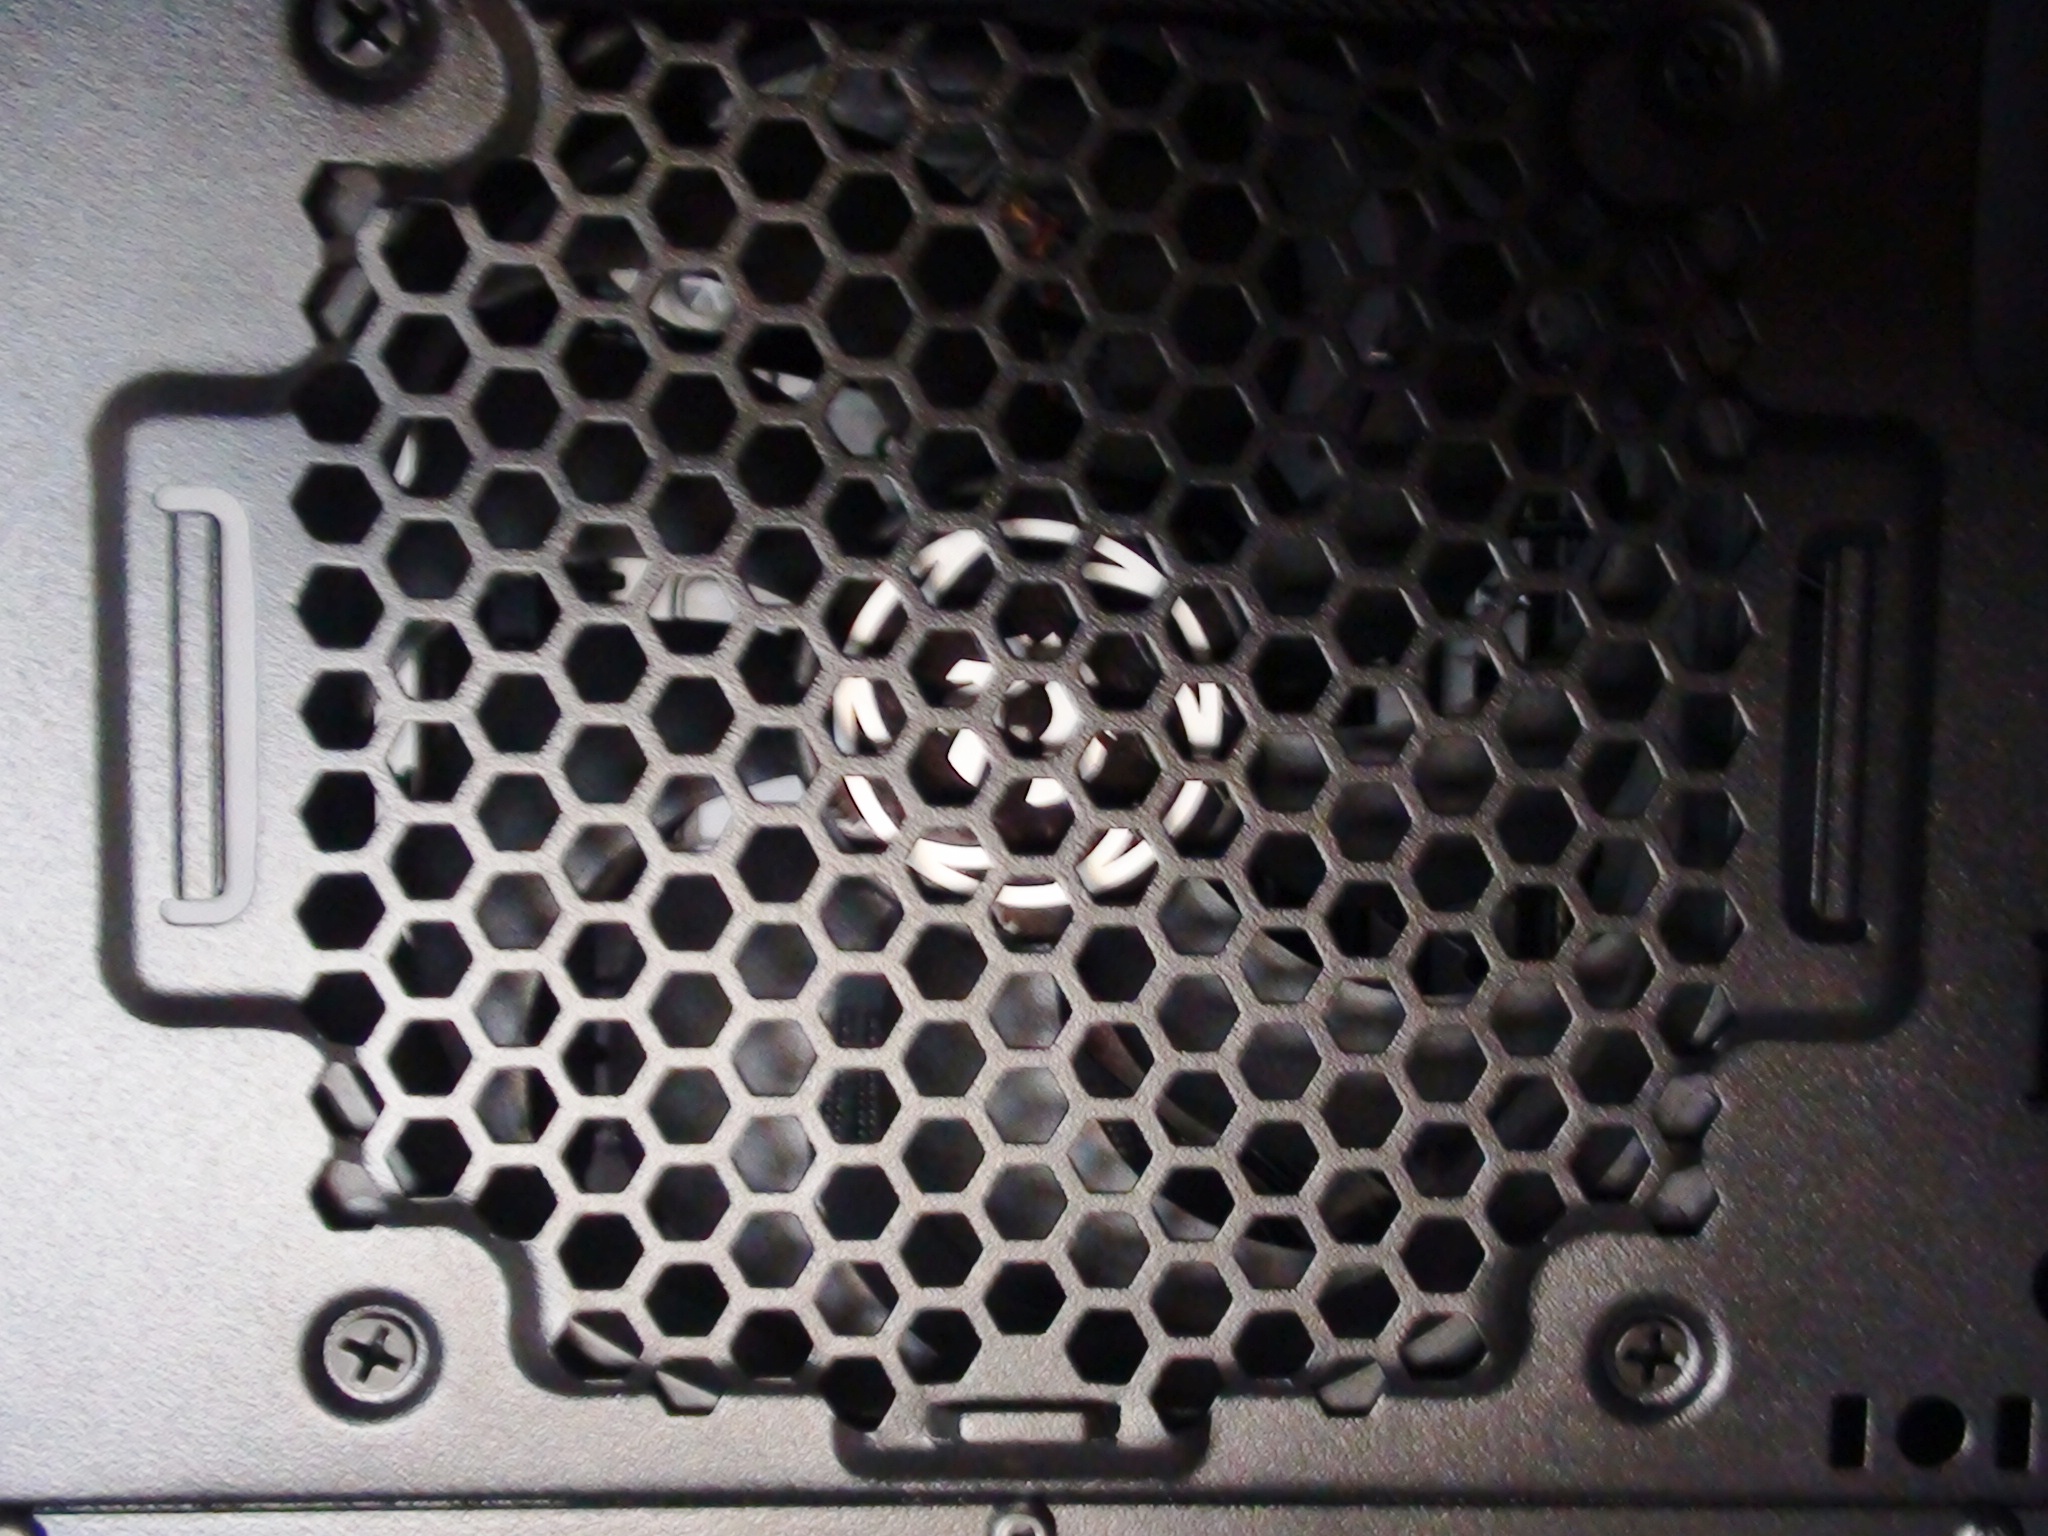
This is a really nice touch as you can use them to install LED strip-lights and manage cables from devices that may rest on the chassis. Furthermore, there are small little holes for ventilation which are essentially considering the mesh covering, although extremely sleek, offers little in terms of aeration:
Keep in mind that these additions cannot be found even in enthusiast, top-line cases, which reiterates how well skilled the designers are over at BitFenix.
Removing the front bezel reveals a pre-installed 120mm fan below and room for another 120mm above it. The fan filters are present as well, and can be easily removed, cleaned, and reinstalled extremely easily:

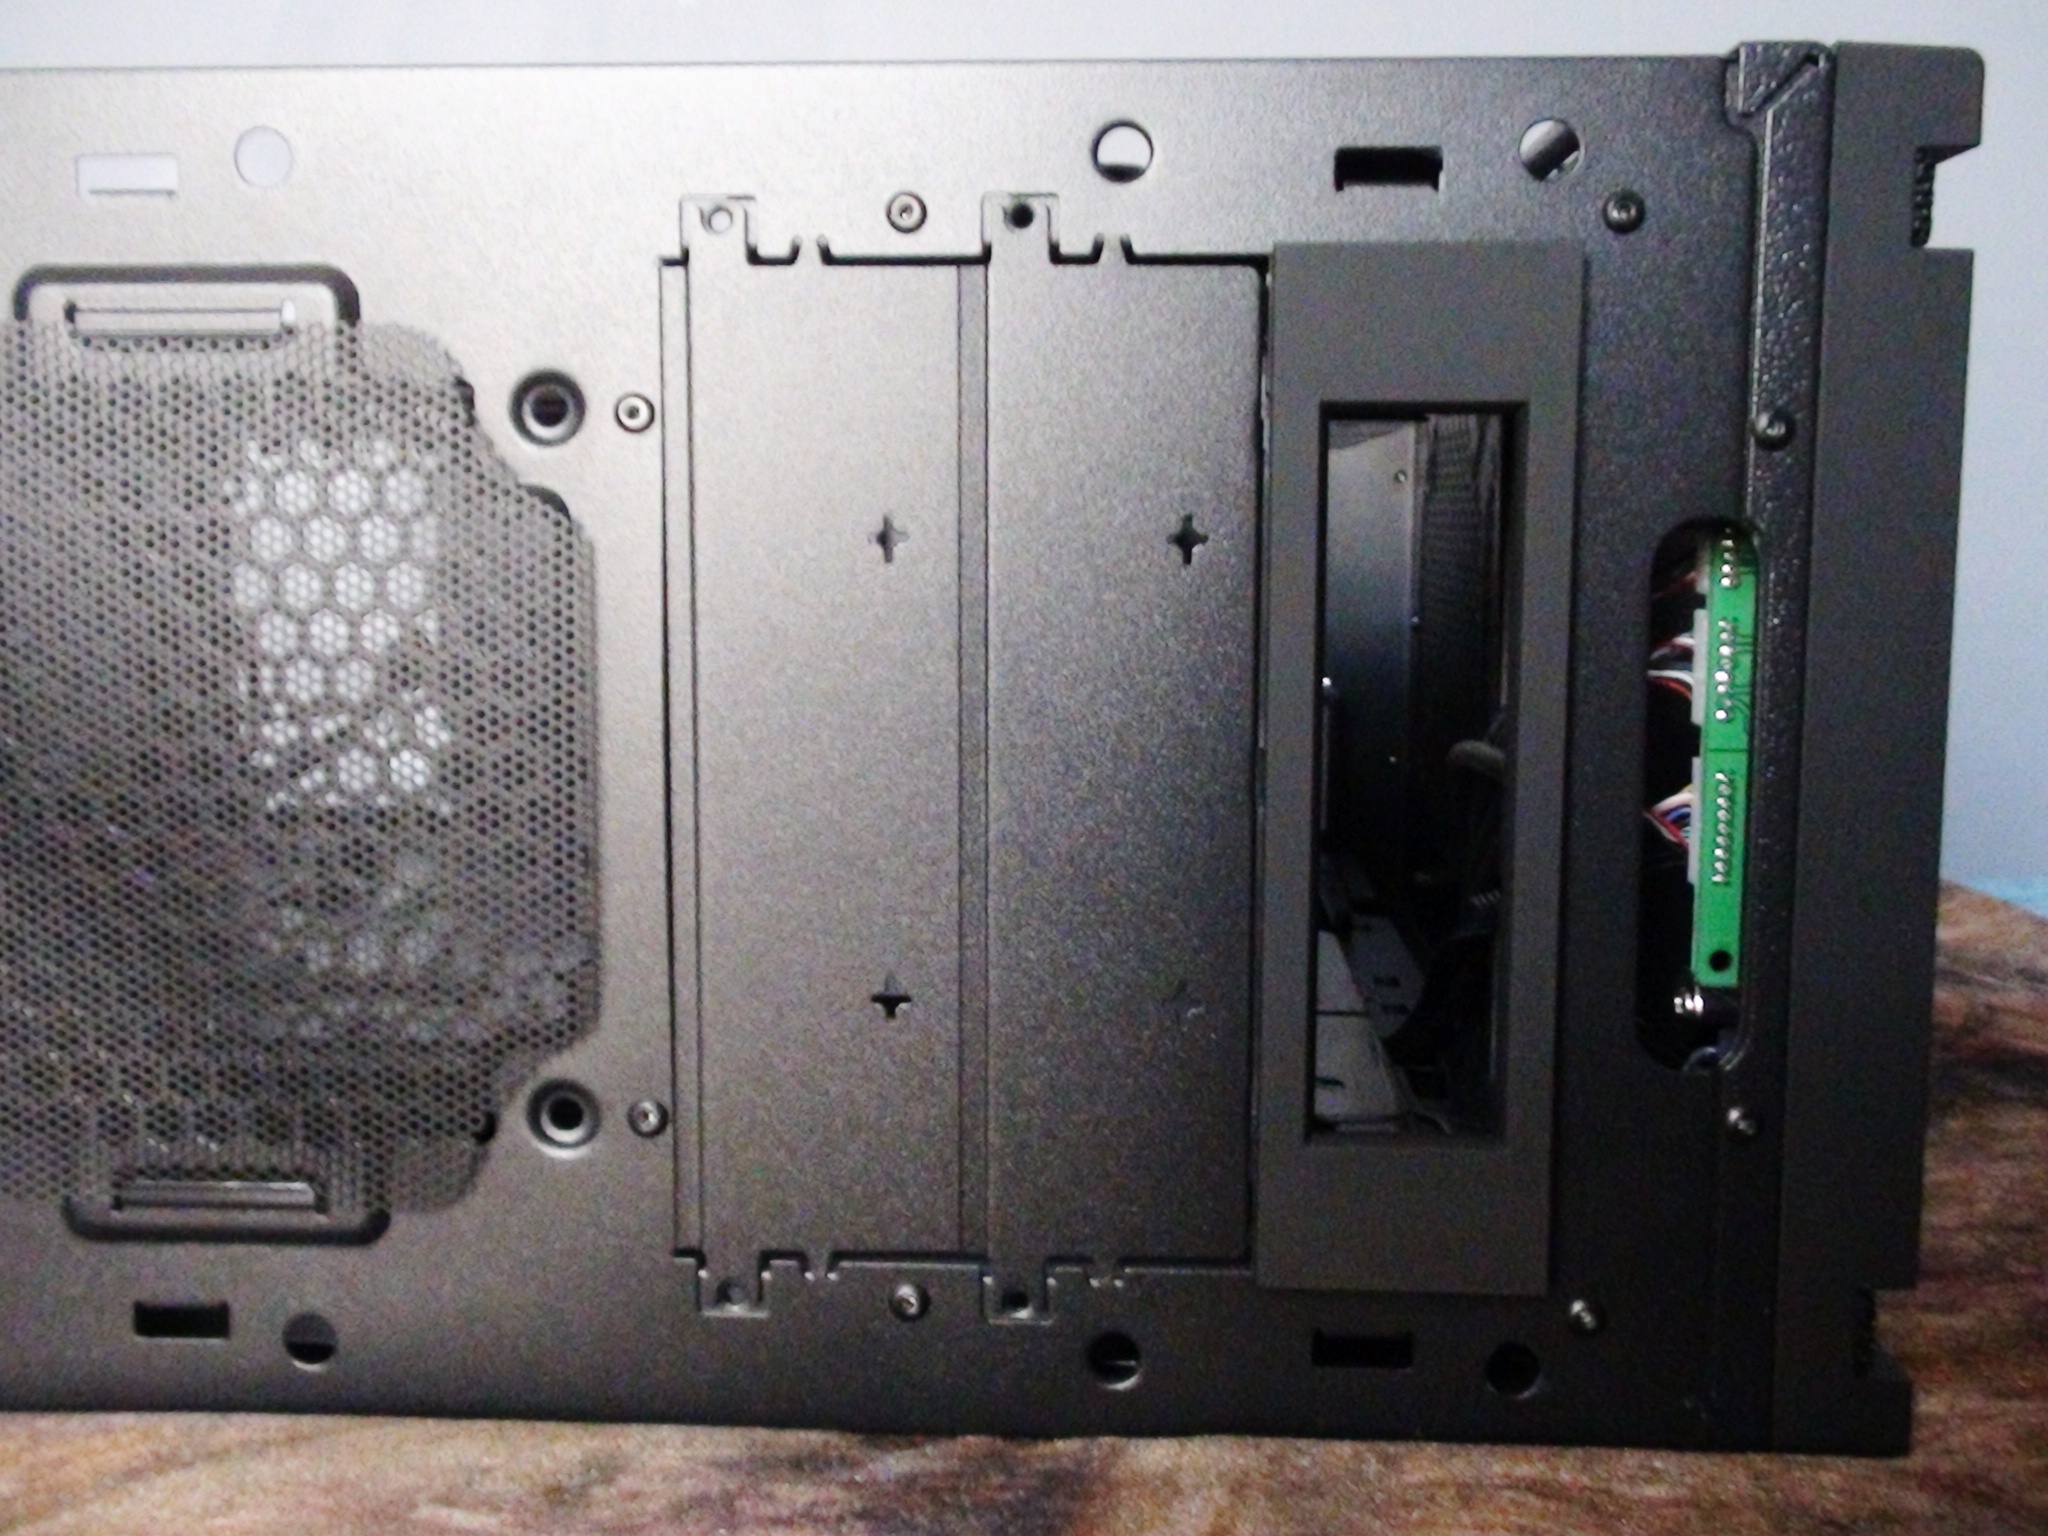
Moving up, we see the 5.25 expansion bays that can be easily popped out as well as a pre-installed adapter. The wiring on the above the adapter belongs to the front-panel connections on top of the case:
On the very top of the case, there are the aforementioned front-panel connections:
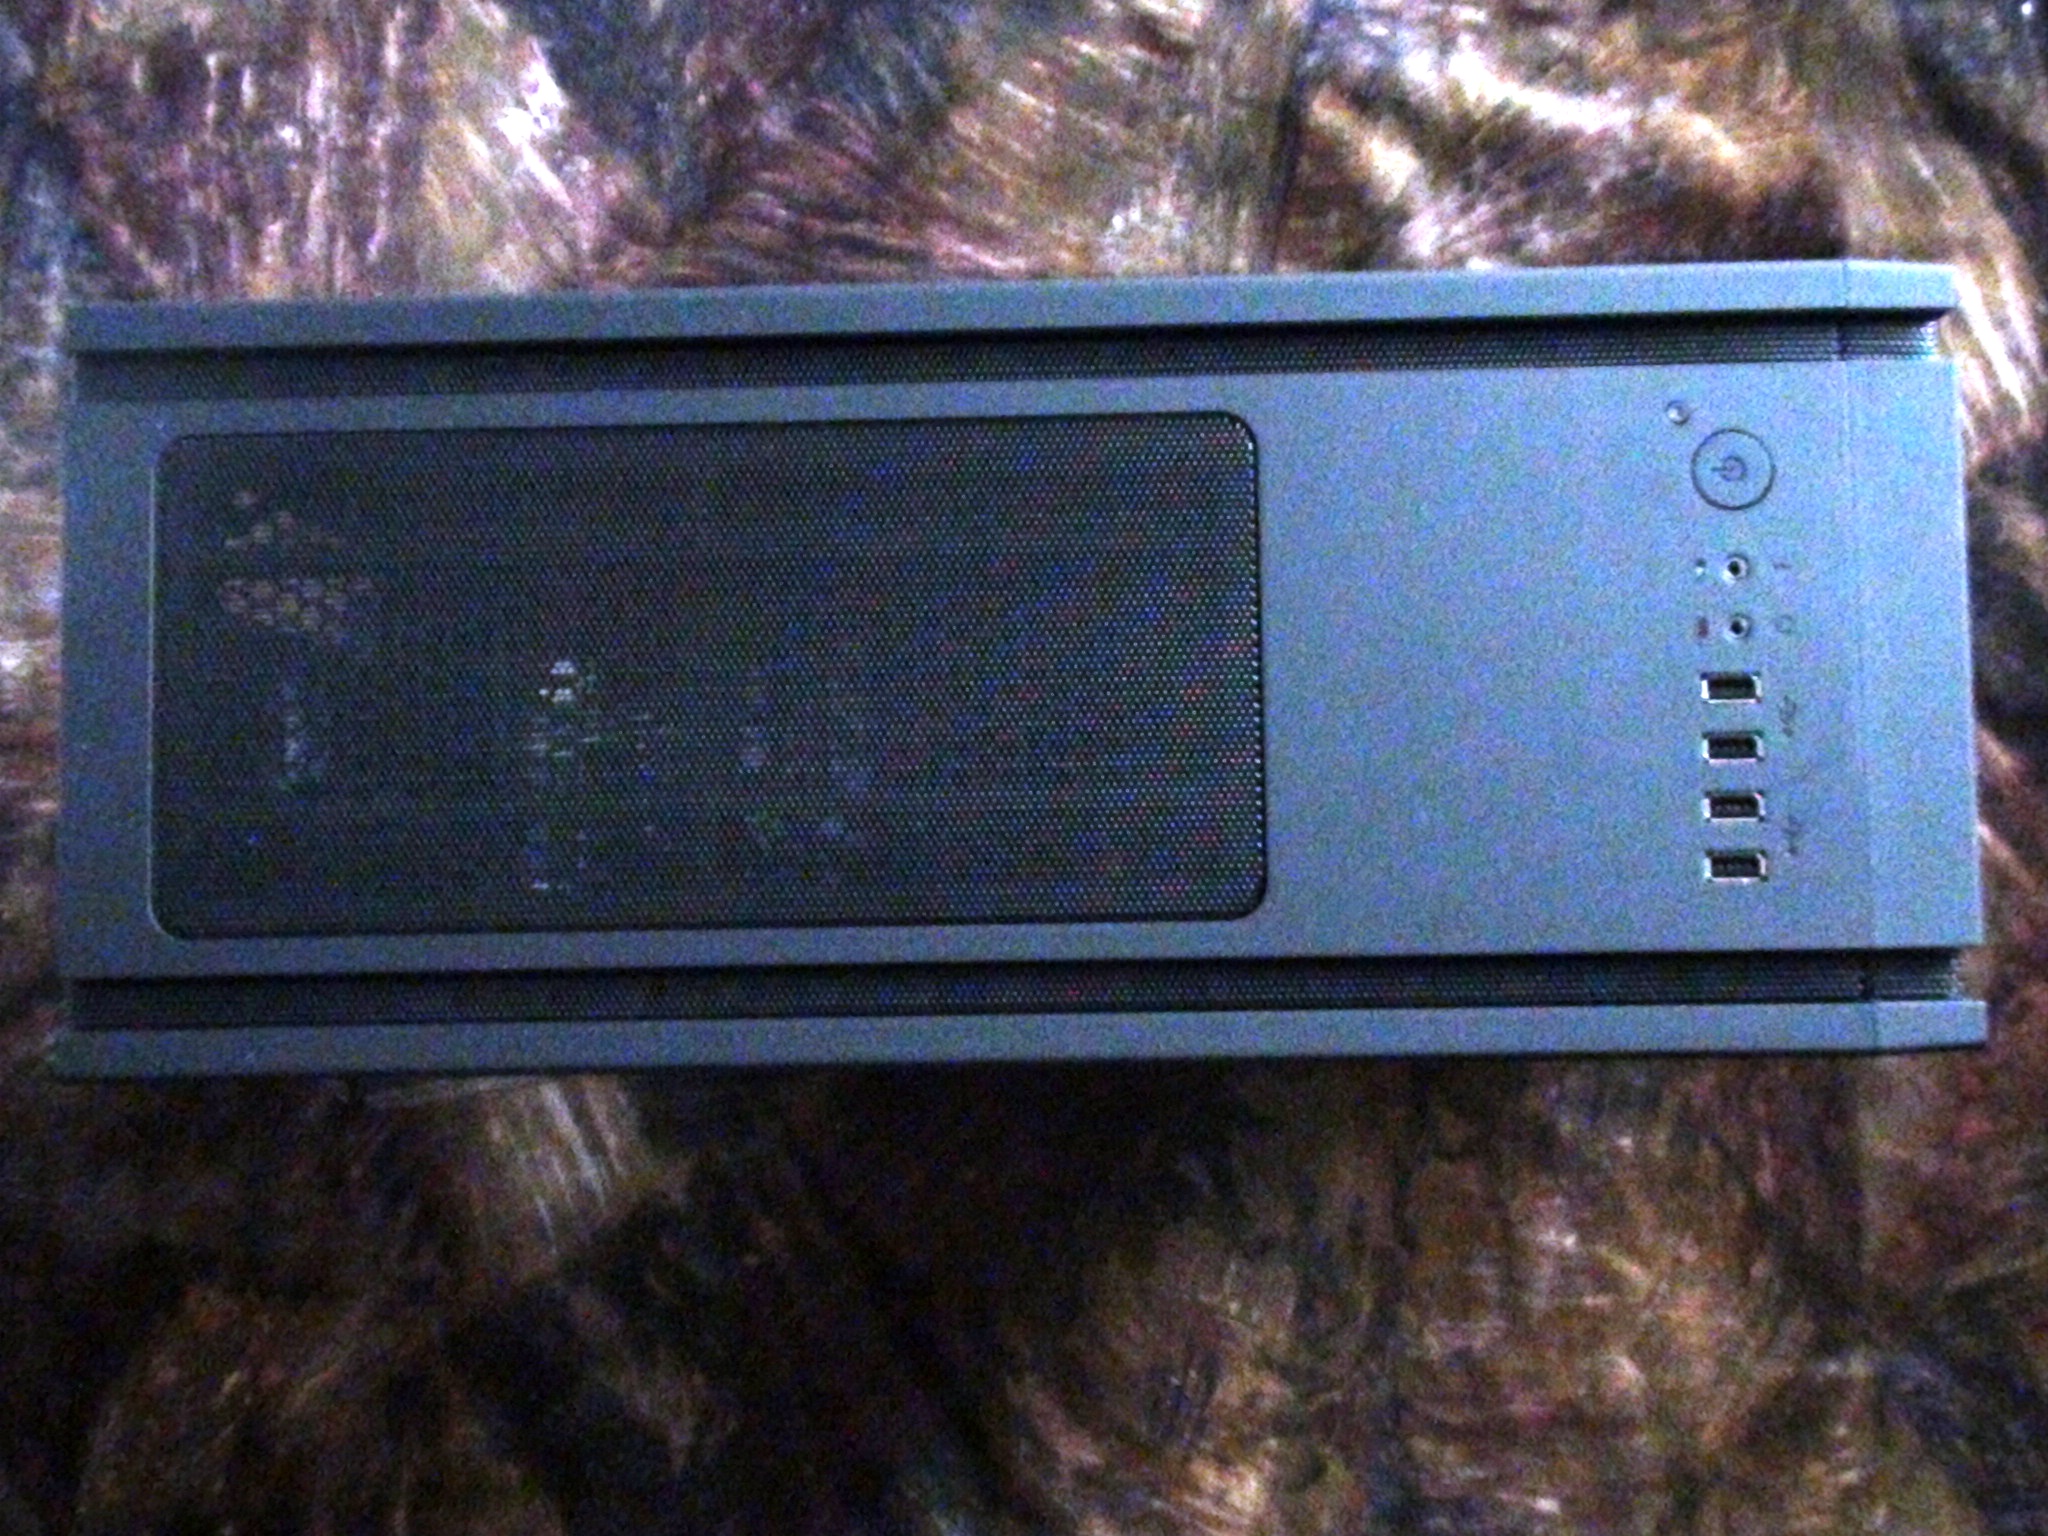
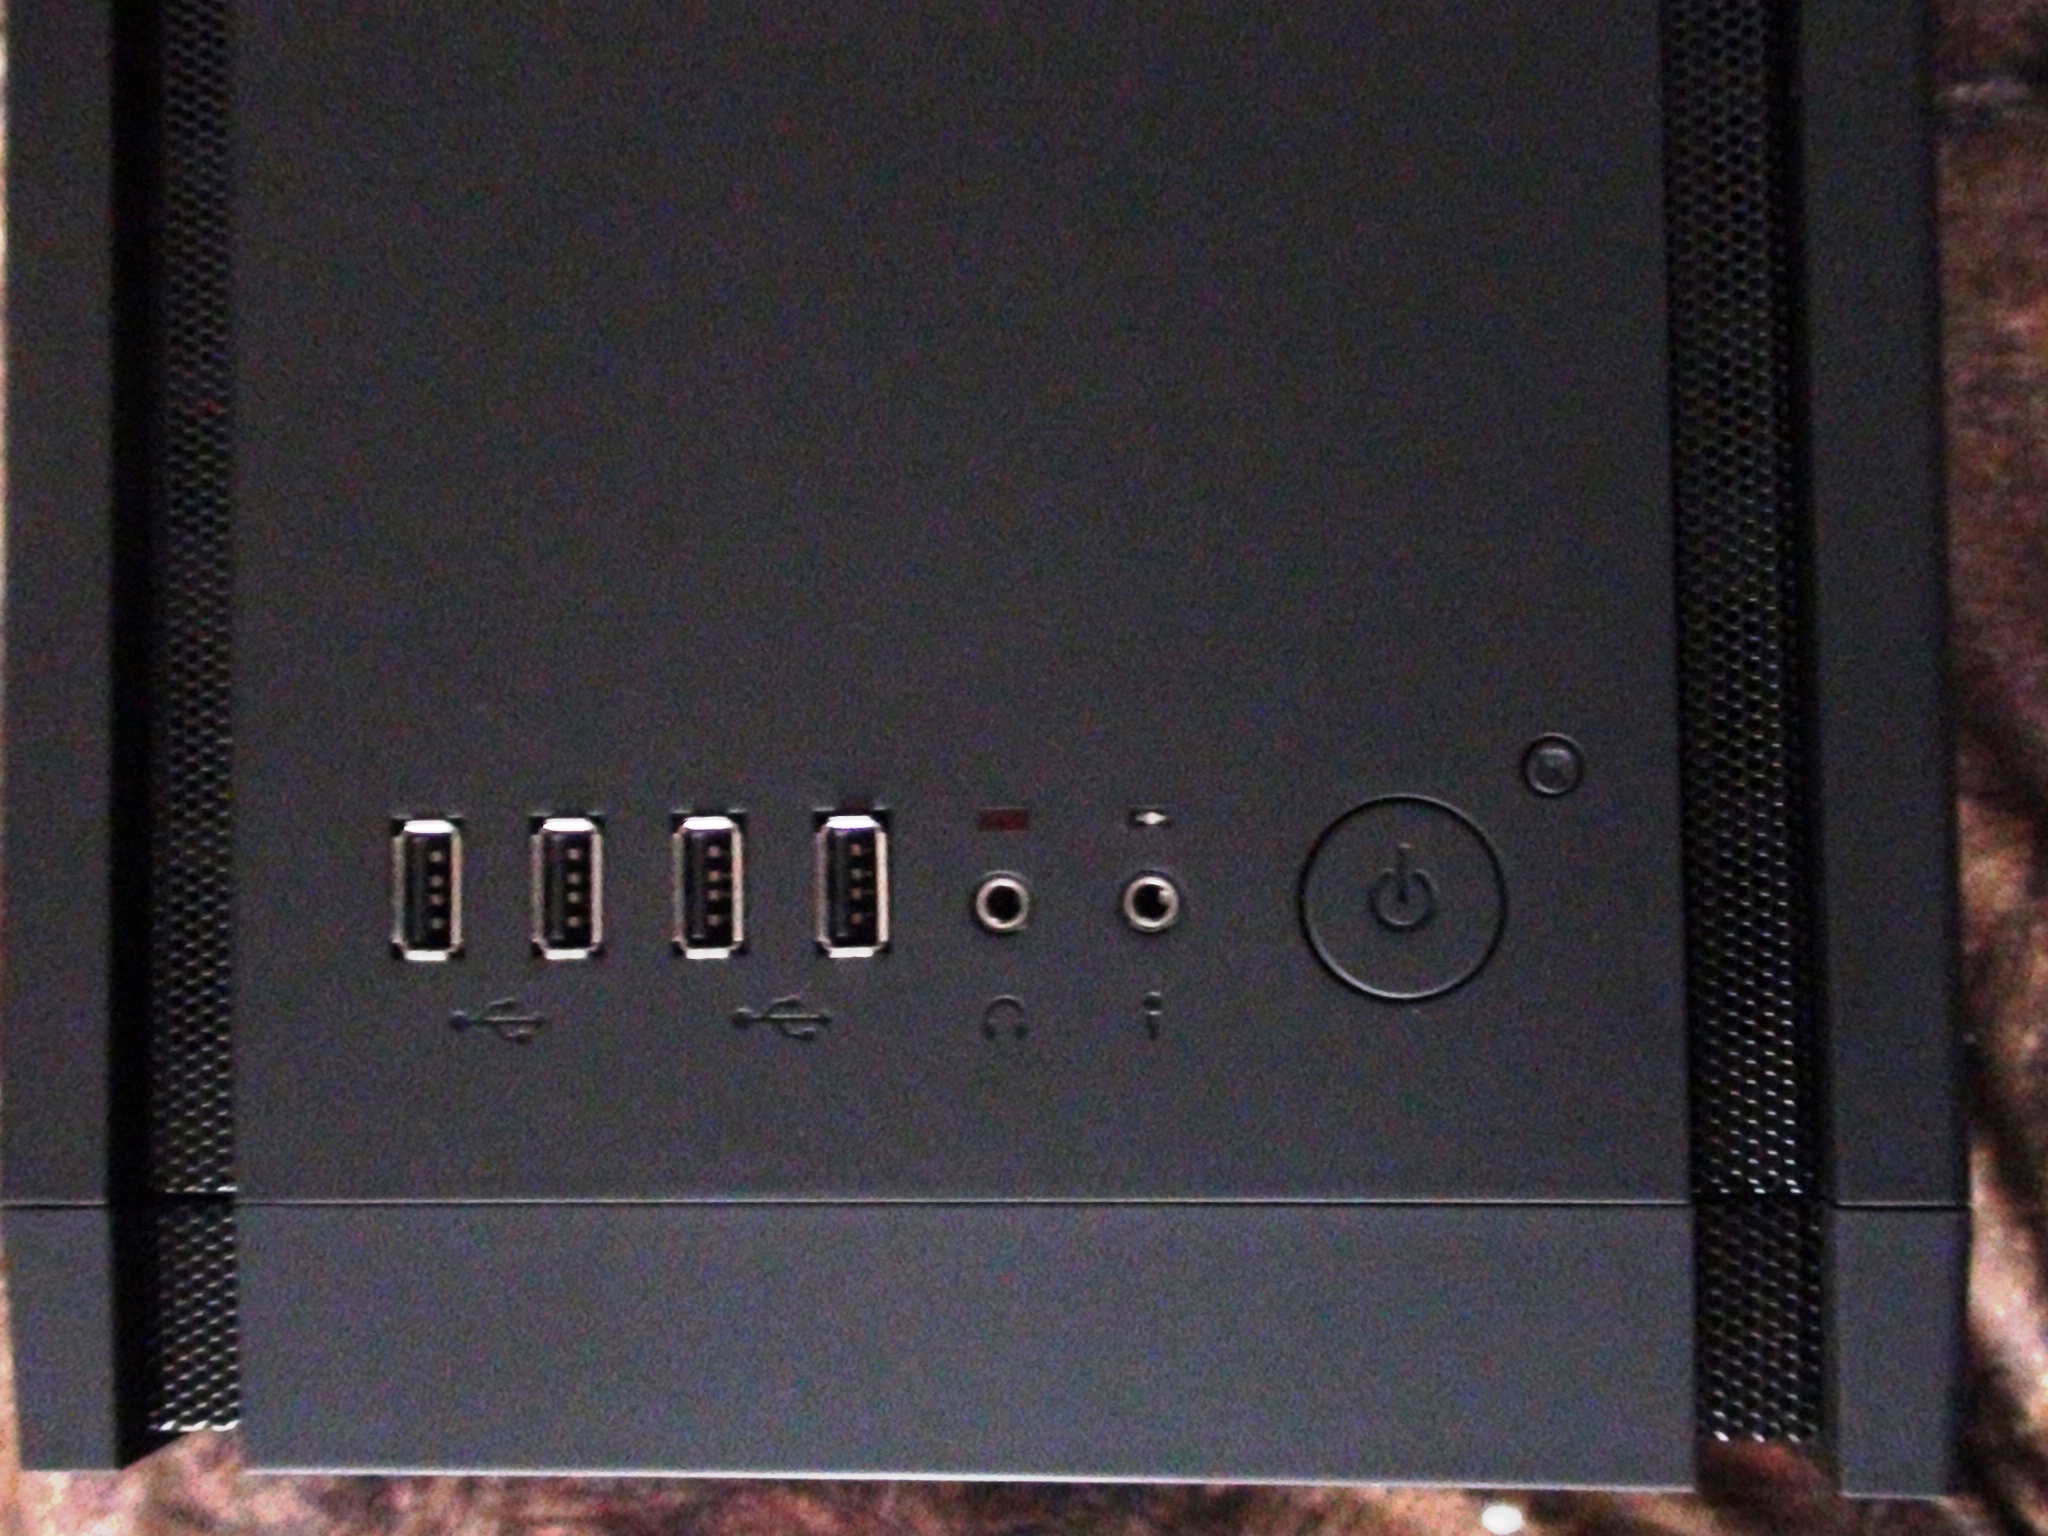
The top panel comprises of:
- 4 x USB 2.0 sockets
- Headphone jack
- Microphone jack
- Power Button
- Reset button
It would have been nice to see USB 3.0 headers, an eSATA port, and/or a Firewire socket as well, but considering the MSRP of the Shinobi, their non-appearance was not surprising. Also, note the extremely small reset button that may be hard to access for some.
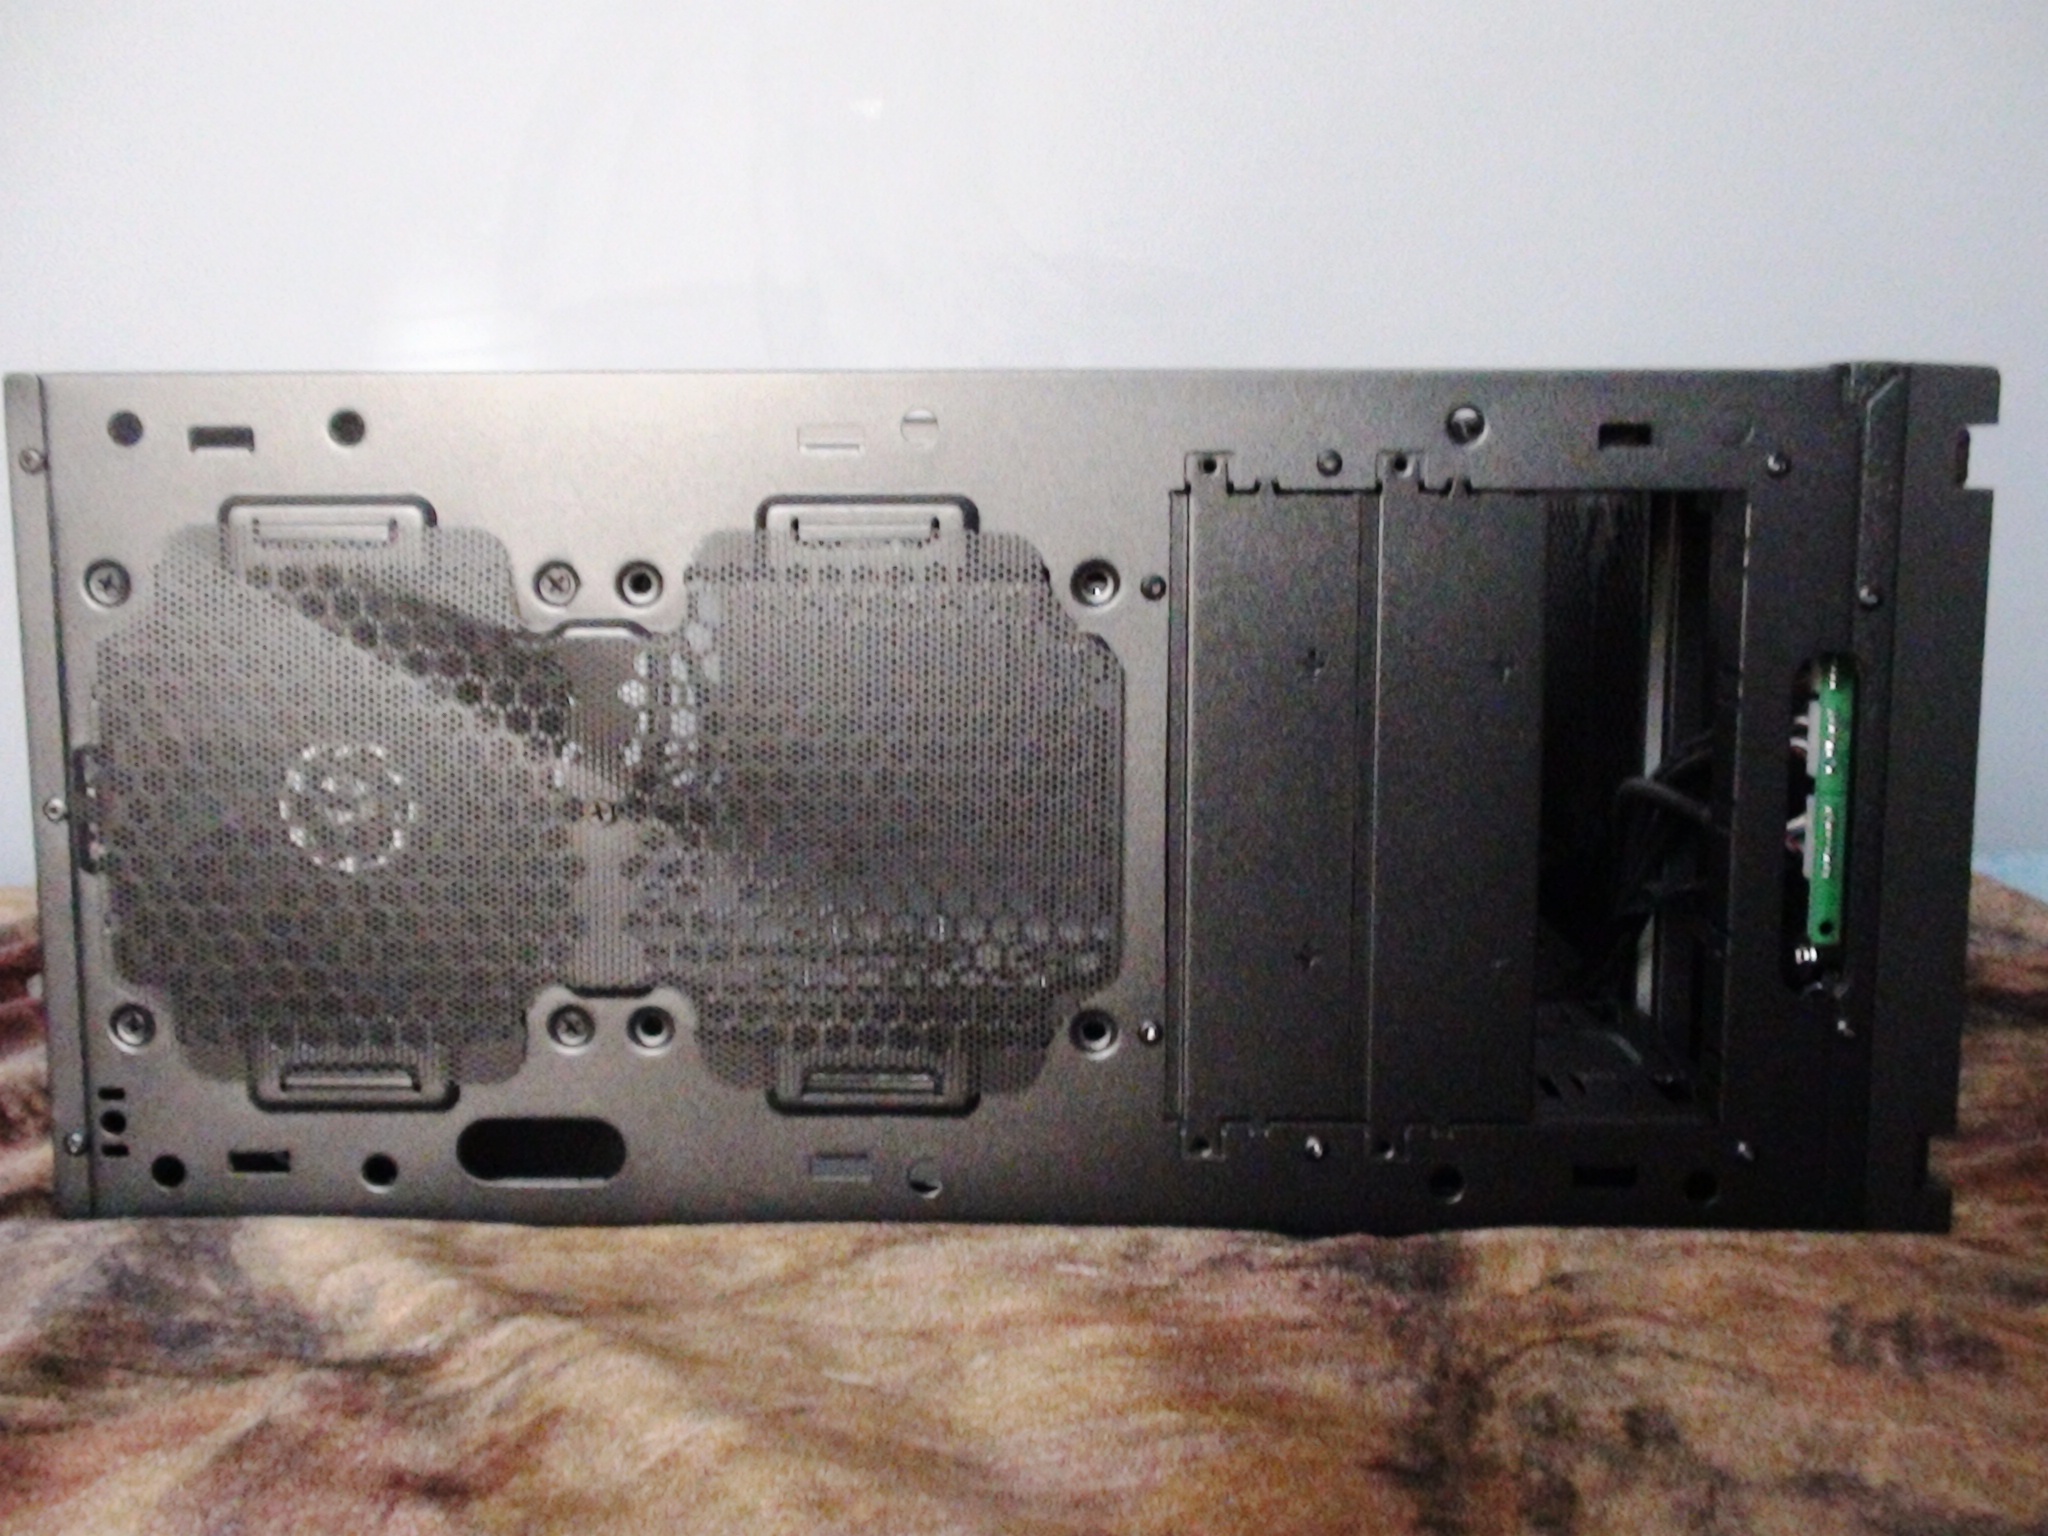
Traveling to the back, there is the consistent mesh paneling with fan outlines:
Removing the top bezel allows easy access for fan installation. There is enough installation room for two 120mm, or even two 140mm case fans:
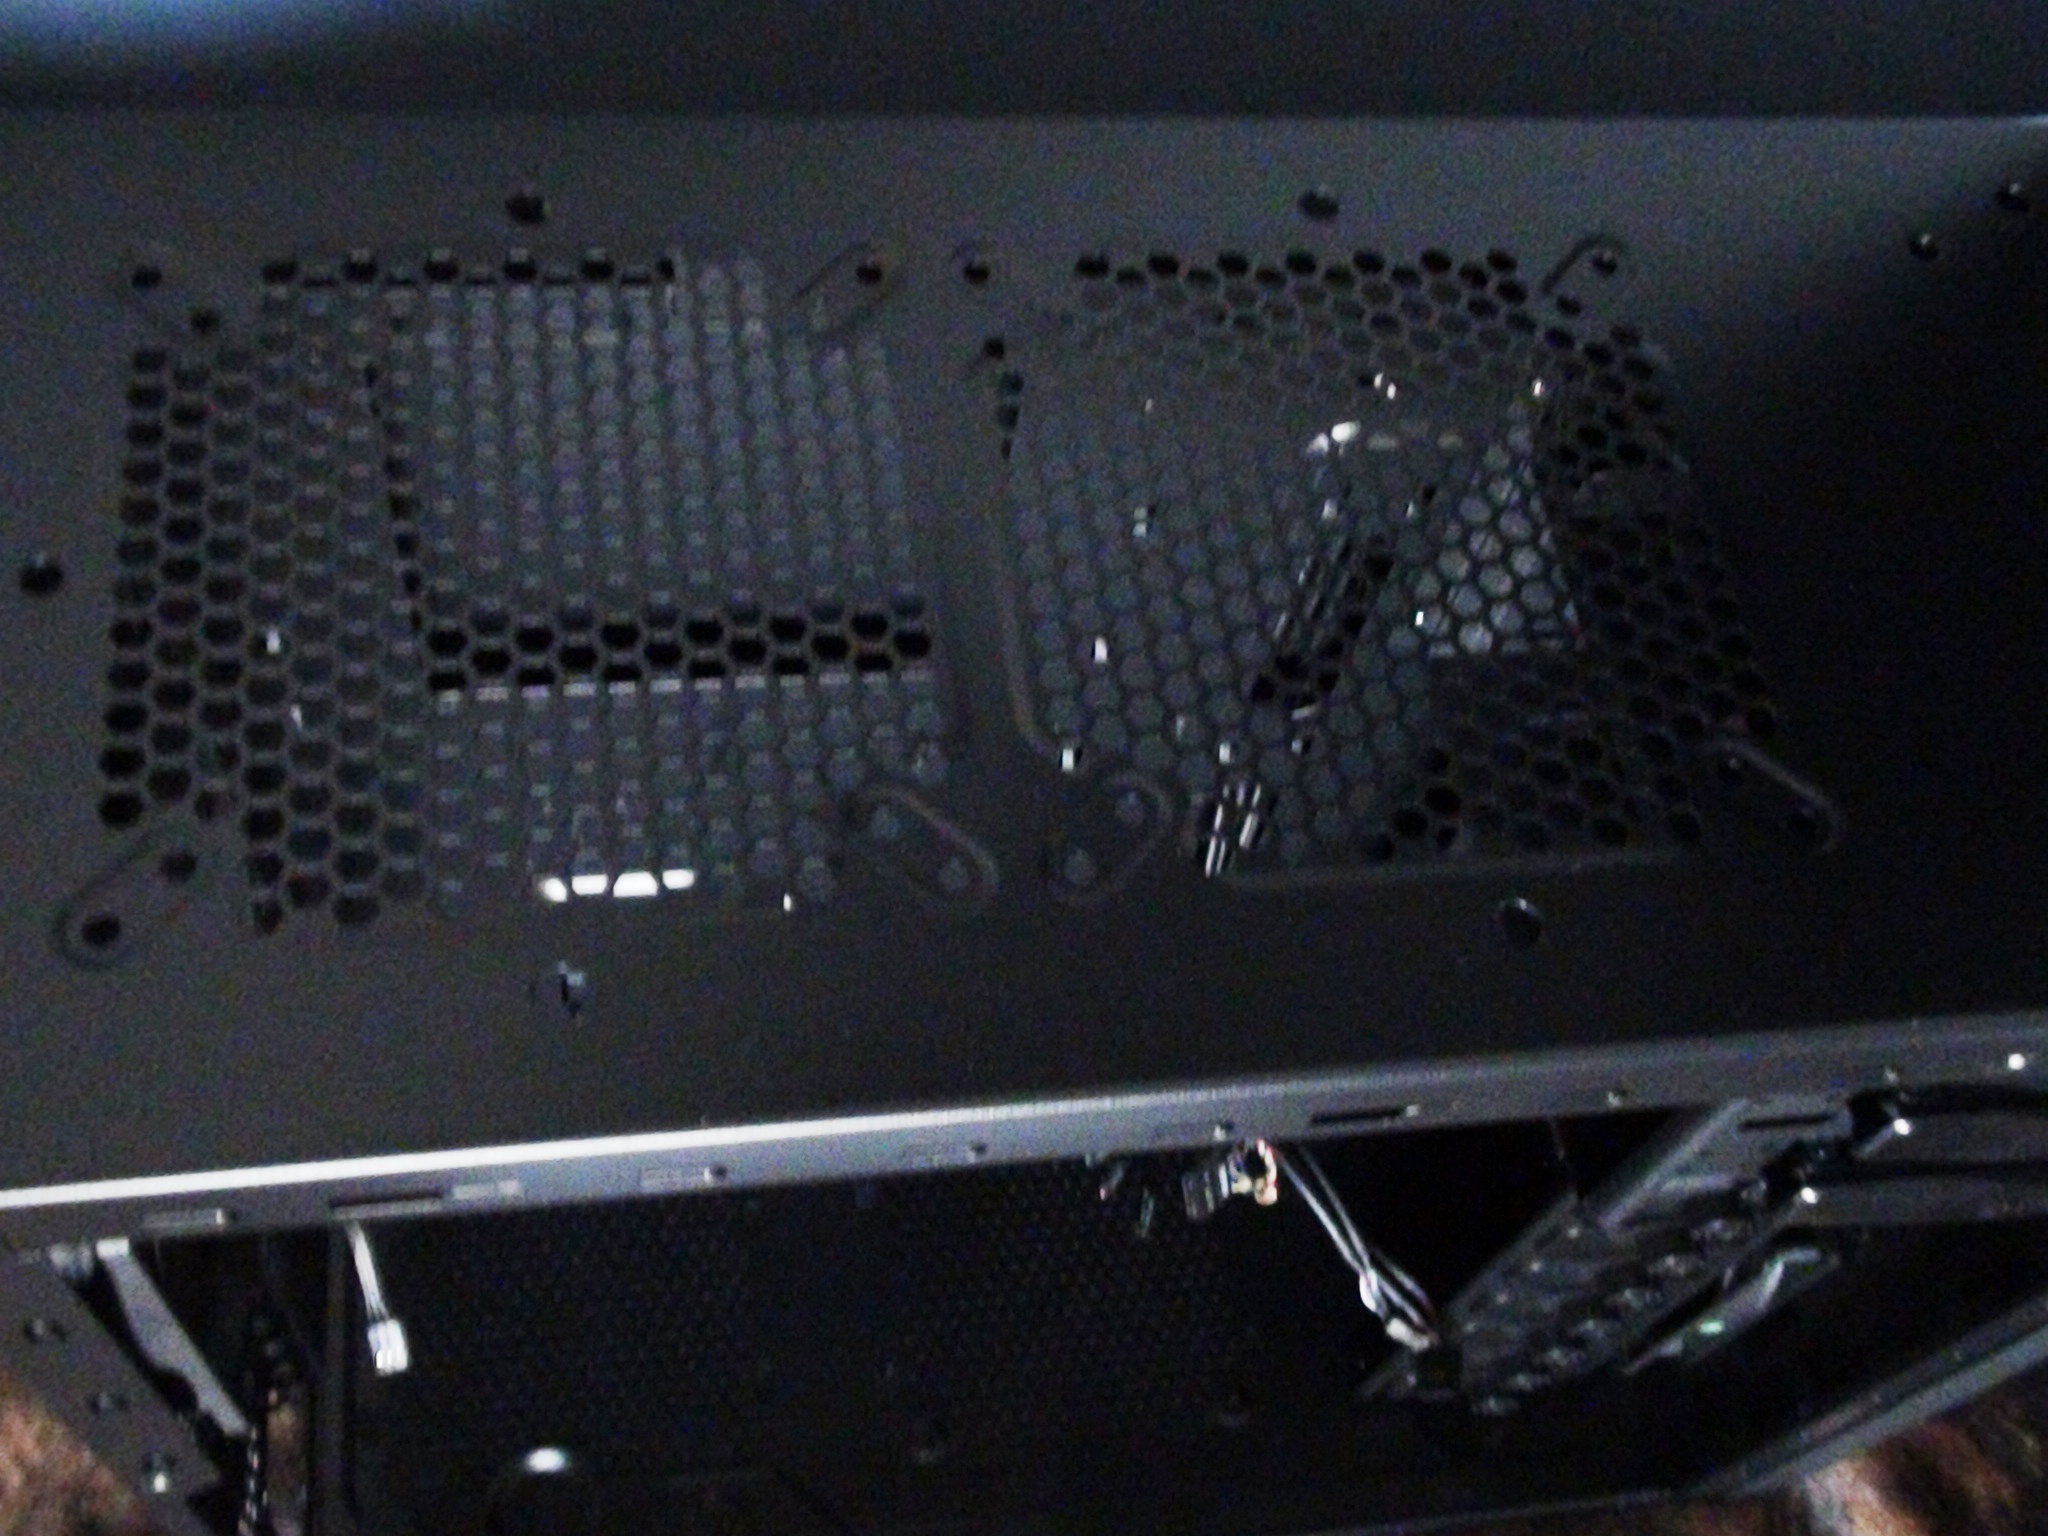
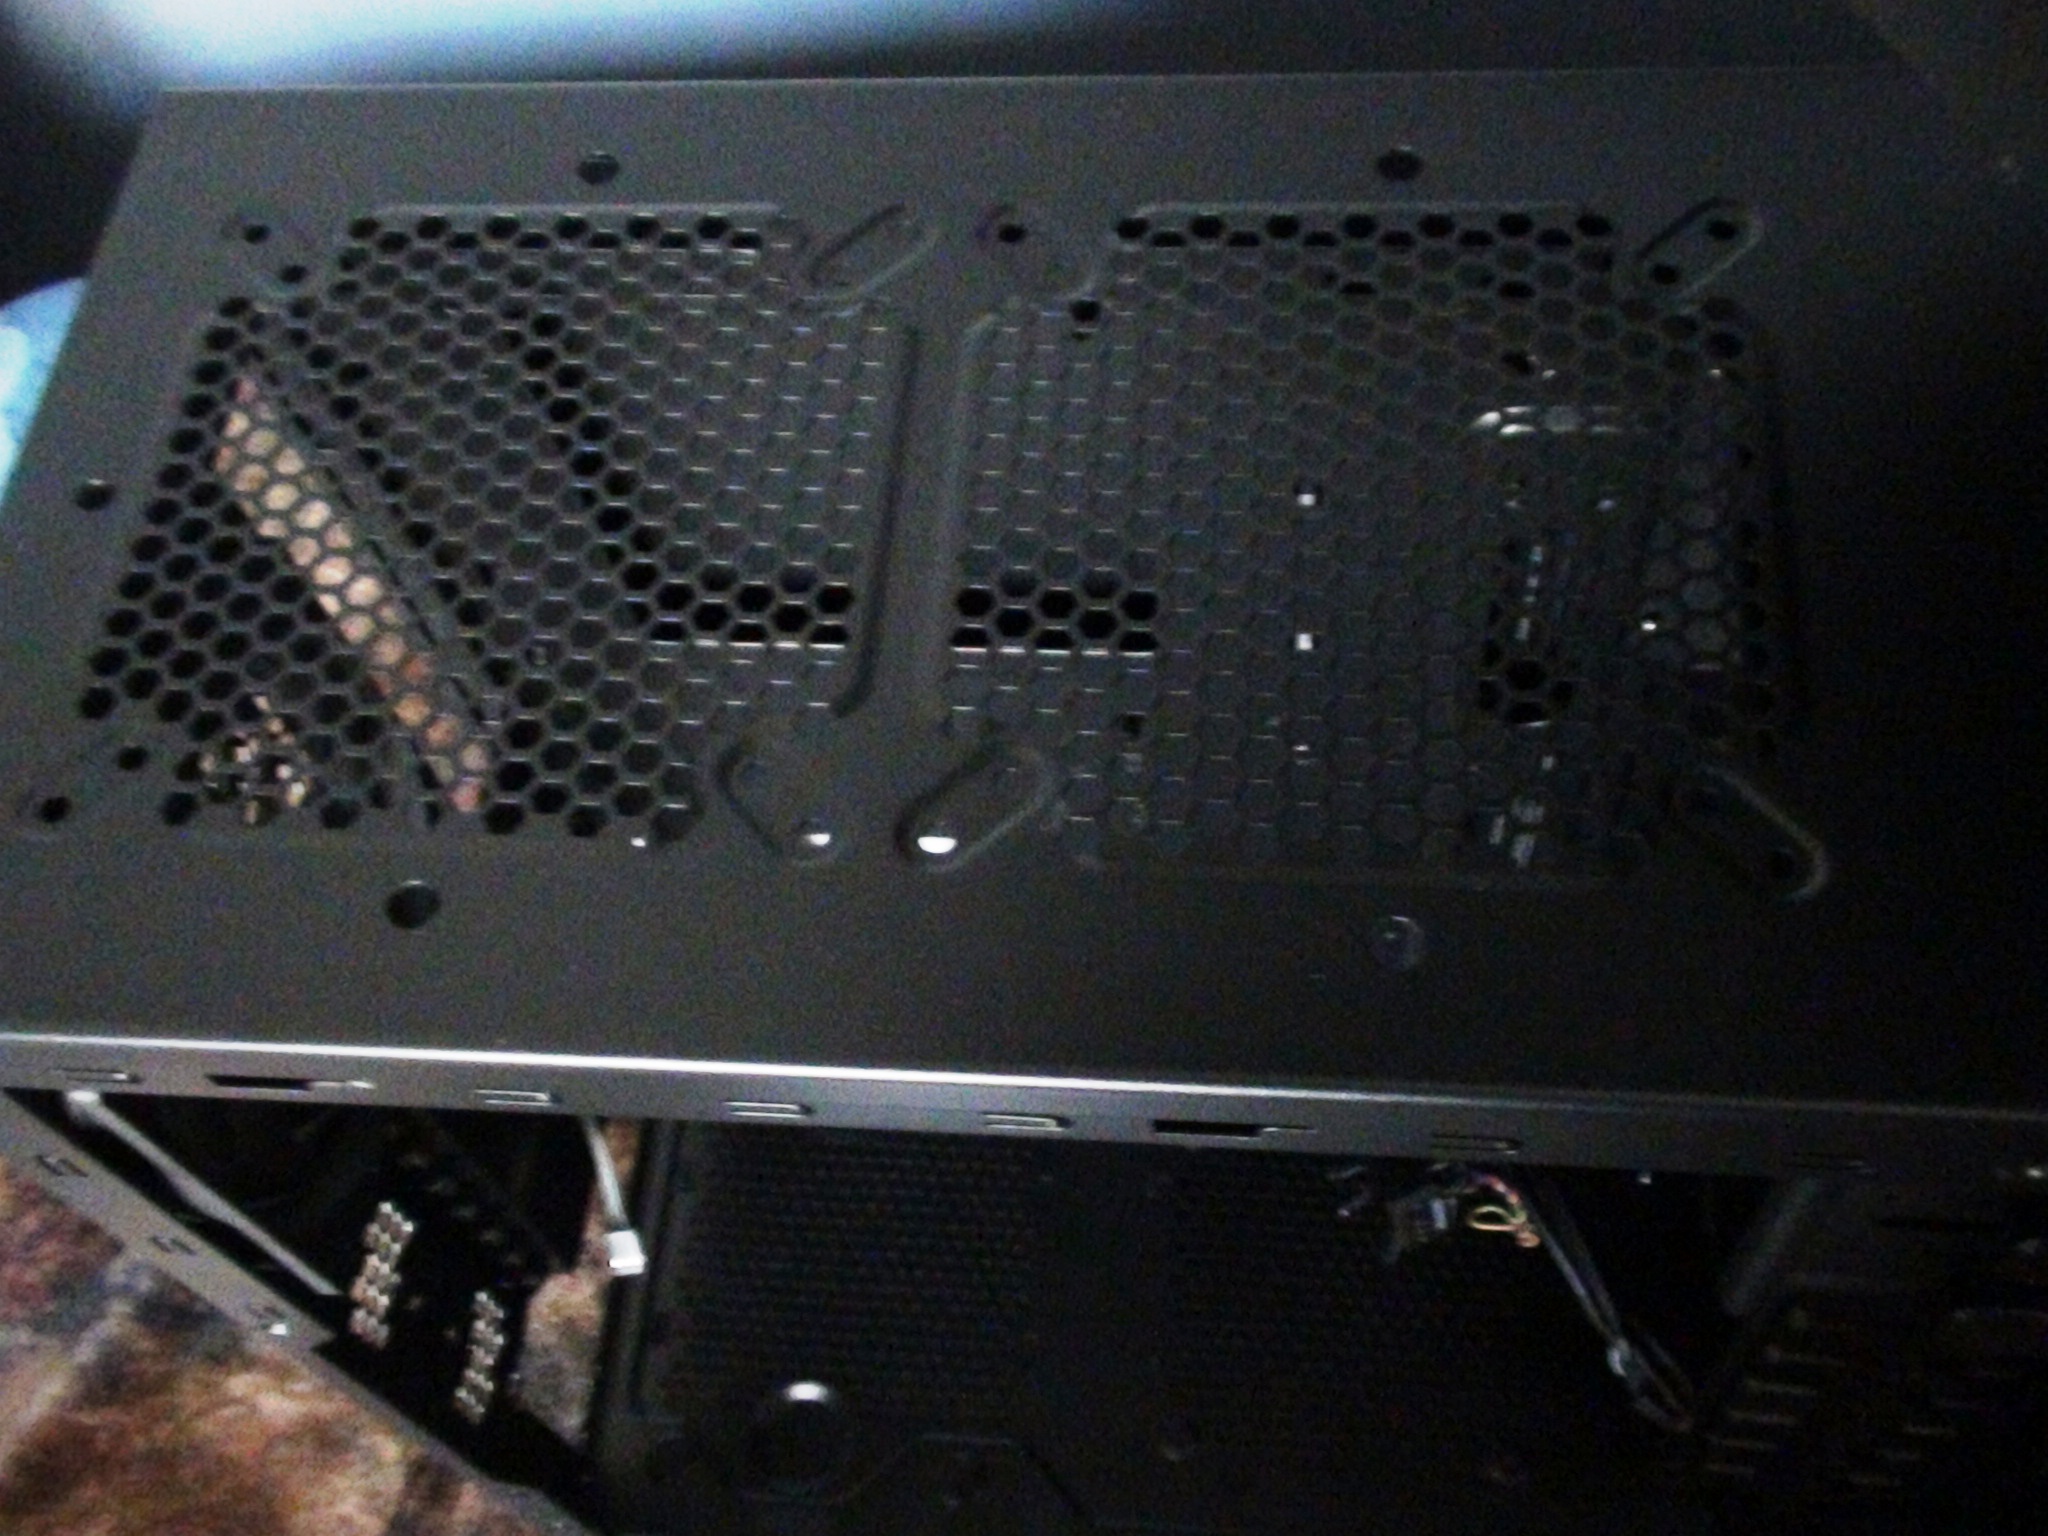
As far as the actual installation goes, it may be a hassle for some as the top bezel cannot be completely removed due to the previously shown front-panel wiring passing through for the top I/O ports.
NEXT: The Exterior (Continued)
INDEX
Page 1: Introduction
Page 2: Packaging
Page 3: Features and Specifications
Page 4: Accessories and Fittings
Page 5: The Exterior
Page 6: The Exterior (Continued)
Page 7: The Interior
Page 8: The Interior (Continued)
Page 9: Noise, Sound, and Thermal Performance
Page 10: Final Words and Conclusion