
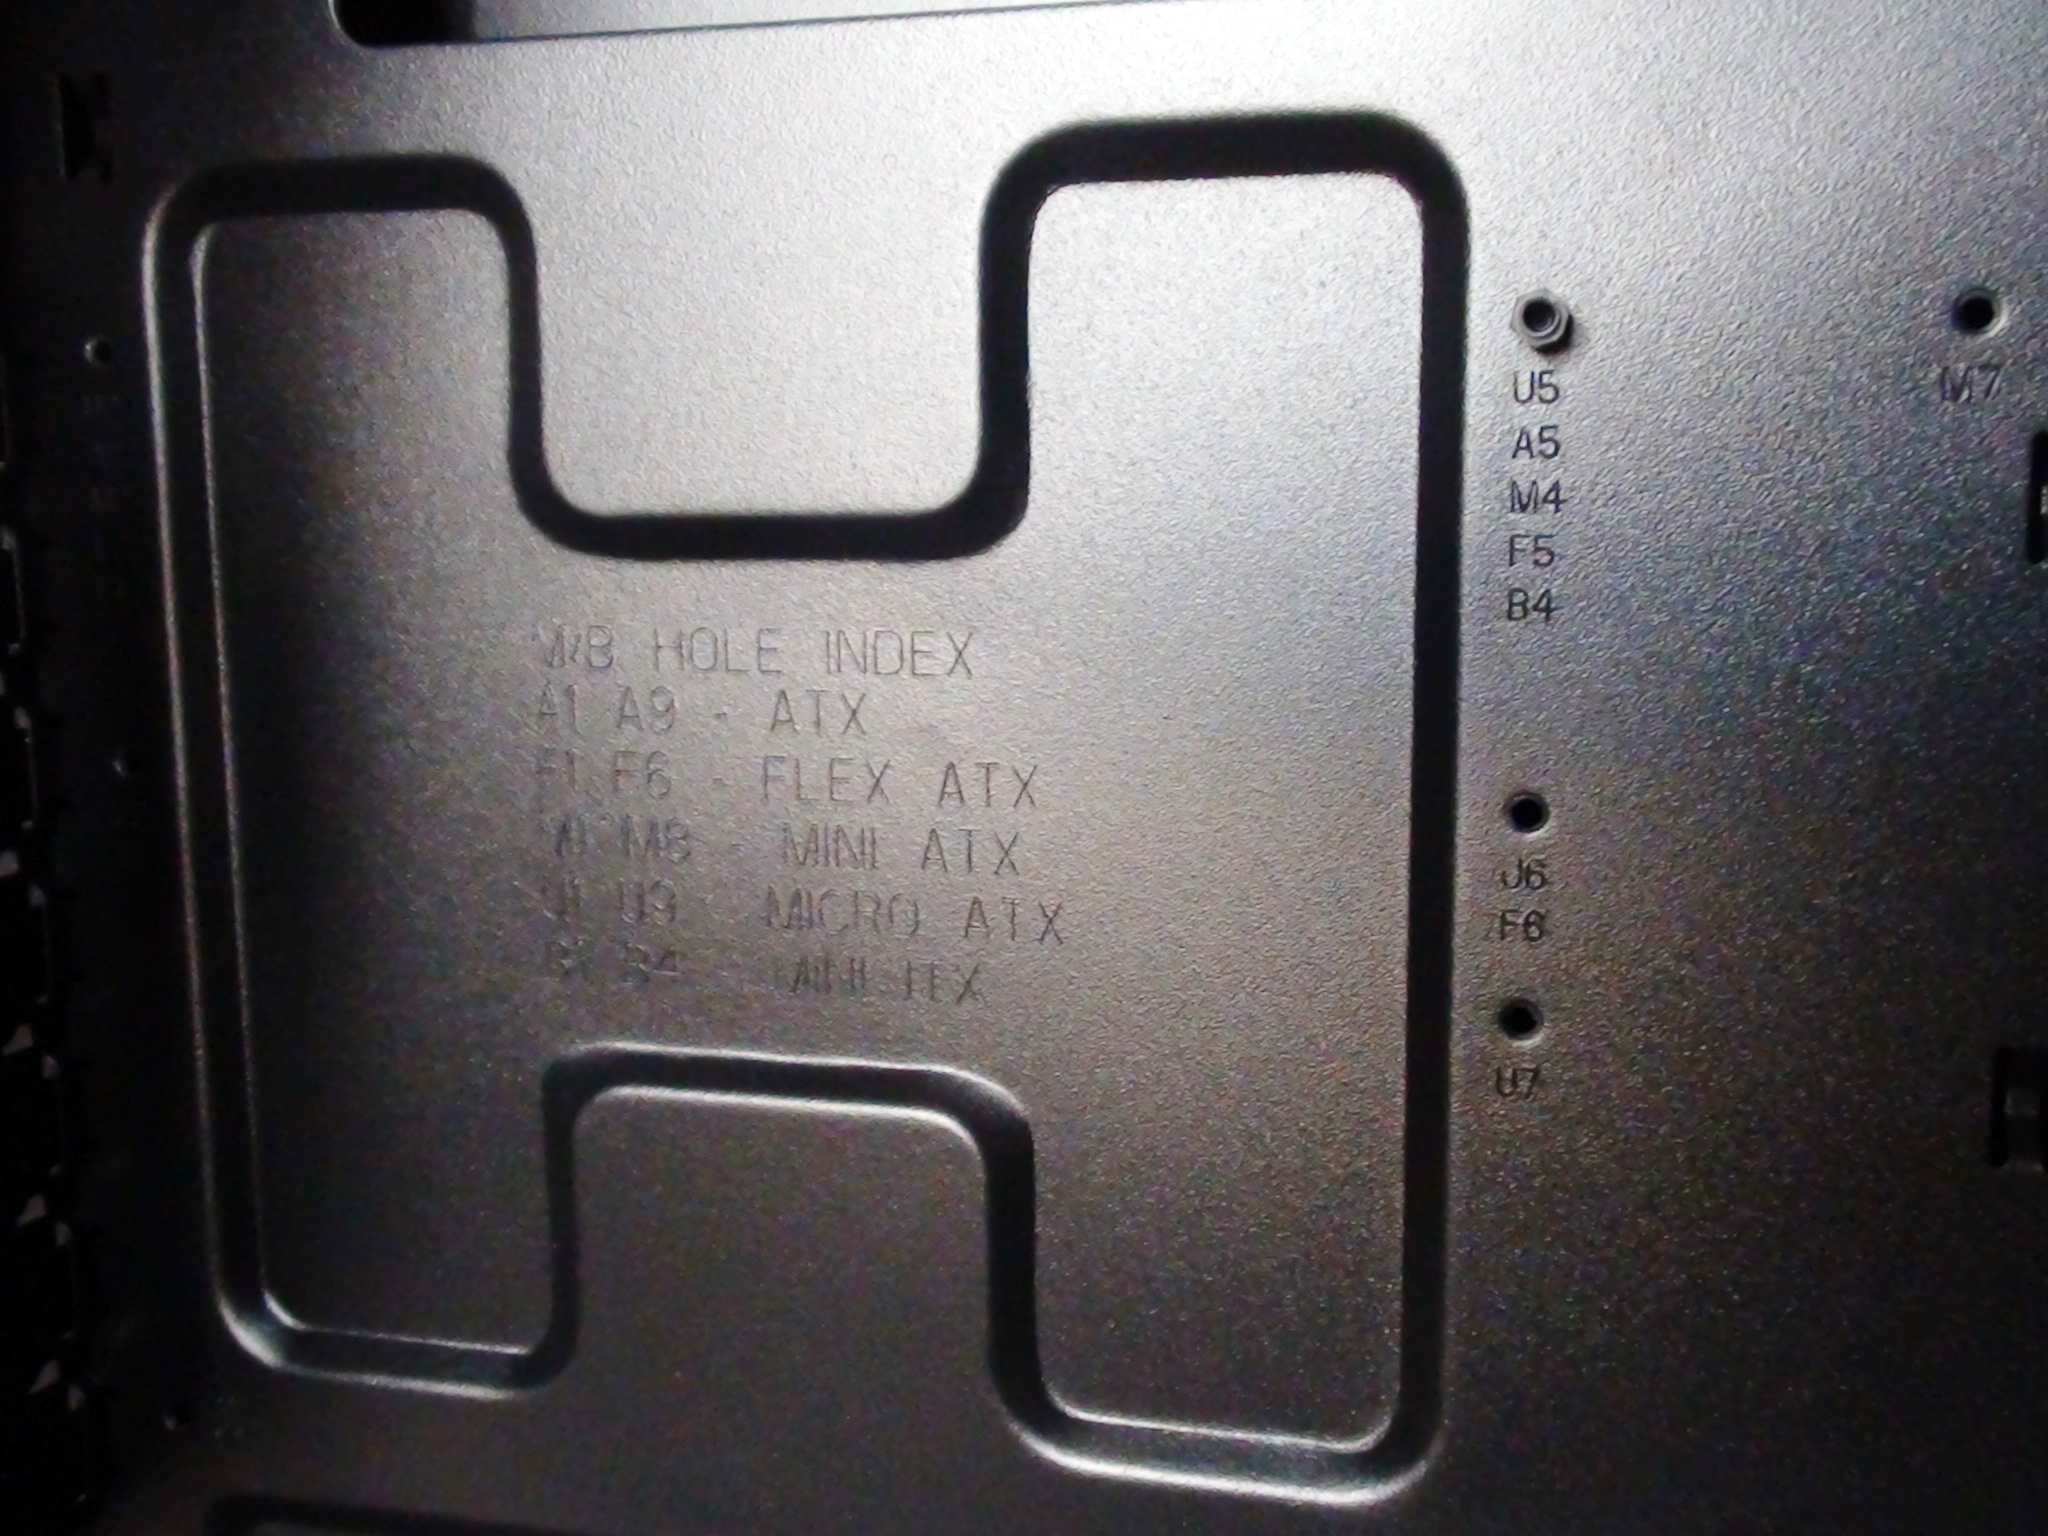
Moving on to the motherboard area, we see the different types of ATX form-factors the Shinobi utilizes:
I would like to make a quick note about the motherboard installation region of the case. Between the ends of the PCI-E expansions to the start of the 3.5 bays, there is a distance of 11.5 inches in between. With a GPU installed, that number increases to roughly 13 inches before the video card touches the 3.5 hard-drive cage. Depending on the size of the video card, one could potentially reach up to 17 inches, but would have to give up a 3.5 drive bay, or two. Now that is a ton of room for clearance.
There is a fairly large cut-out present for installing a CPU heatsink. Keep in mind that the motherboard tray cannot be removed:

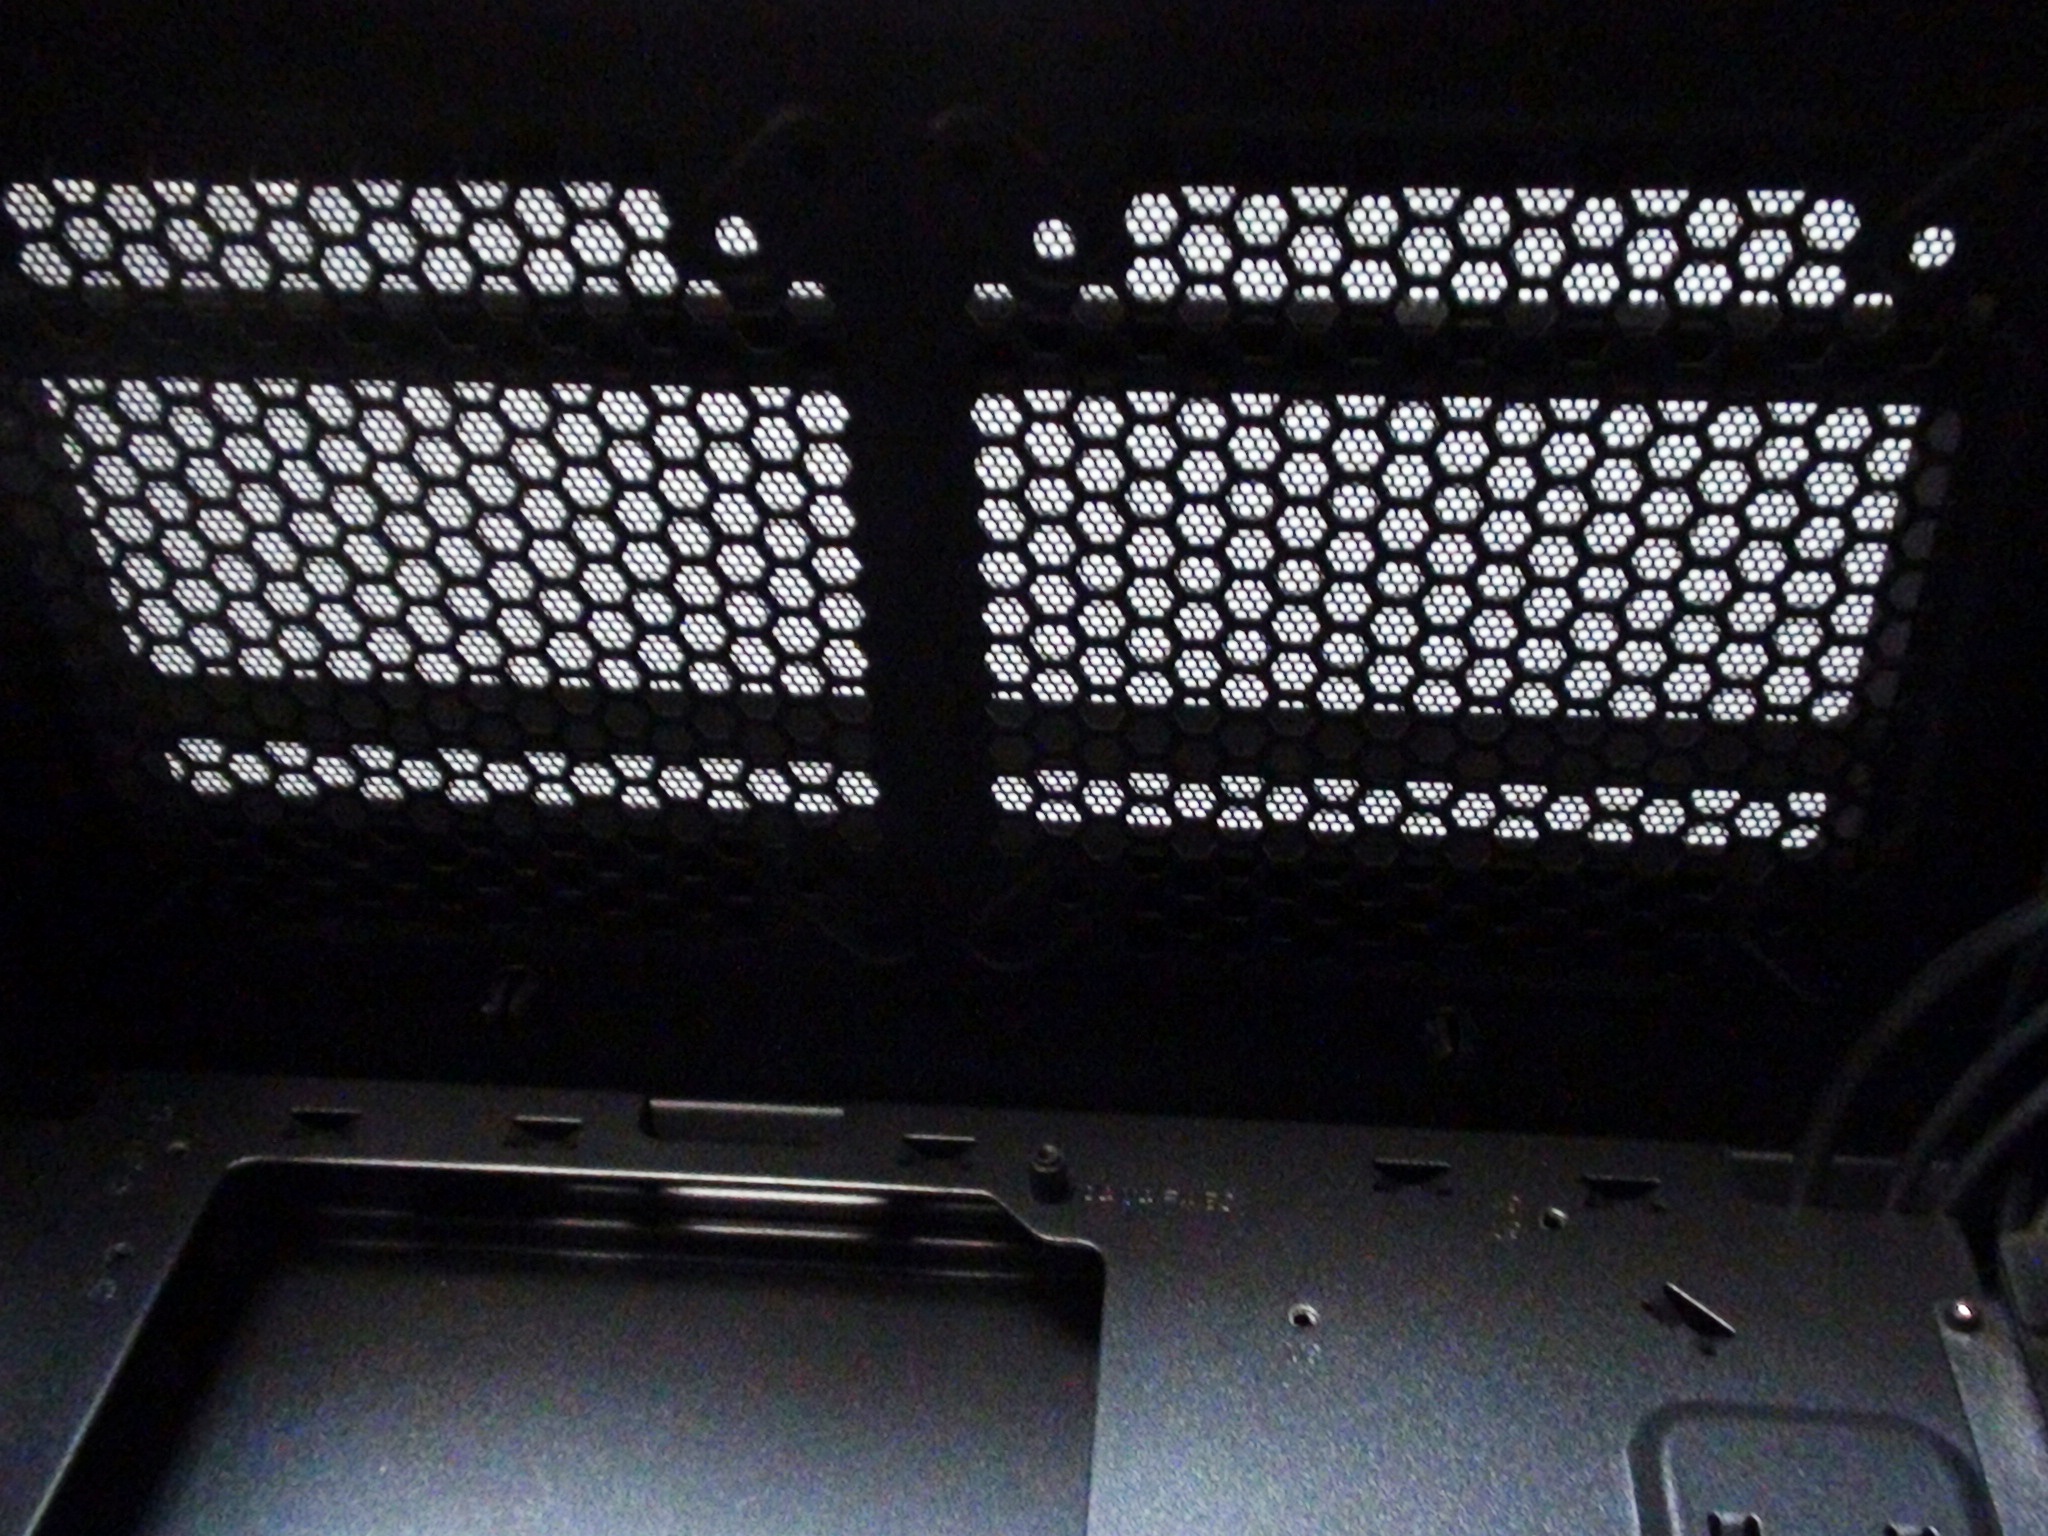
Above, we can see aforementioned the fan installation area for the top of the case where air will be pushed up and out of the Shinobi:
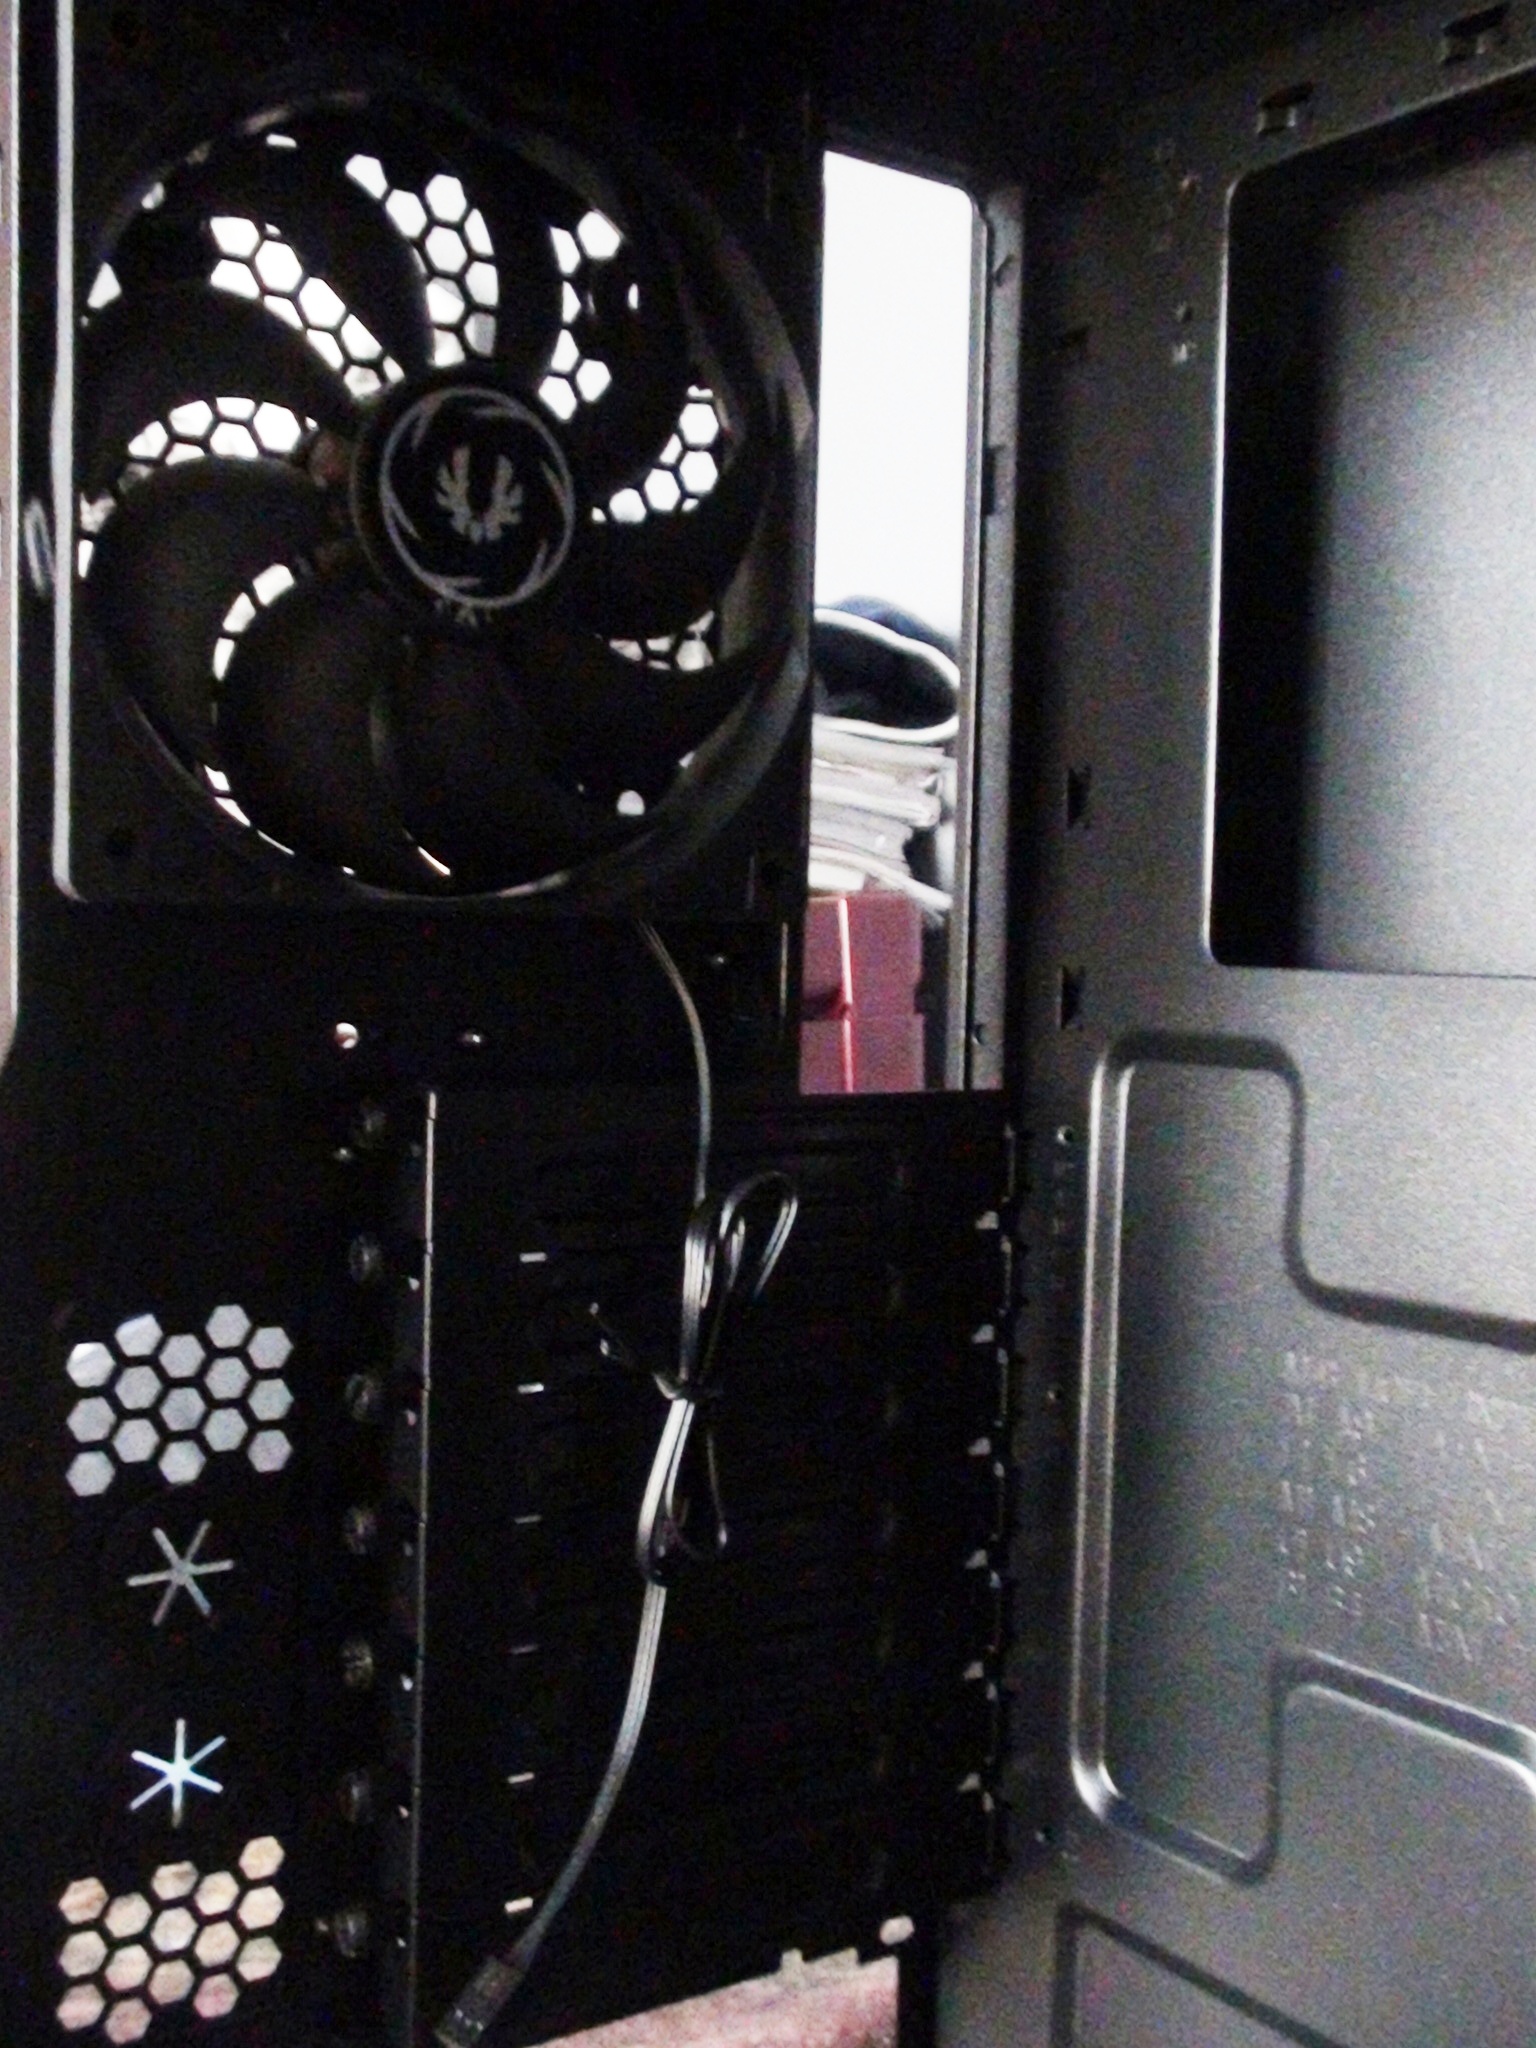
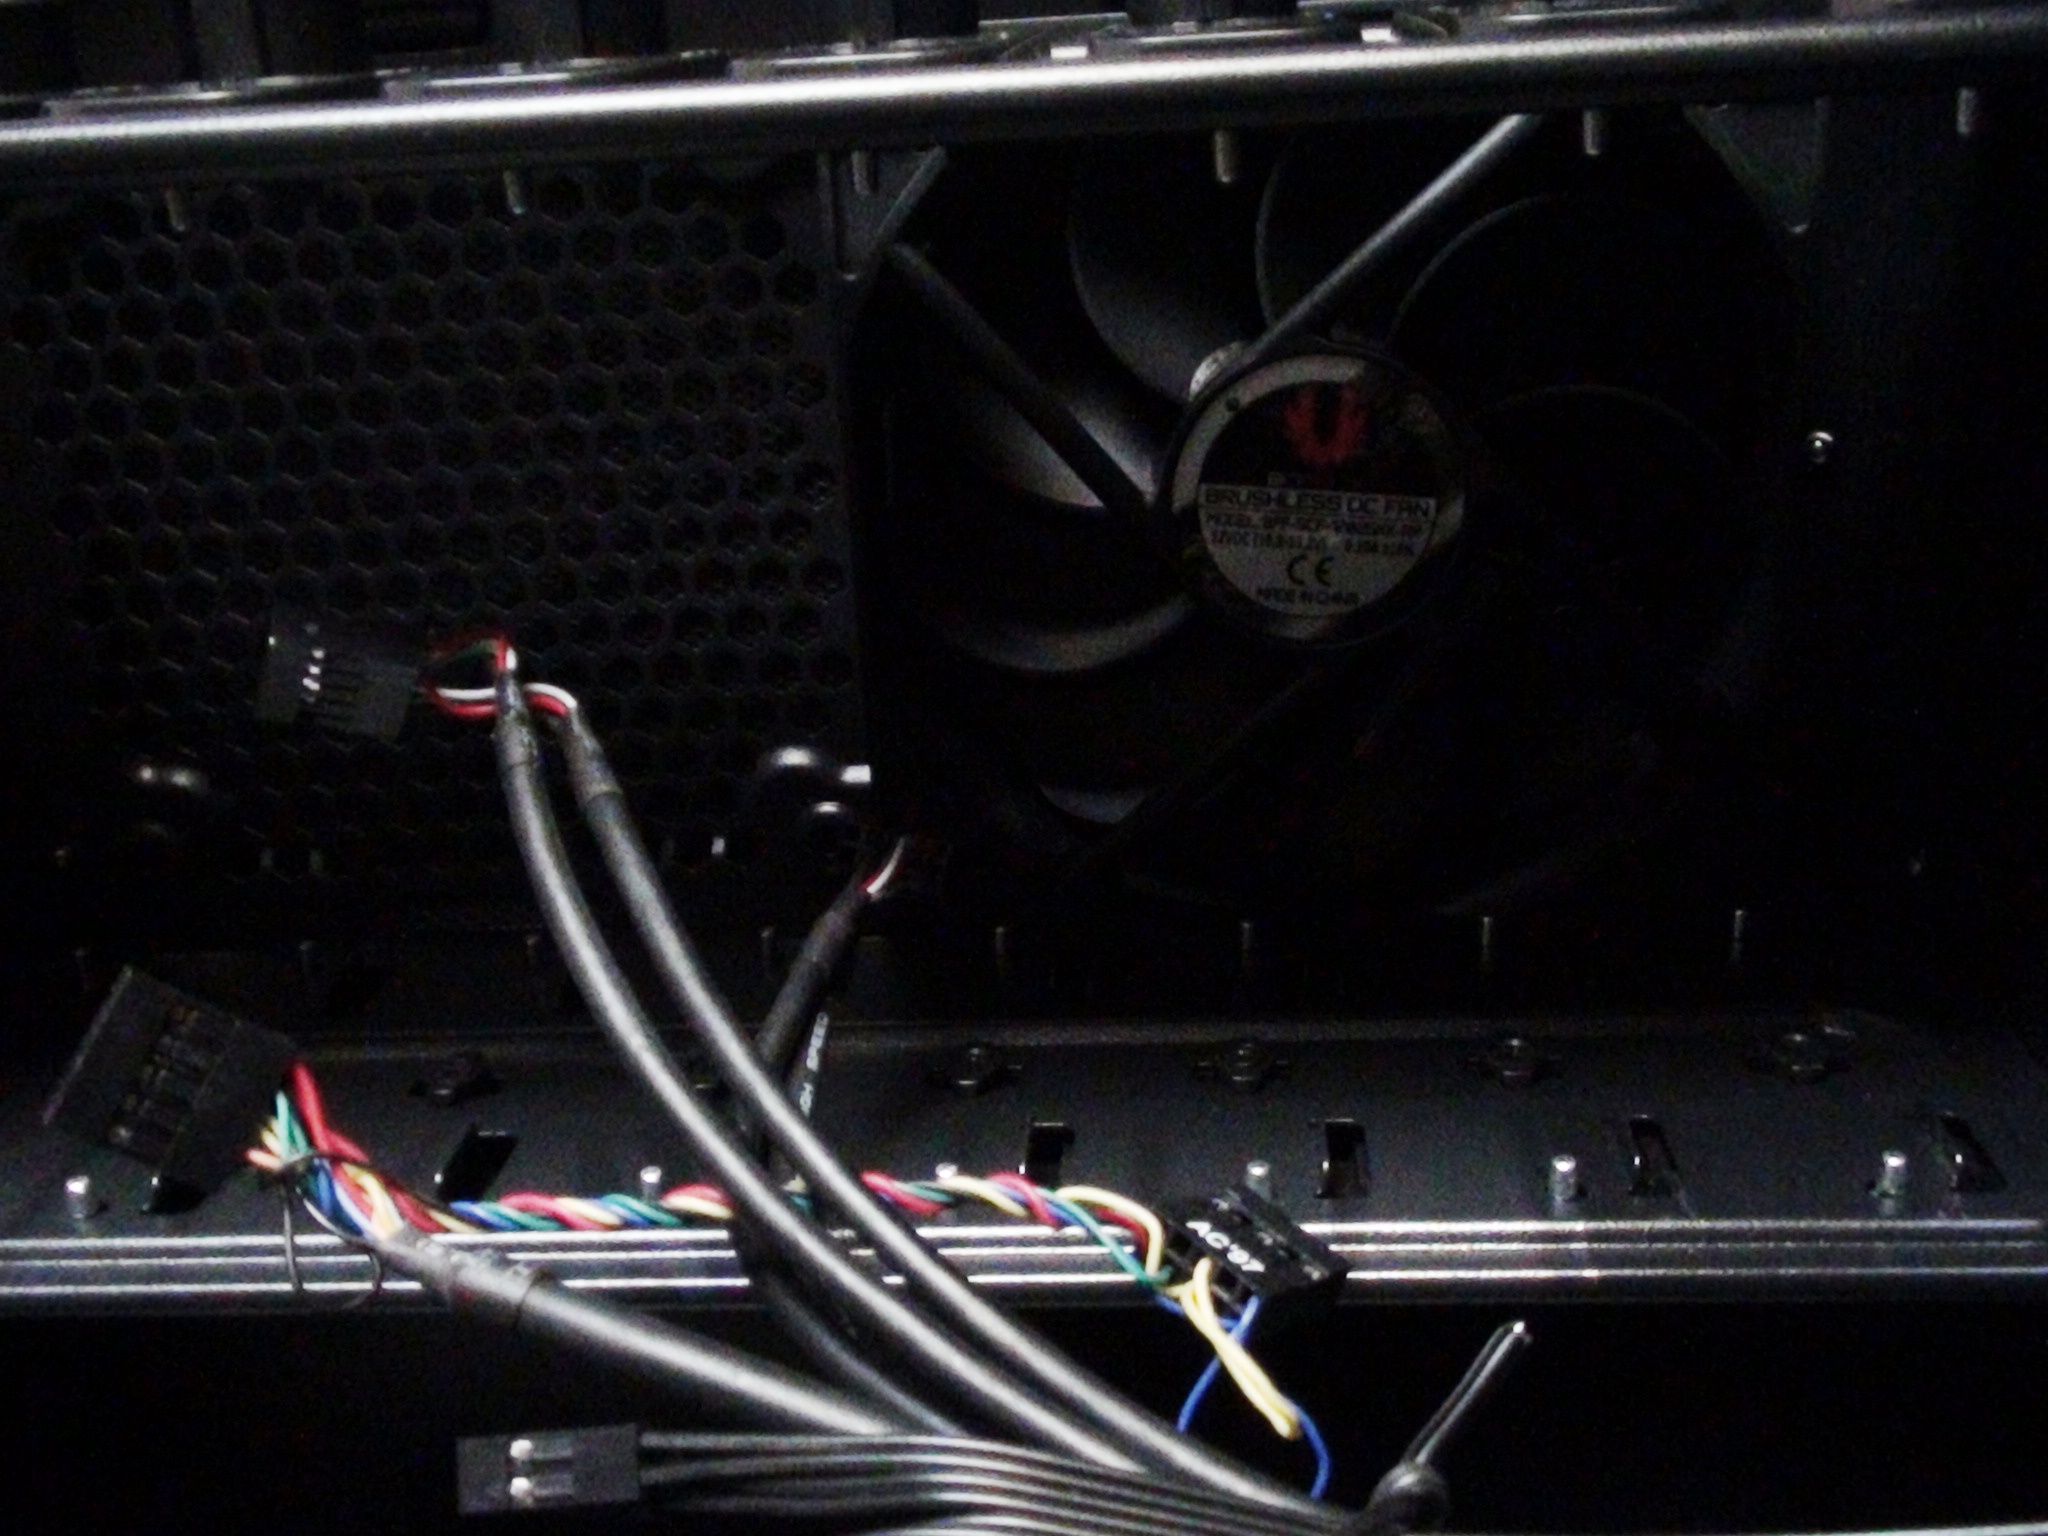
Looking at the back of the case from the inside, with a shot of the rear 120mm fan that blows hot air outside of the chassis:
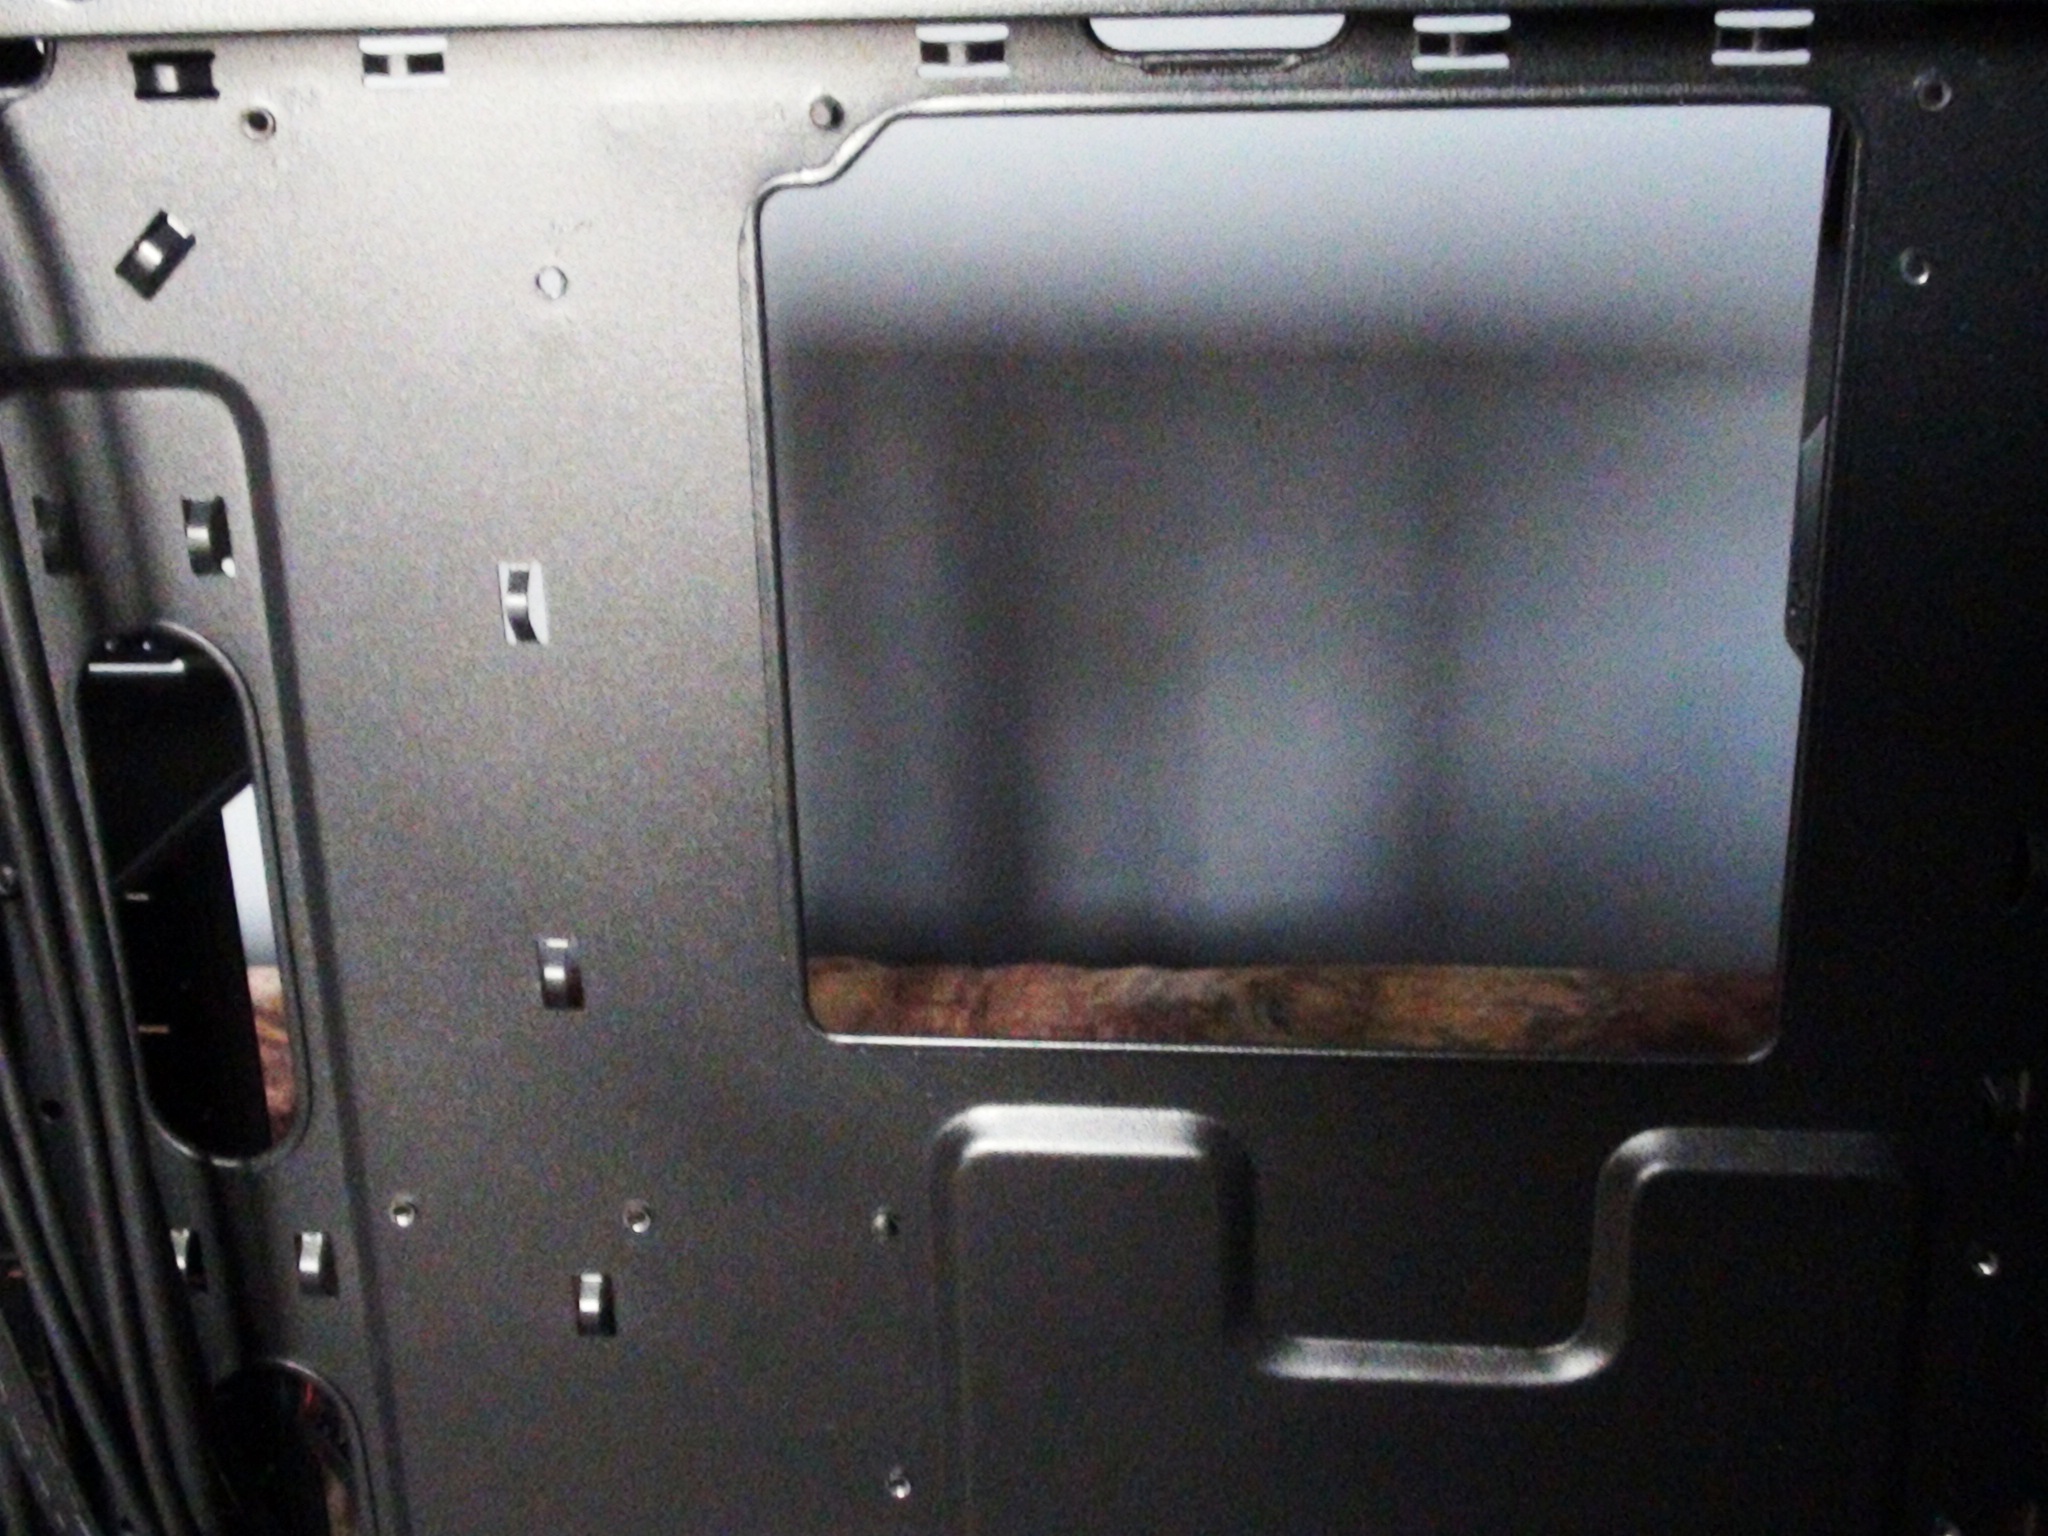
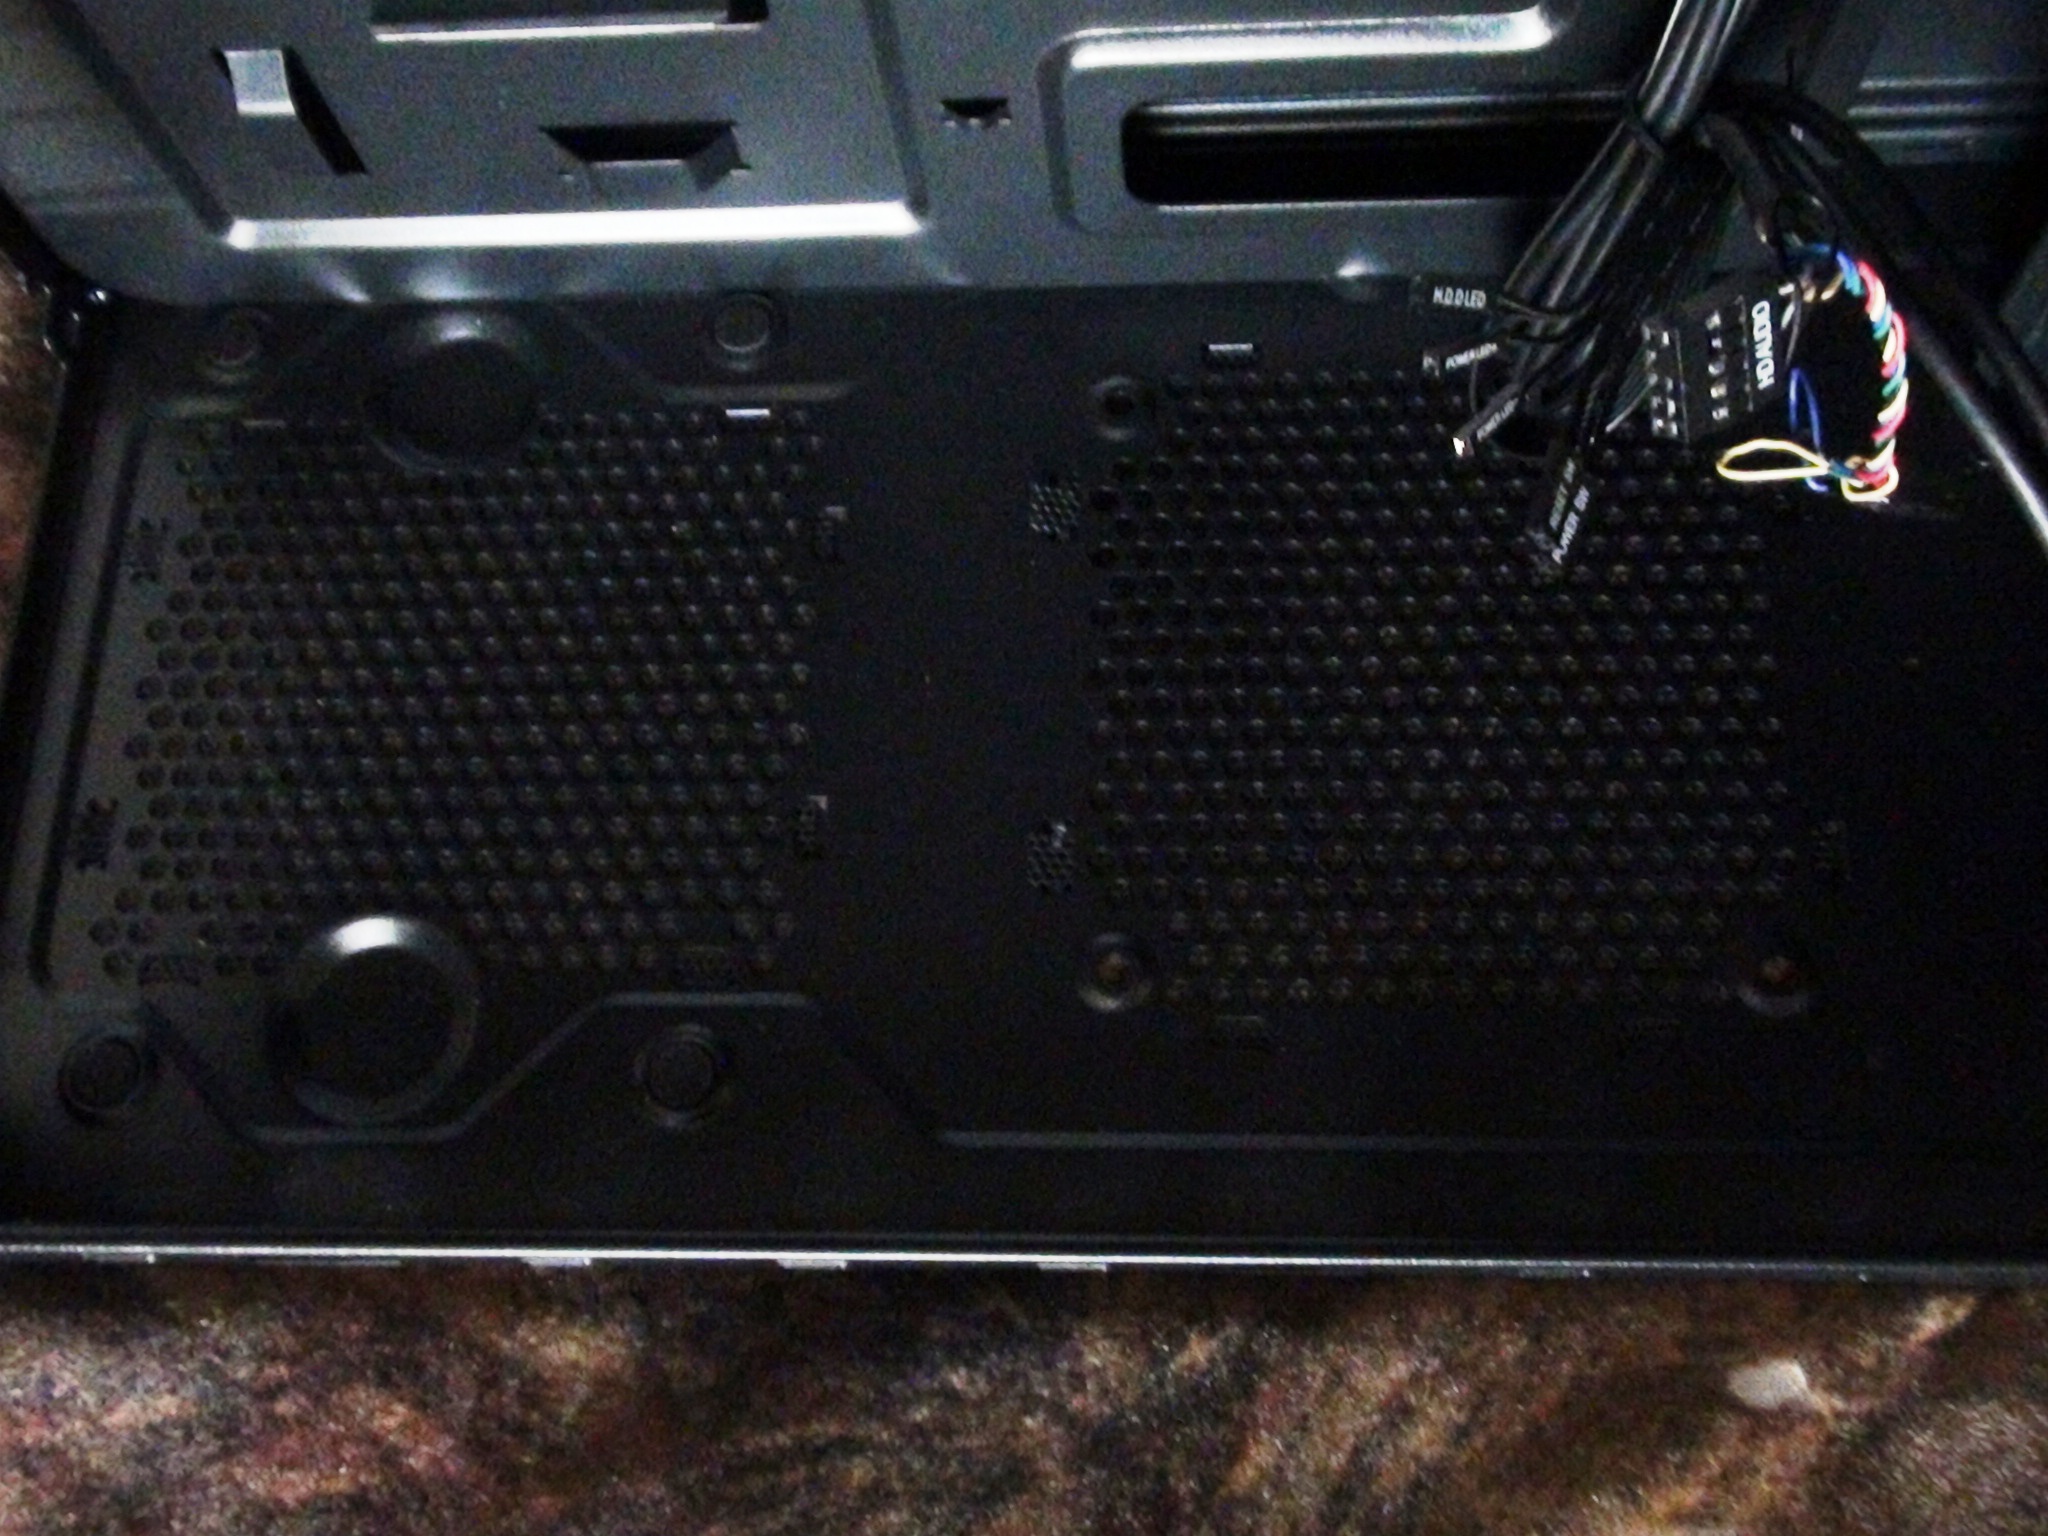
Below this we have the PSU installation area:
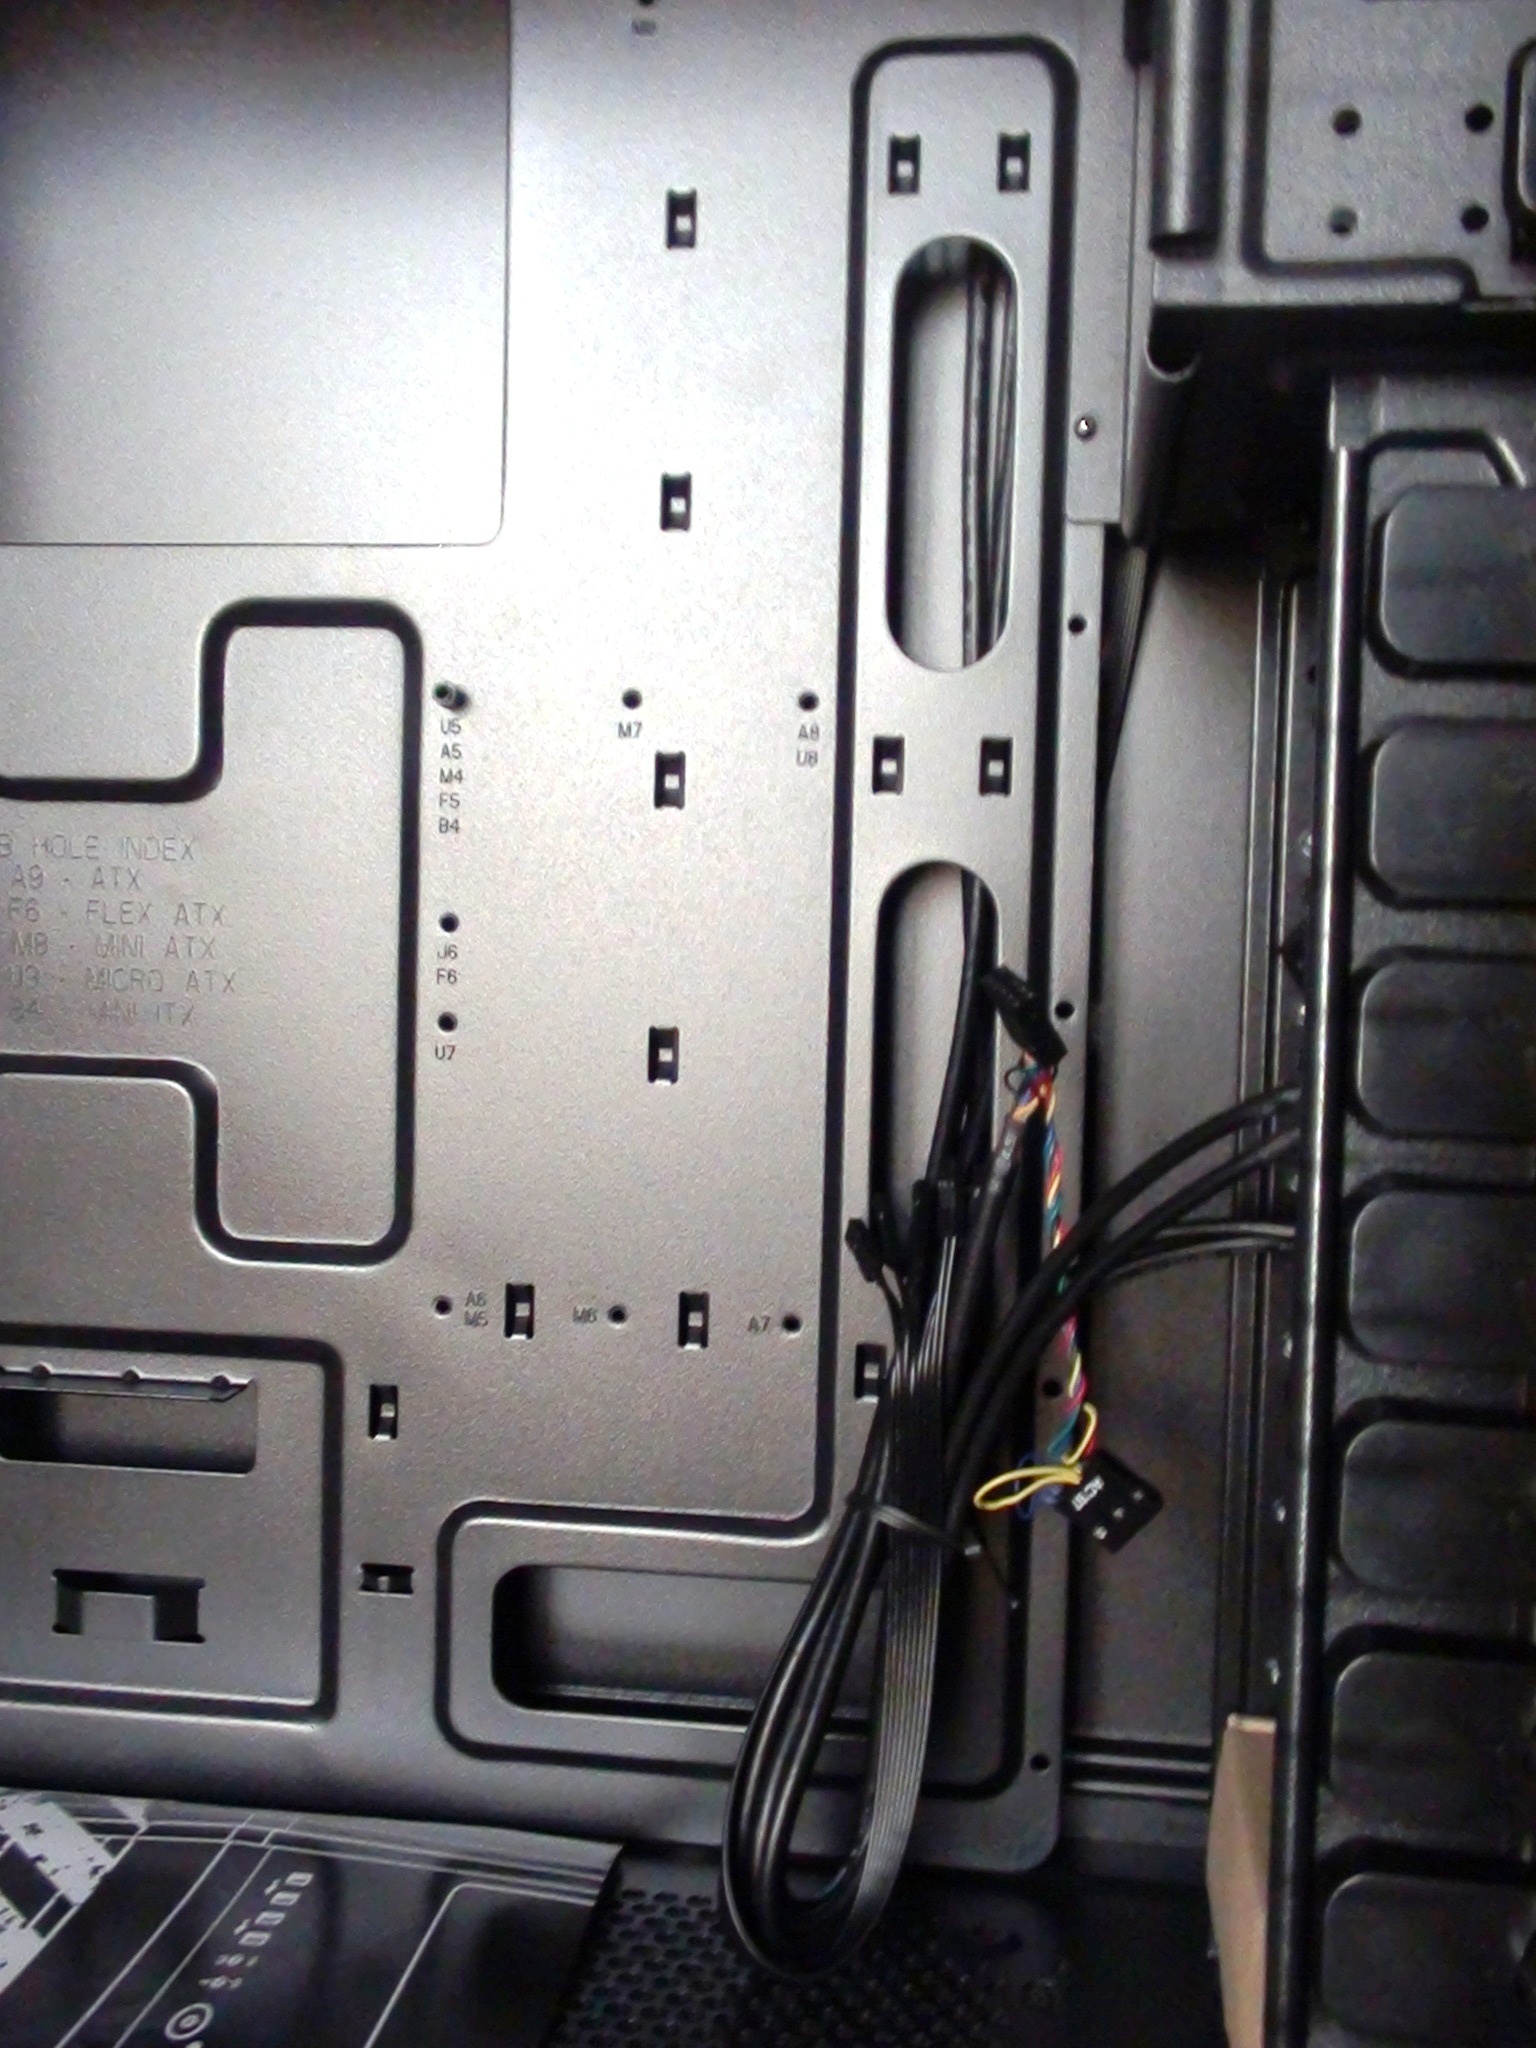
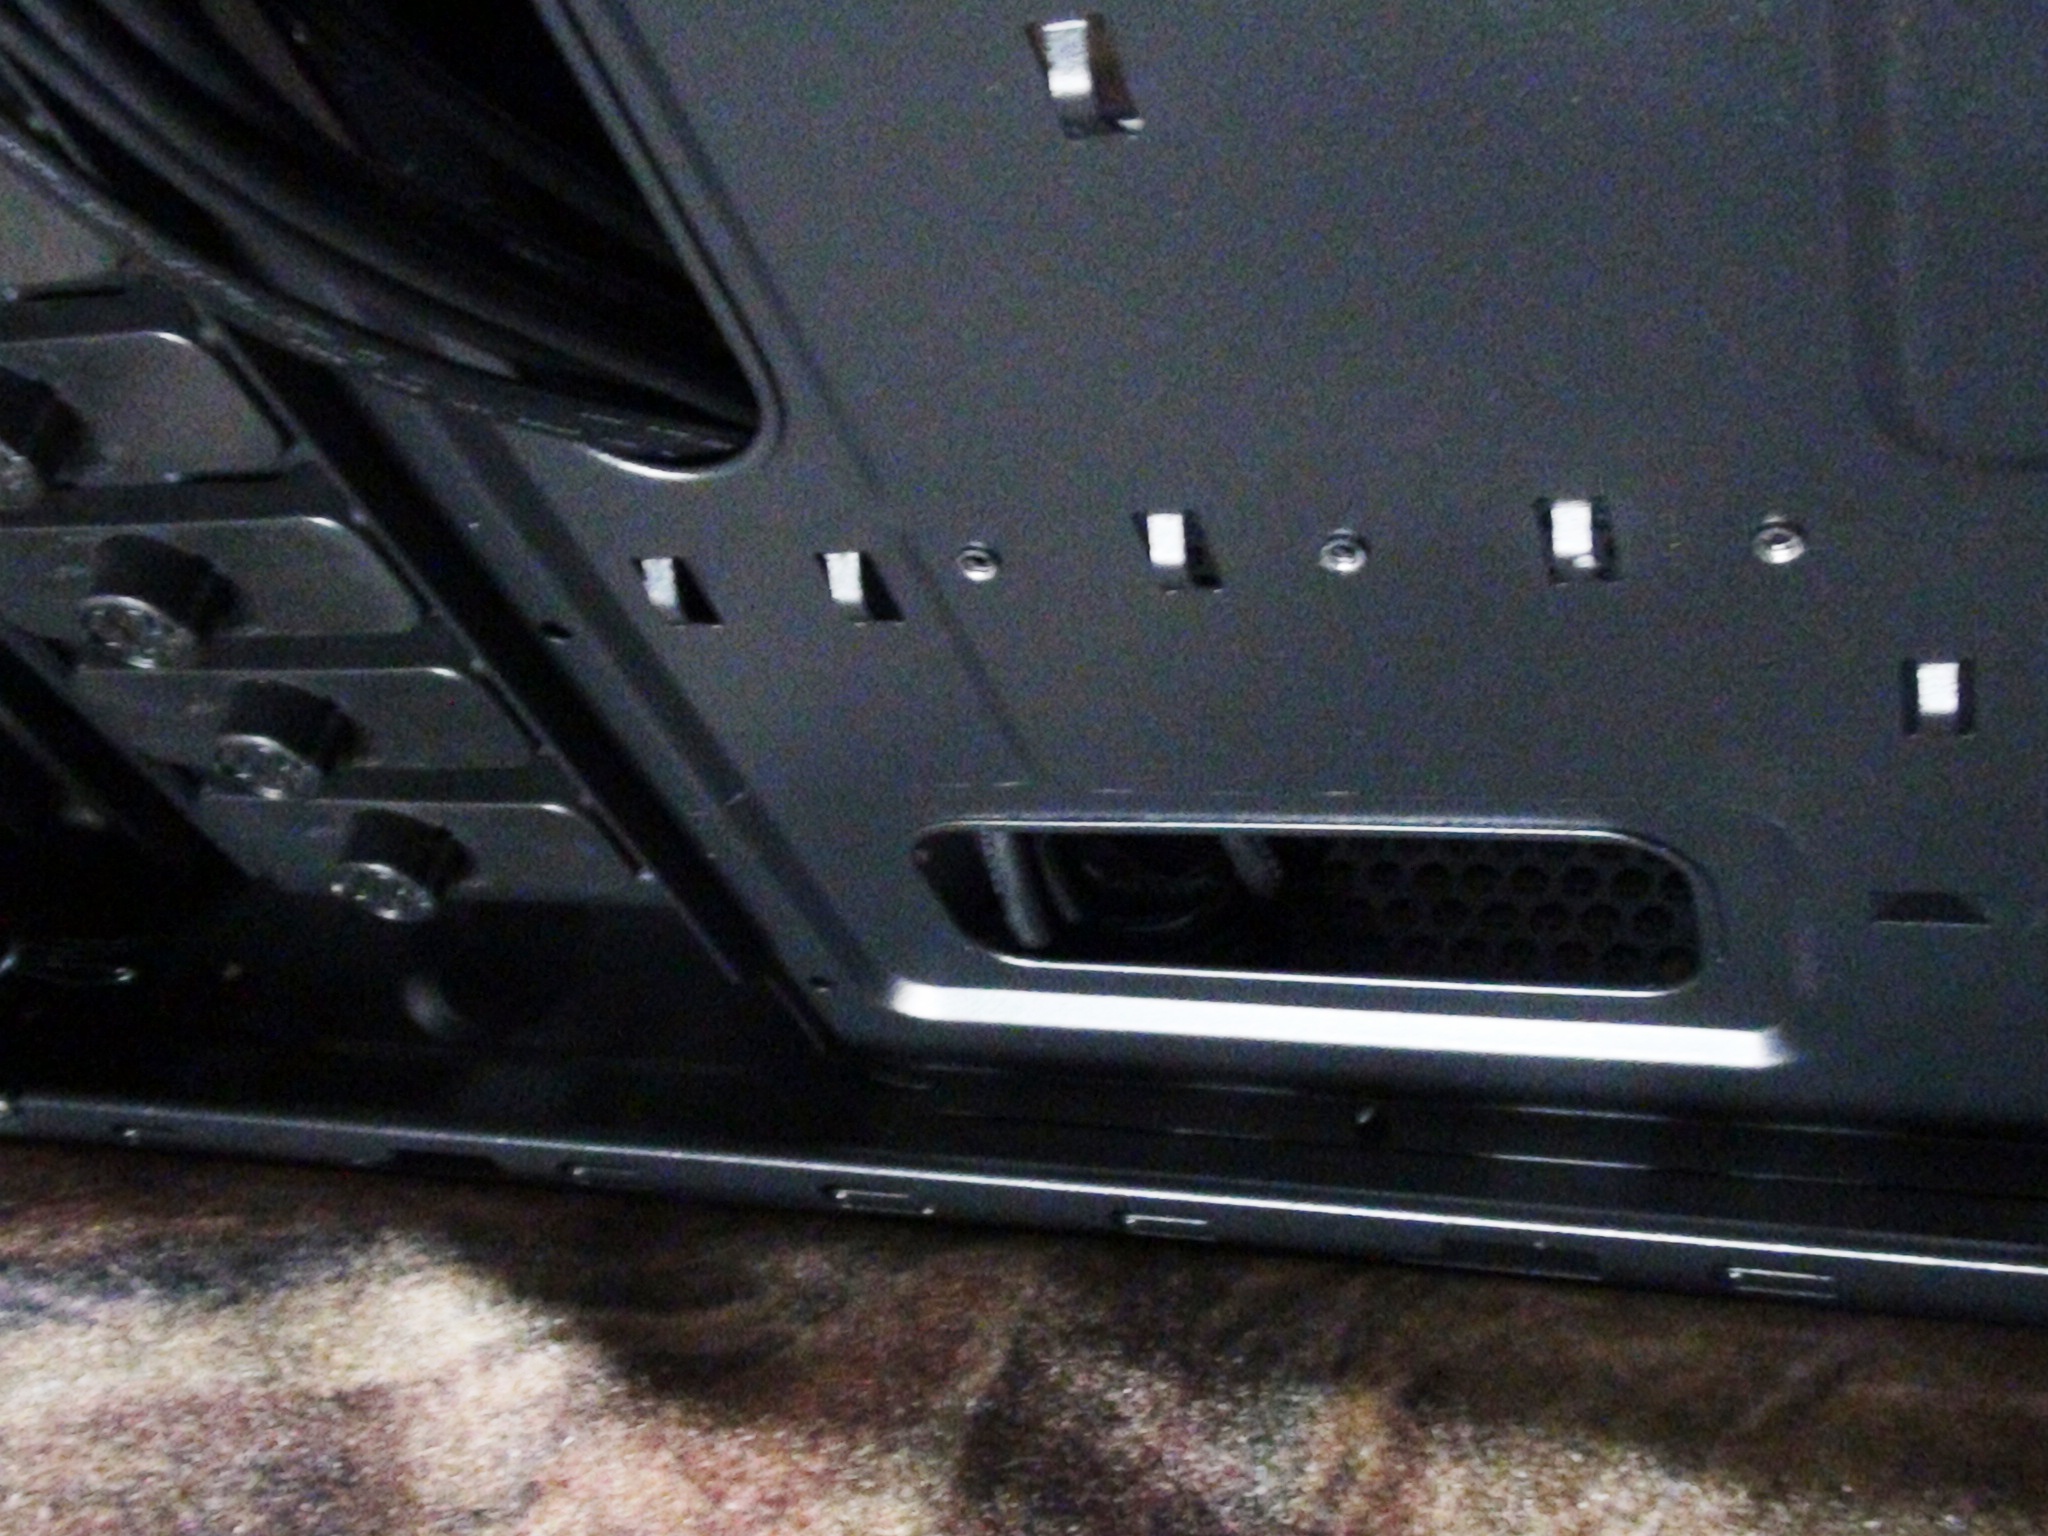
In between the motherboard area and the expansion bays we can see the cable management routes and cut-outs, with enough room to fit even the largest of wires and providing excellent airflow:
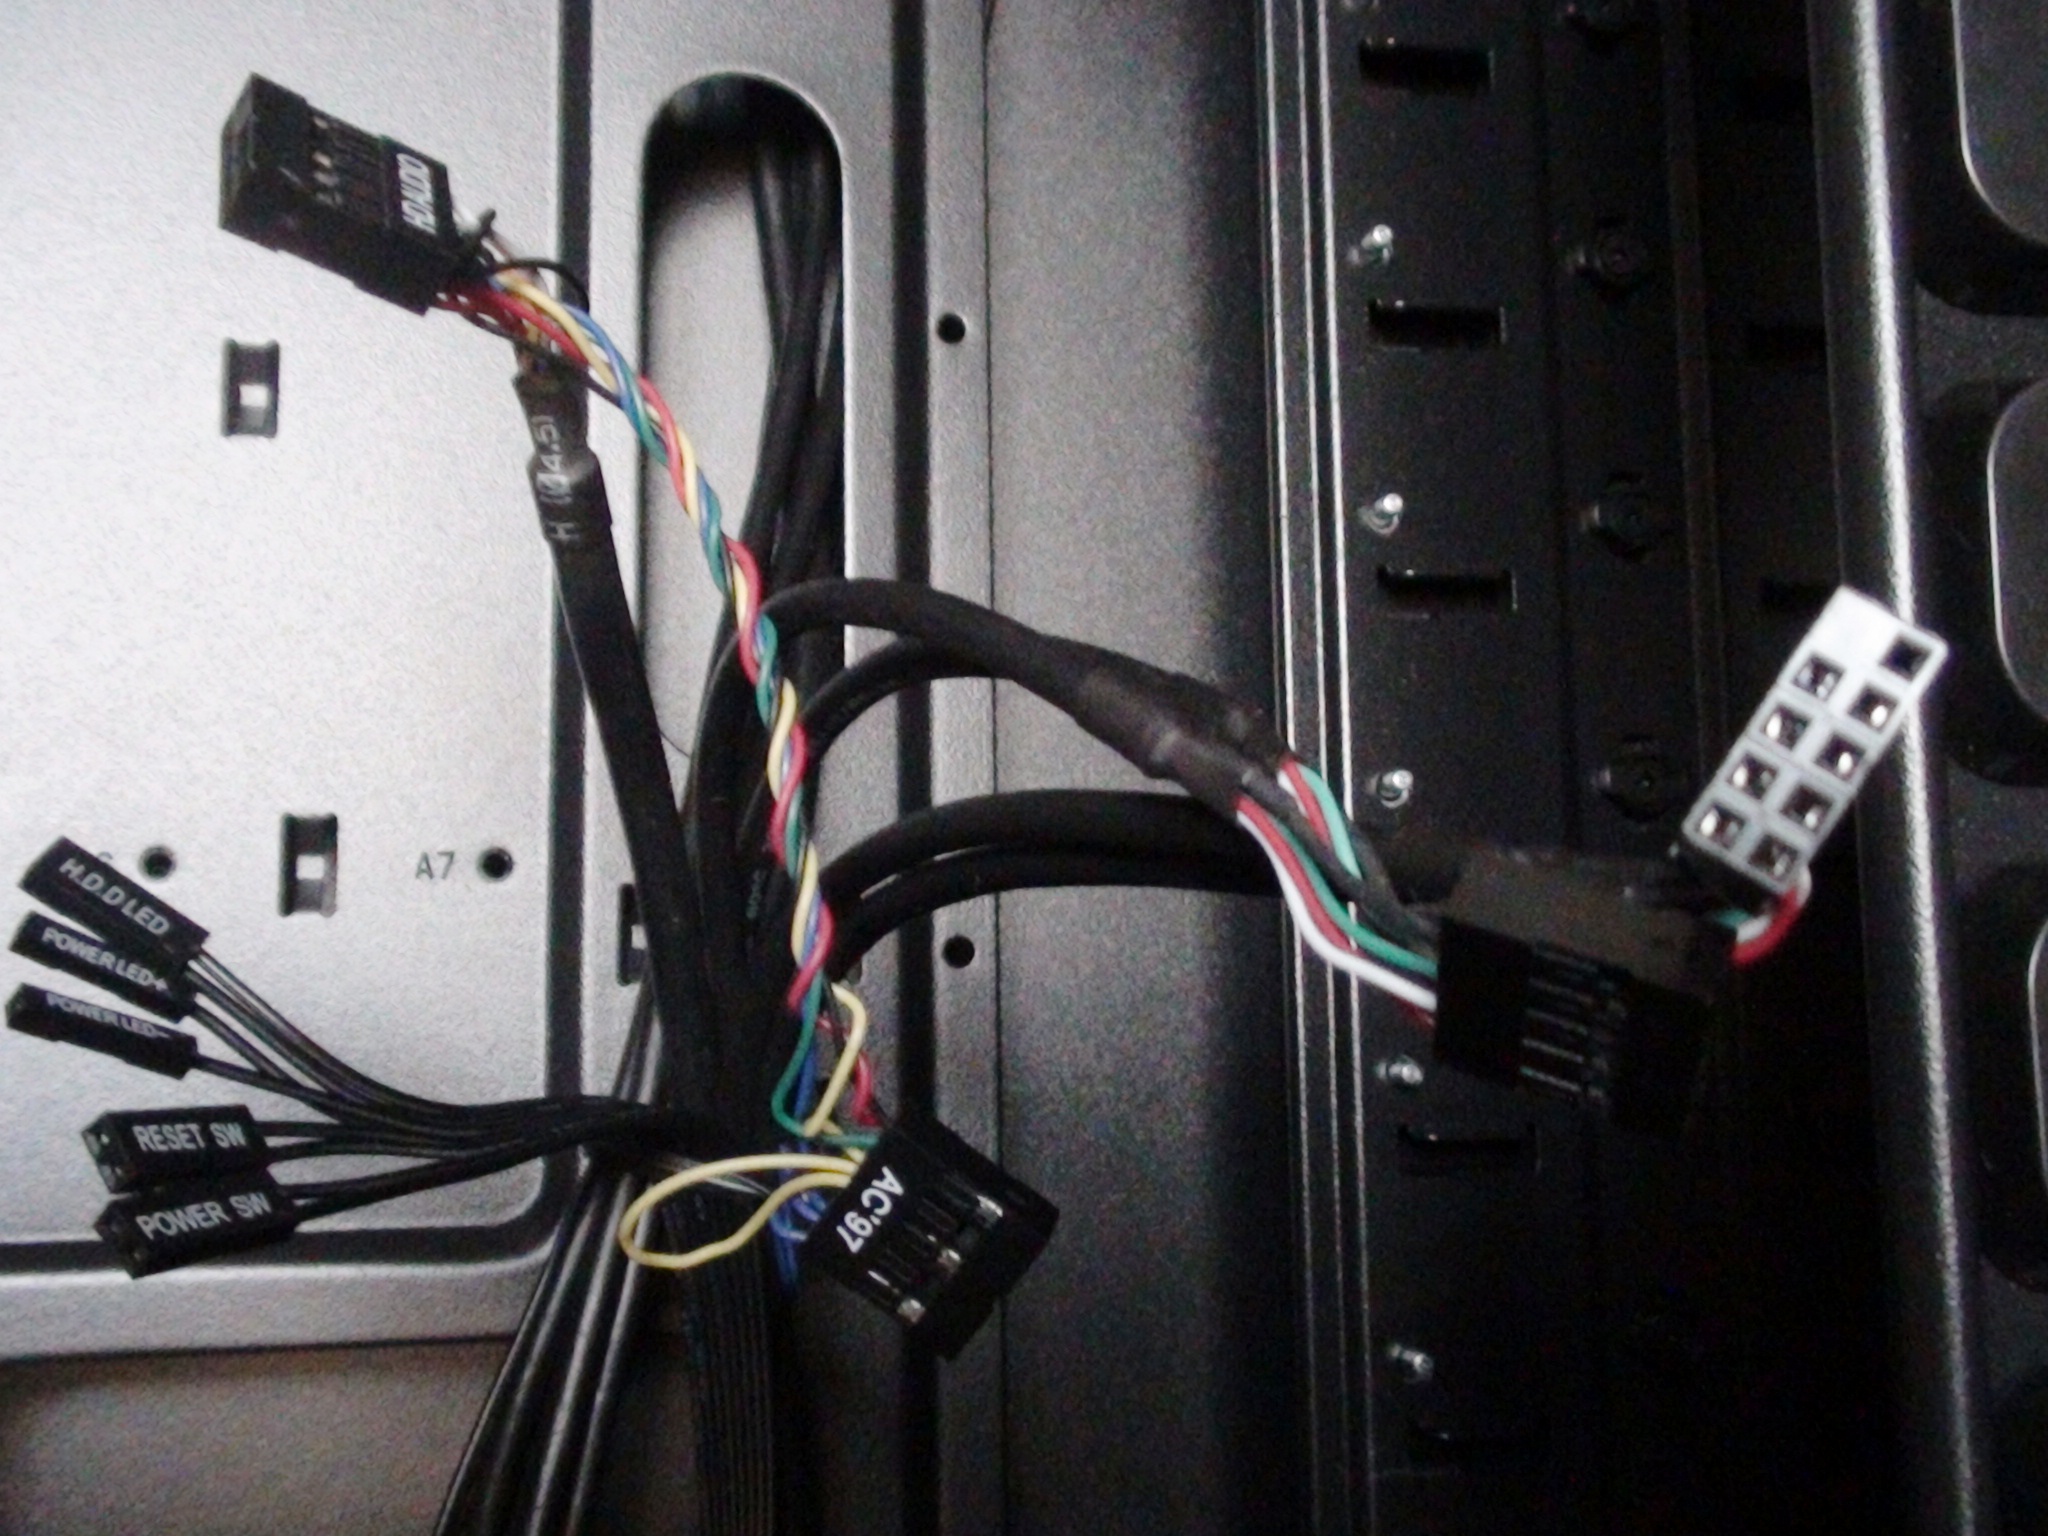
You have your standard motherboard headers for the front panel, as well as a shot of the front 120mm fan which blows air into the case:
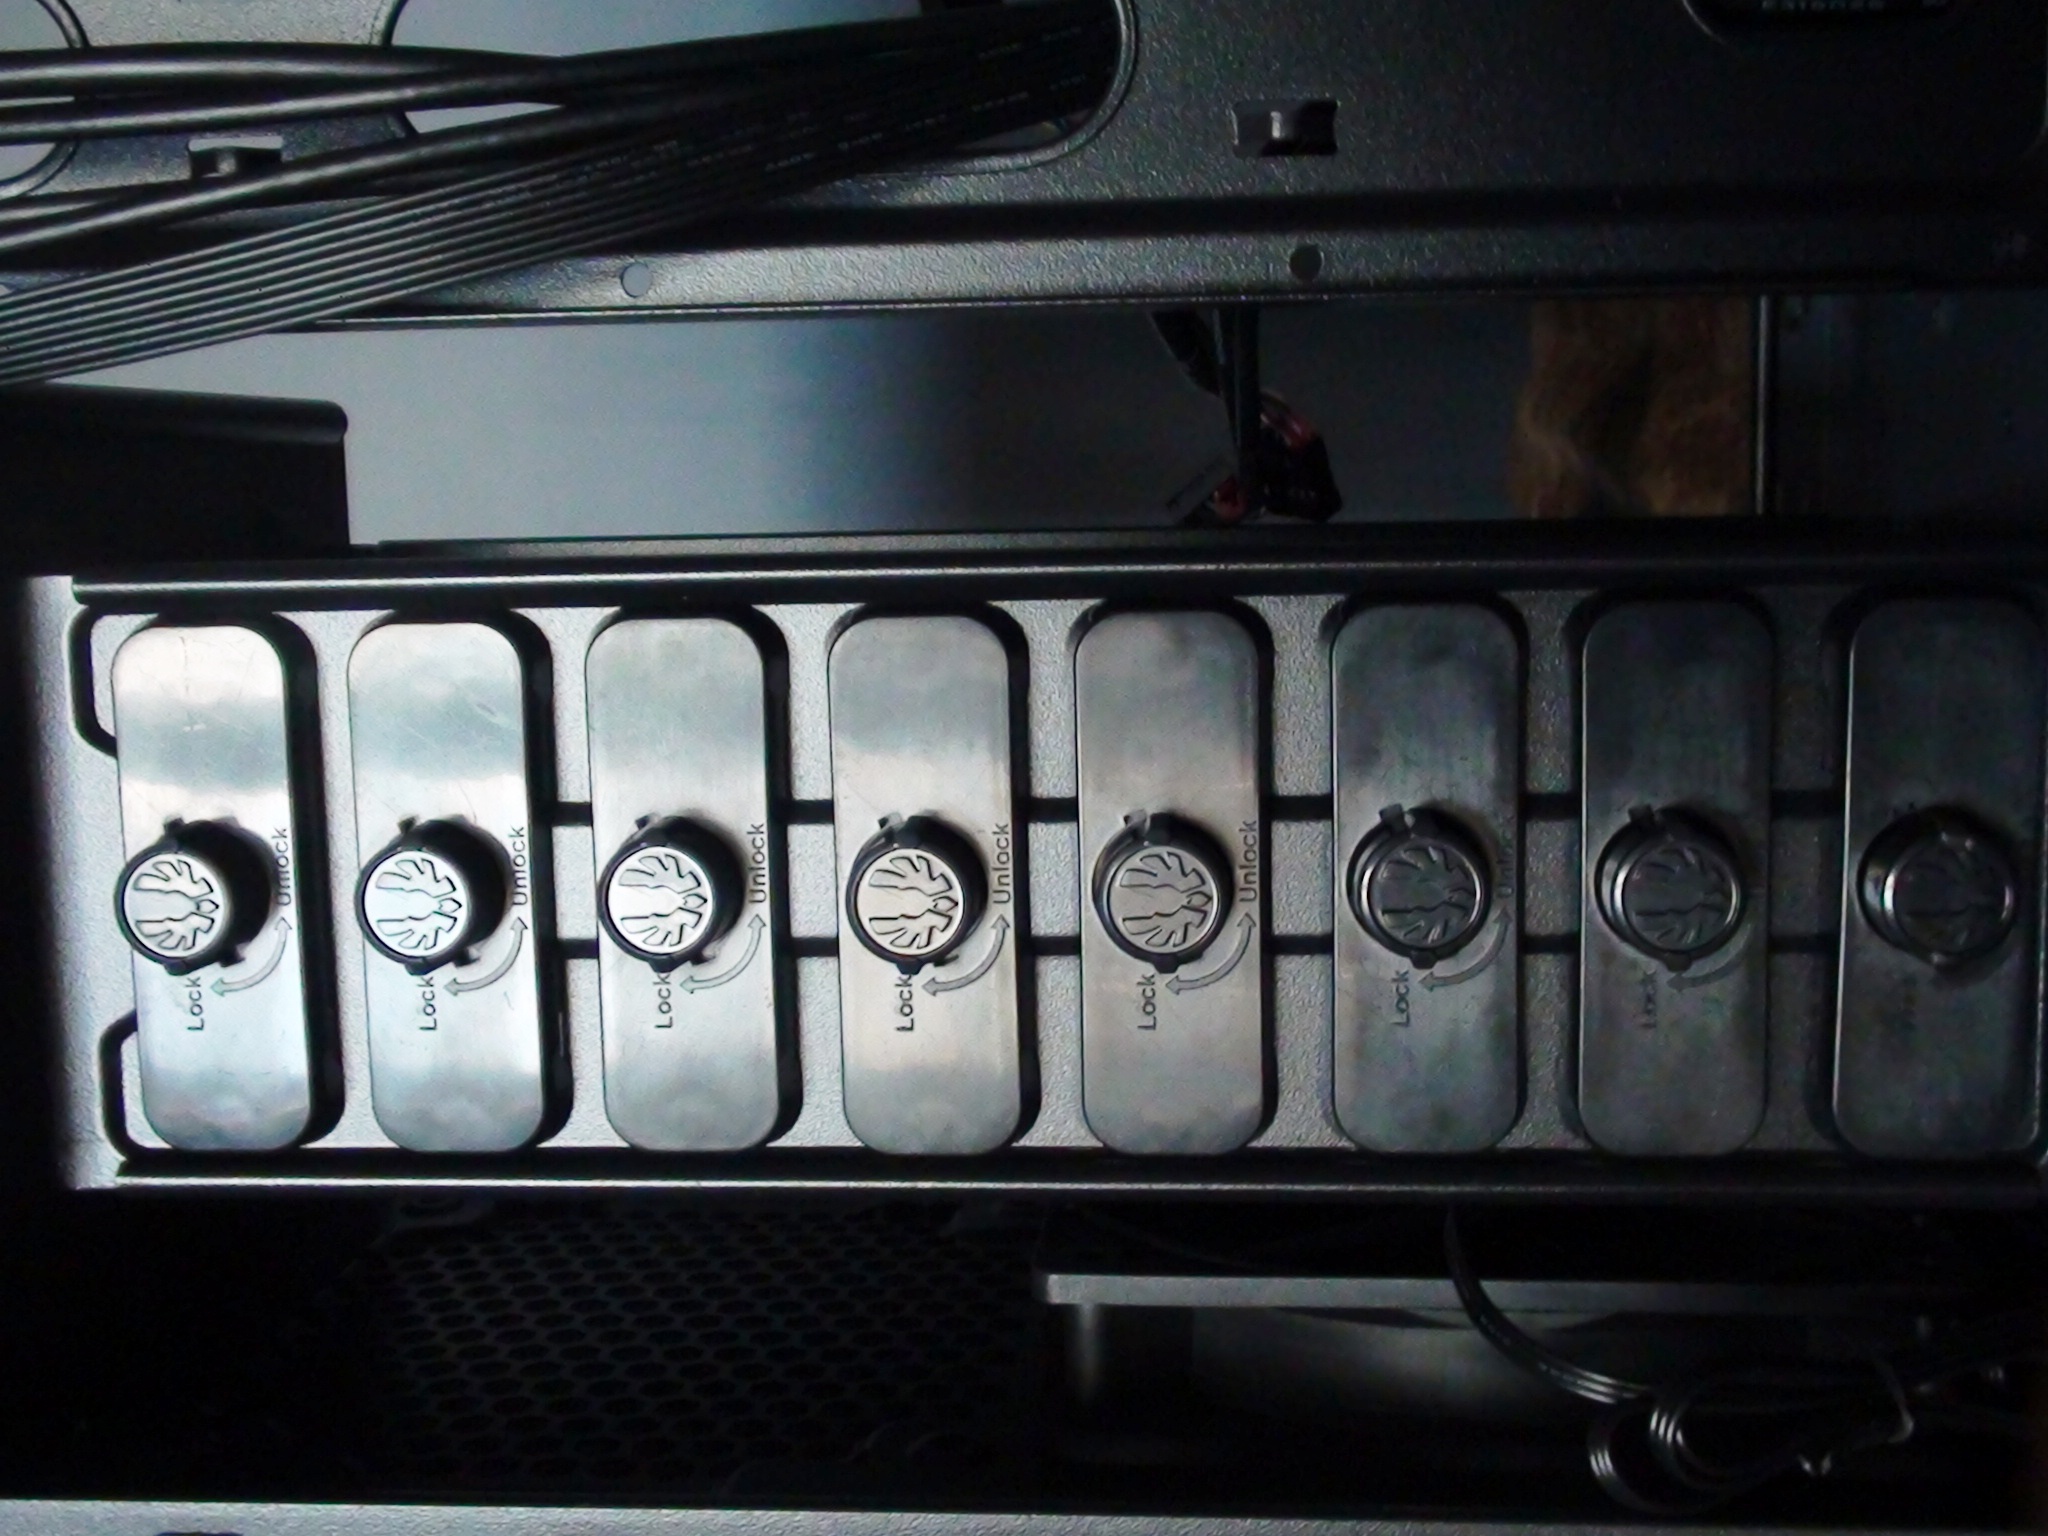
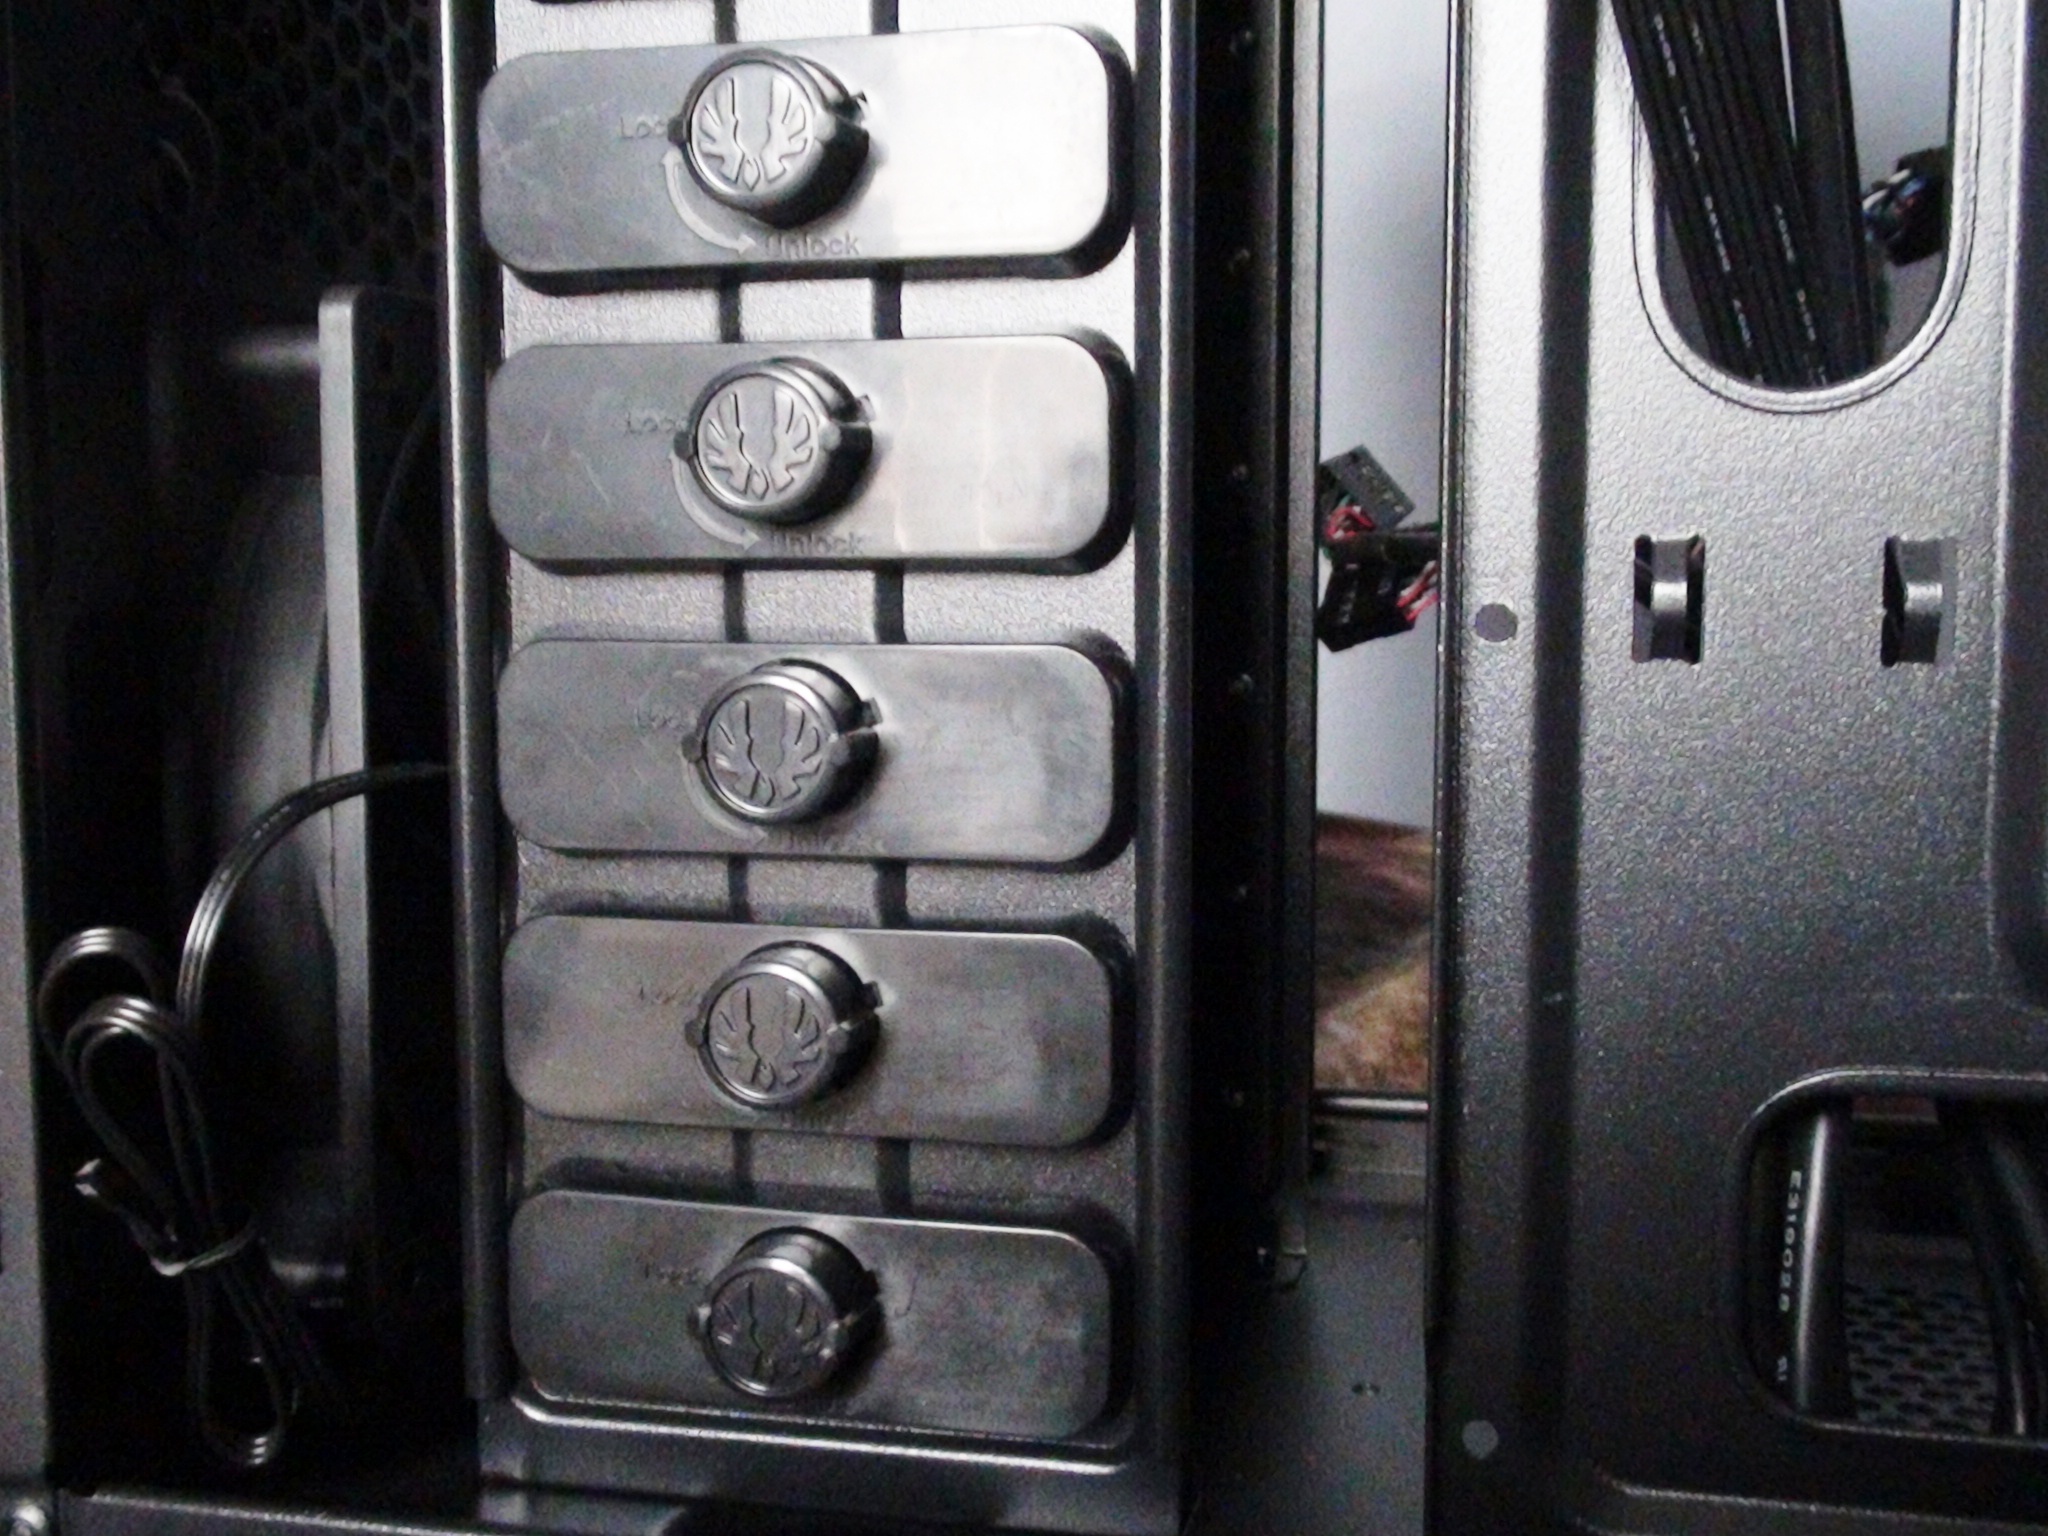
Going to the right hand side, or behind the installation area, there is the second set of latch knobs for the 3.5 expansion bays:
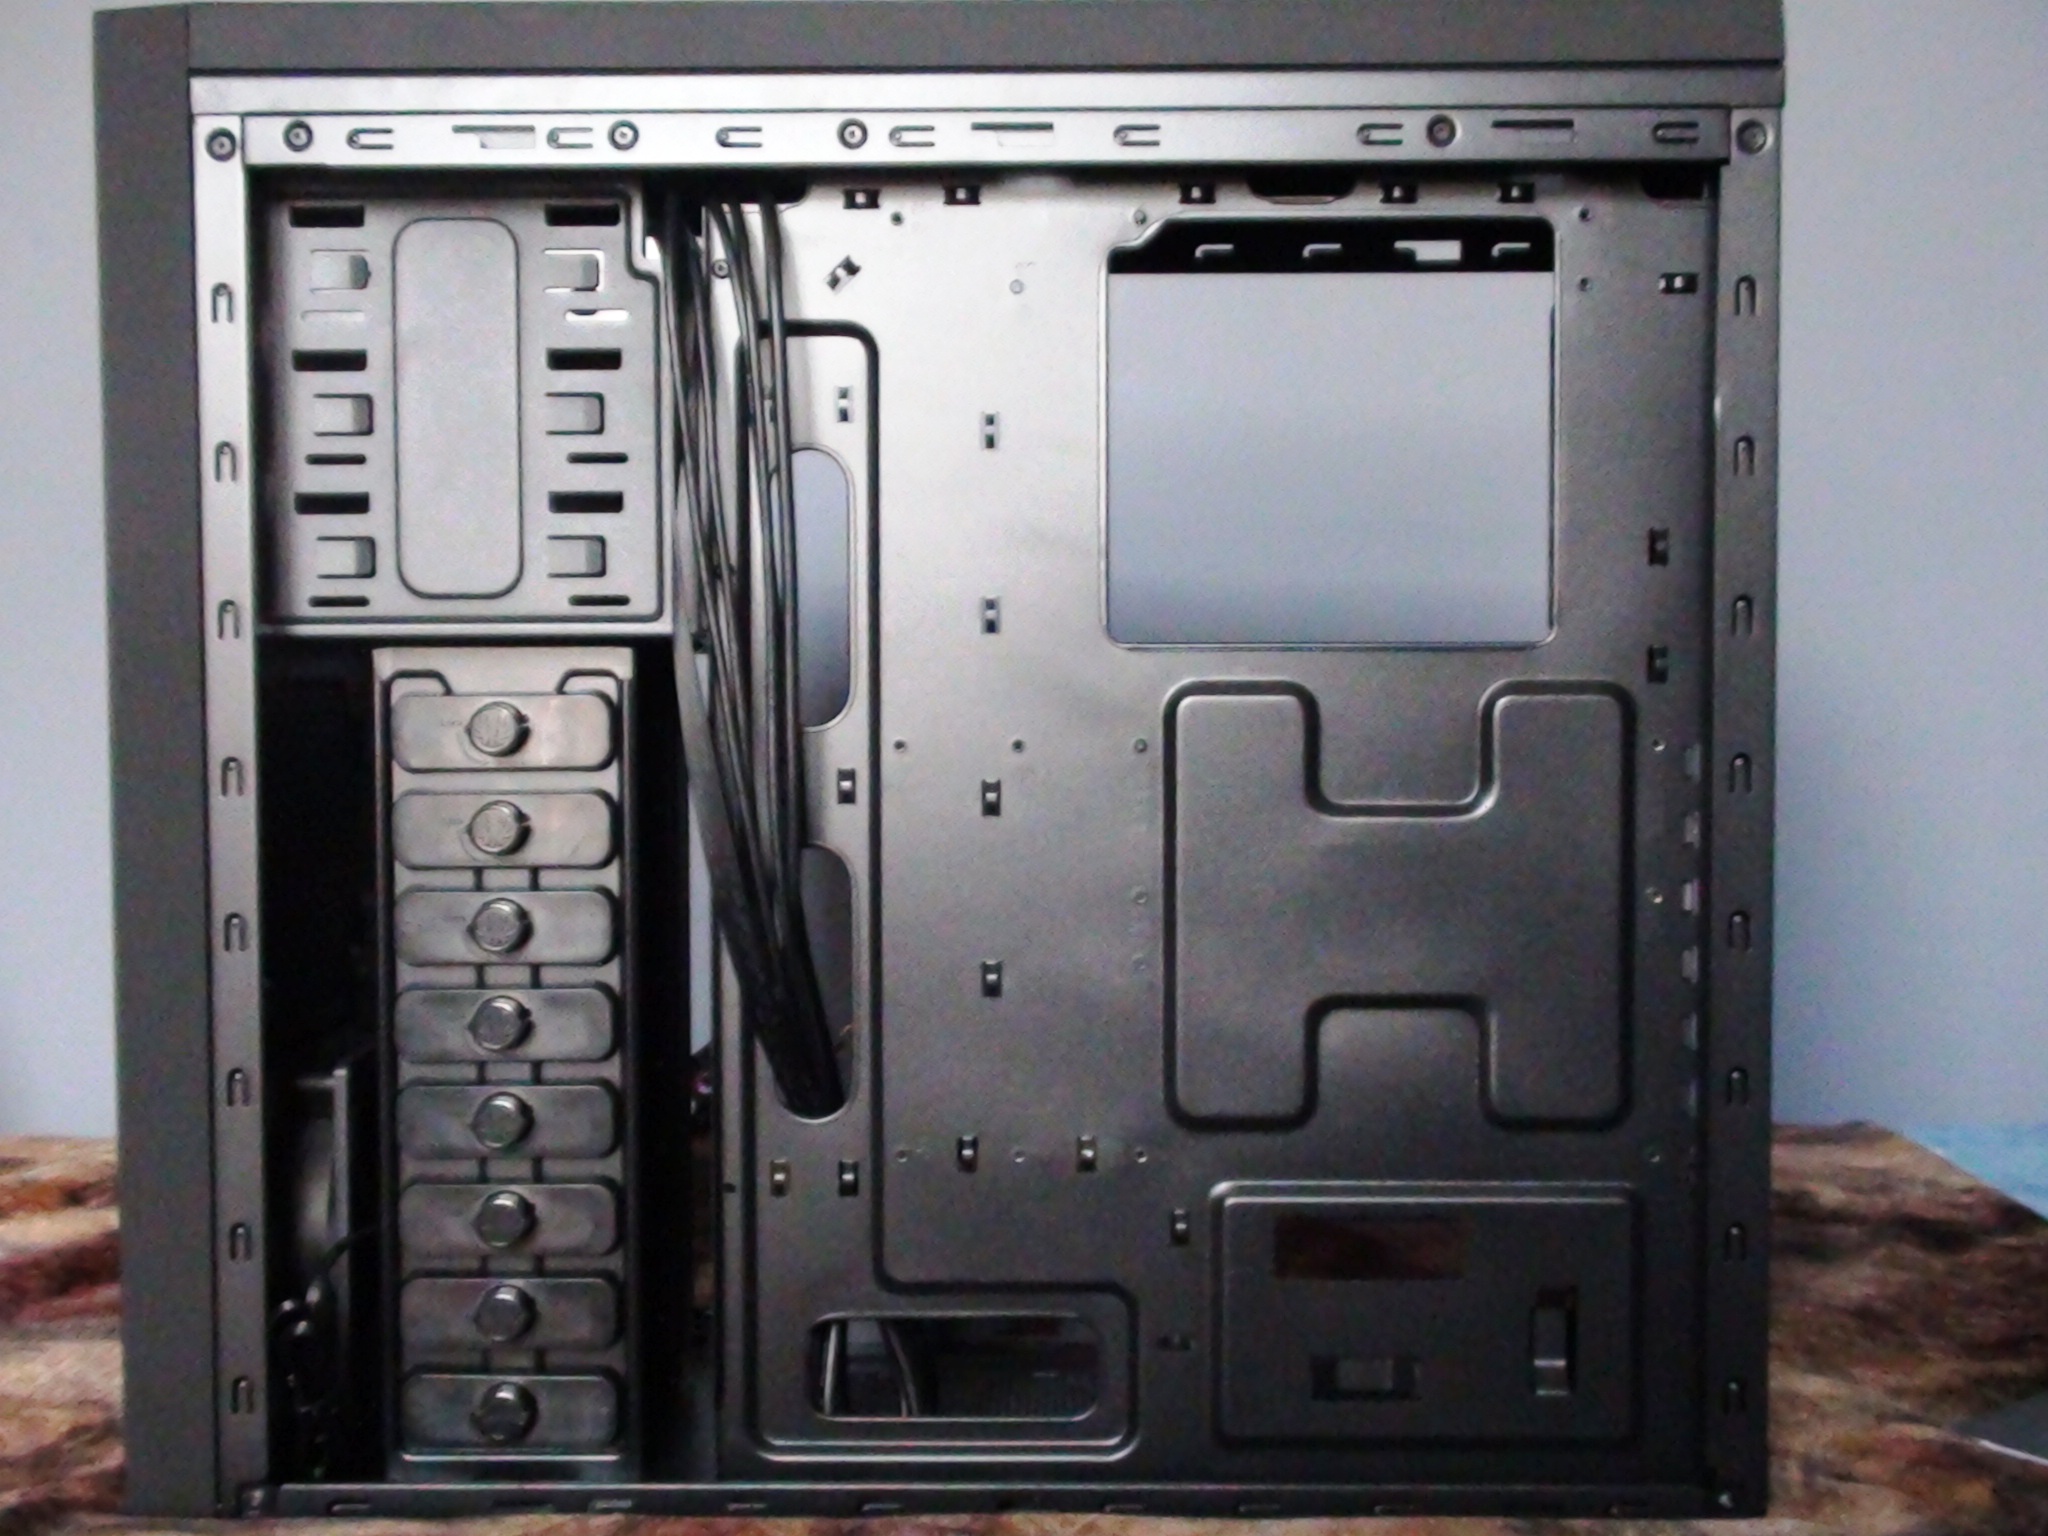
An extended view of where cables and wires are tucked away:
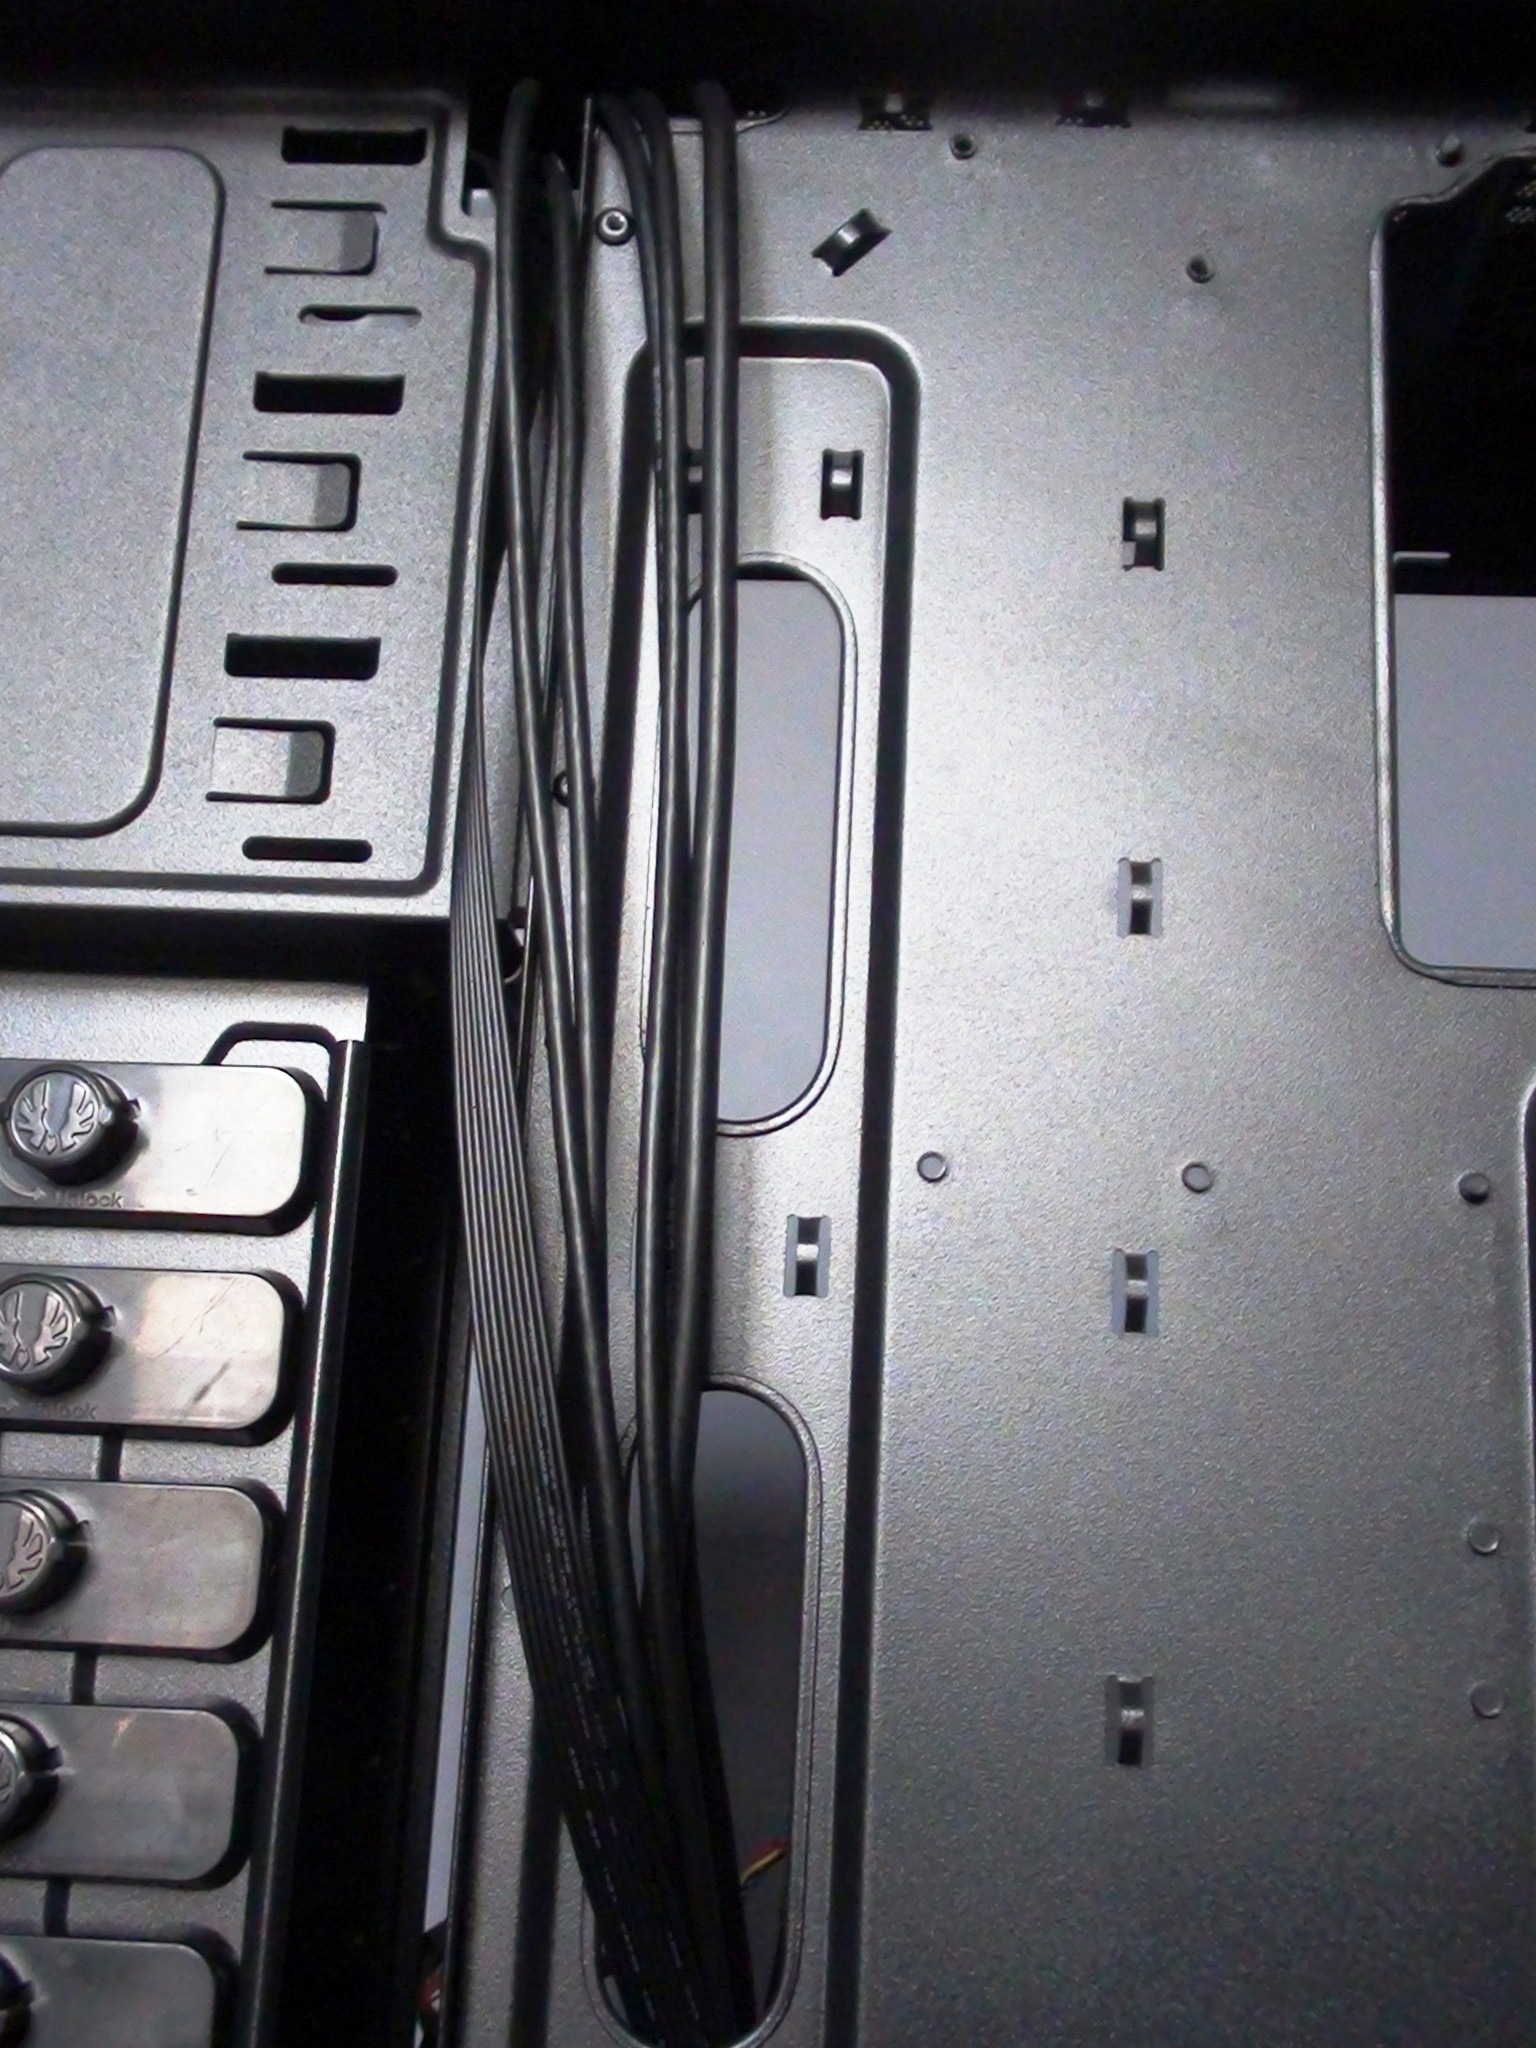
Last, but not least, there are copious amounts of space available for cable management, especially in the bottom grooves. There is a 1.5cm gap between the motherboard tray and the side-end of the Shinobi, so you can fit even more cabling if need be:
The downside is that there is not enough clearance between the CPU cooler and the left window panel, a specific notion for those heatsinks that have extensions and protrusions sticking out, such as the Scythe Ninja 3. There is approximately 16cm of space between the CPU socket and the left side panel, which means select CPU heatsinks will block the side panel from closing, and no wants a vulnerable Shinobi!
NEXT: Noise, Sound, and Thermal Performance
INDEX
Page 1: Introduction
Page 2: Packaging
Page 3: Features and Specifications
Page 4: Accessories and Fittings
Page 5: The Exterior
Page 6: The Exterior (Continued)
Page 7: The Interior
Page 8: The Interior (Continued)
Page 9: Noise, Sound, and Thermal Performance
Page 10: Final Words and Conclusion