
PACKAGING AND CONTENTS (CONTINUED)
I want to focus on the fans before getting to the U Stand, as I find them to be instrumental in the overall scheme:
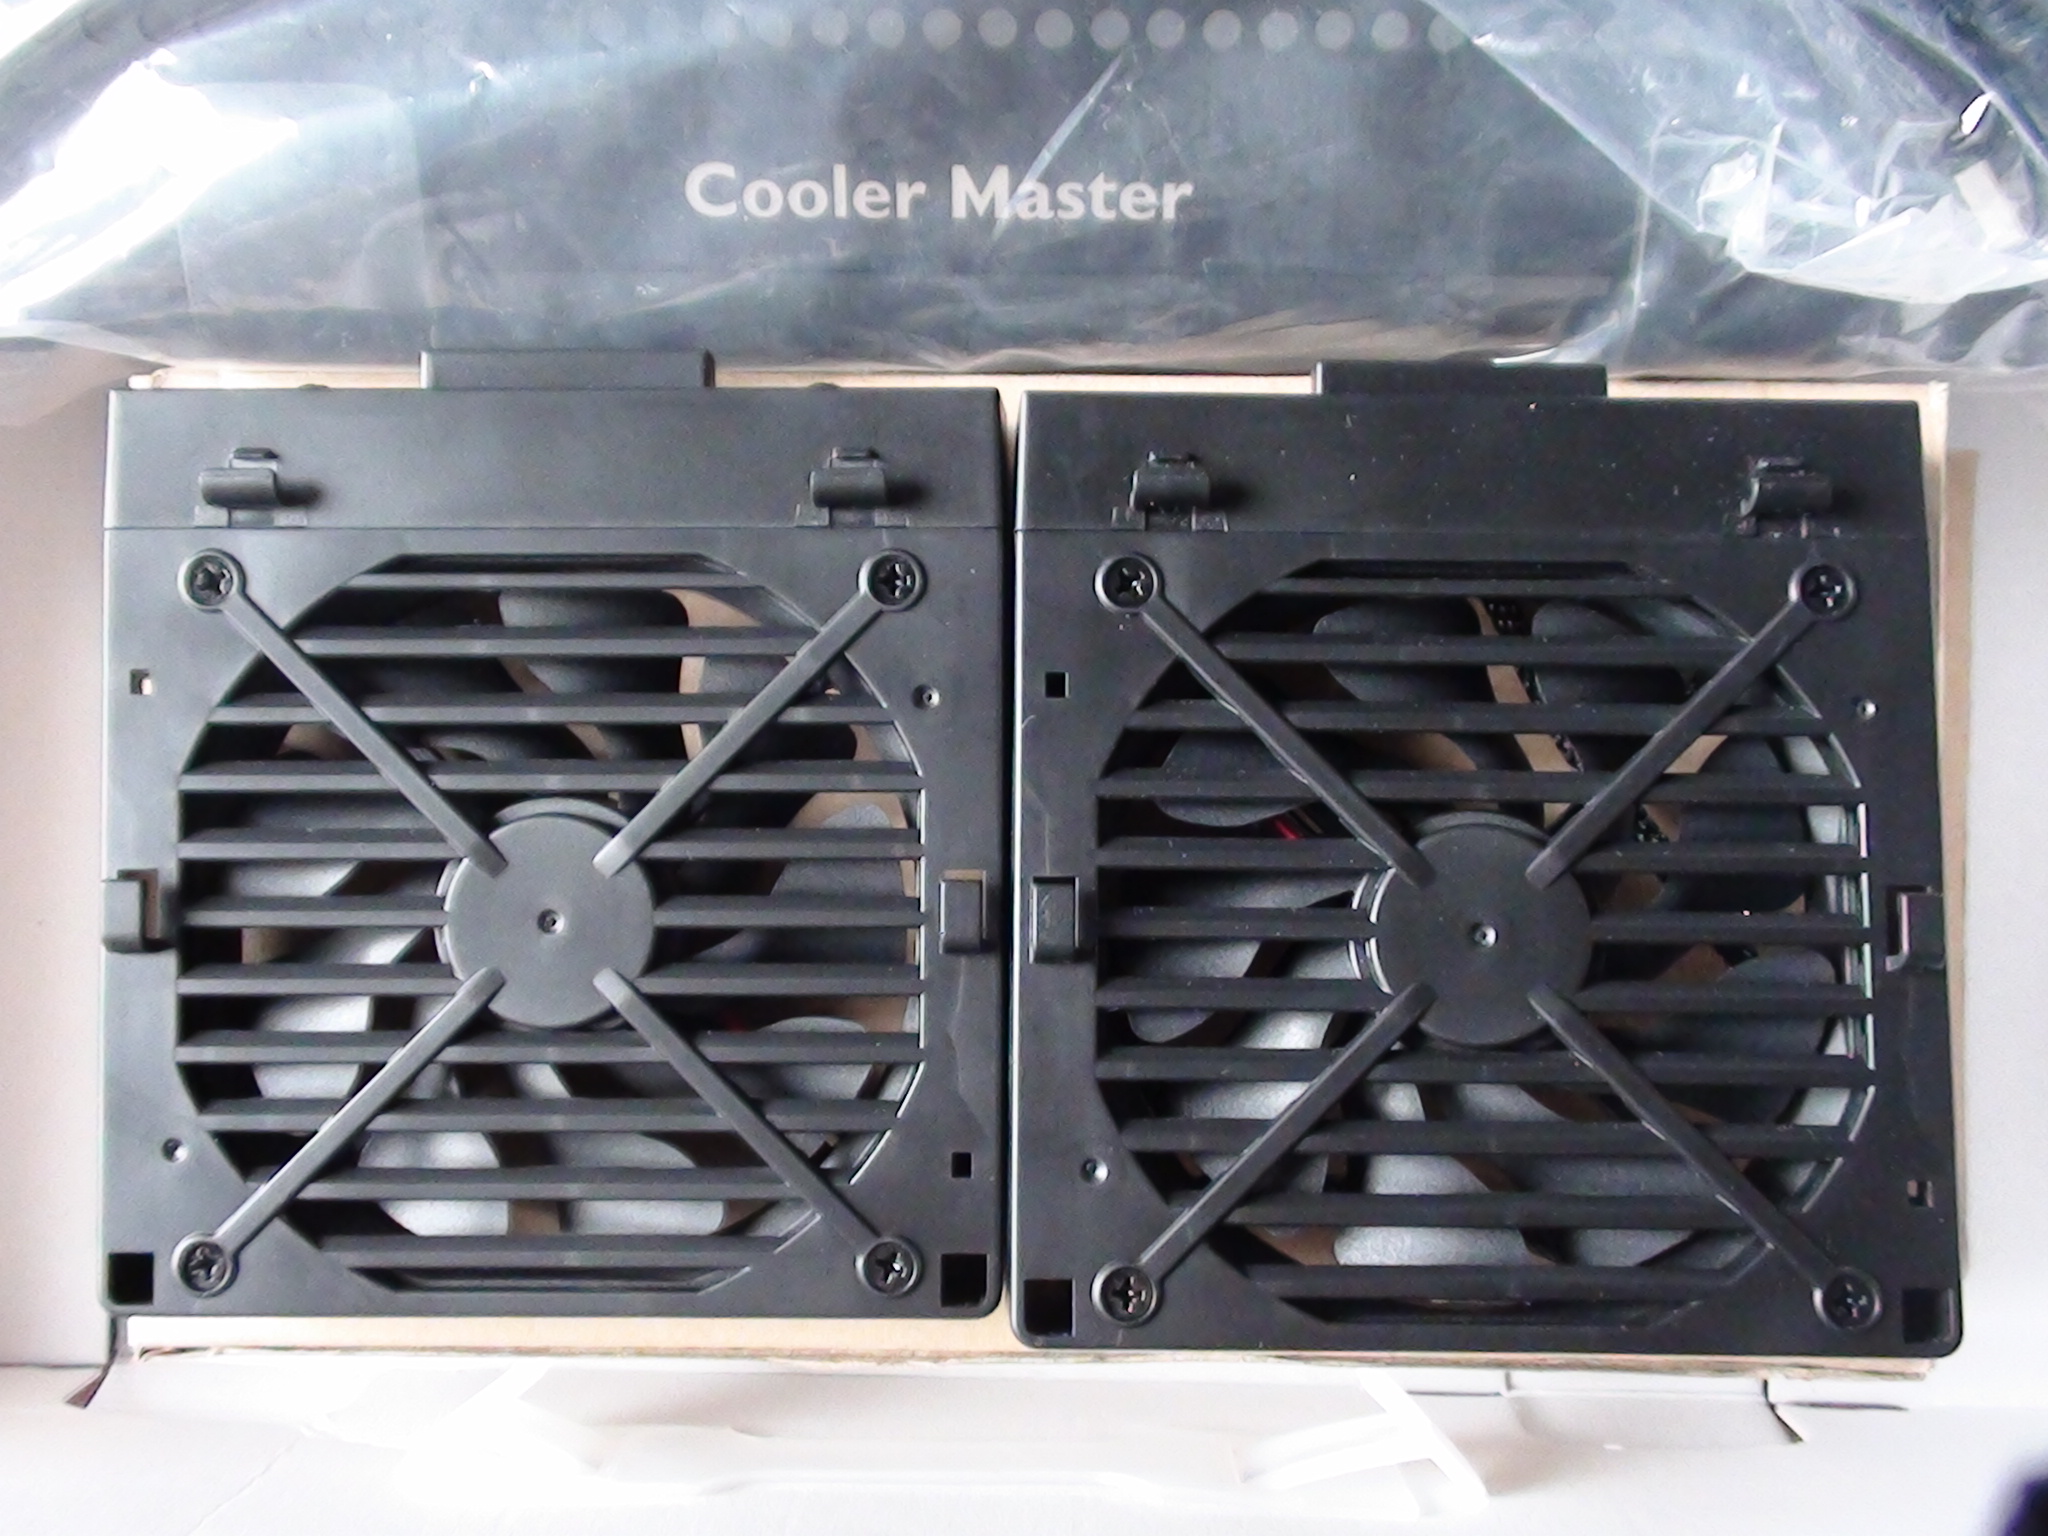
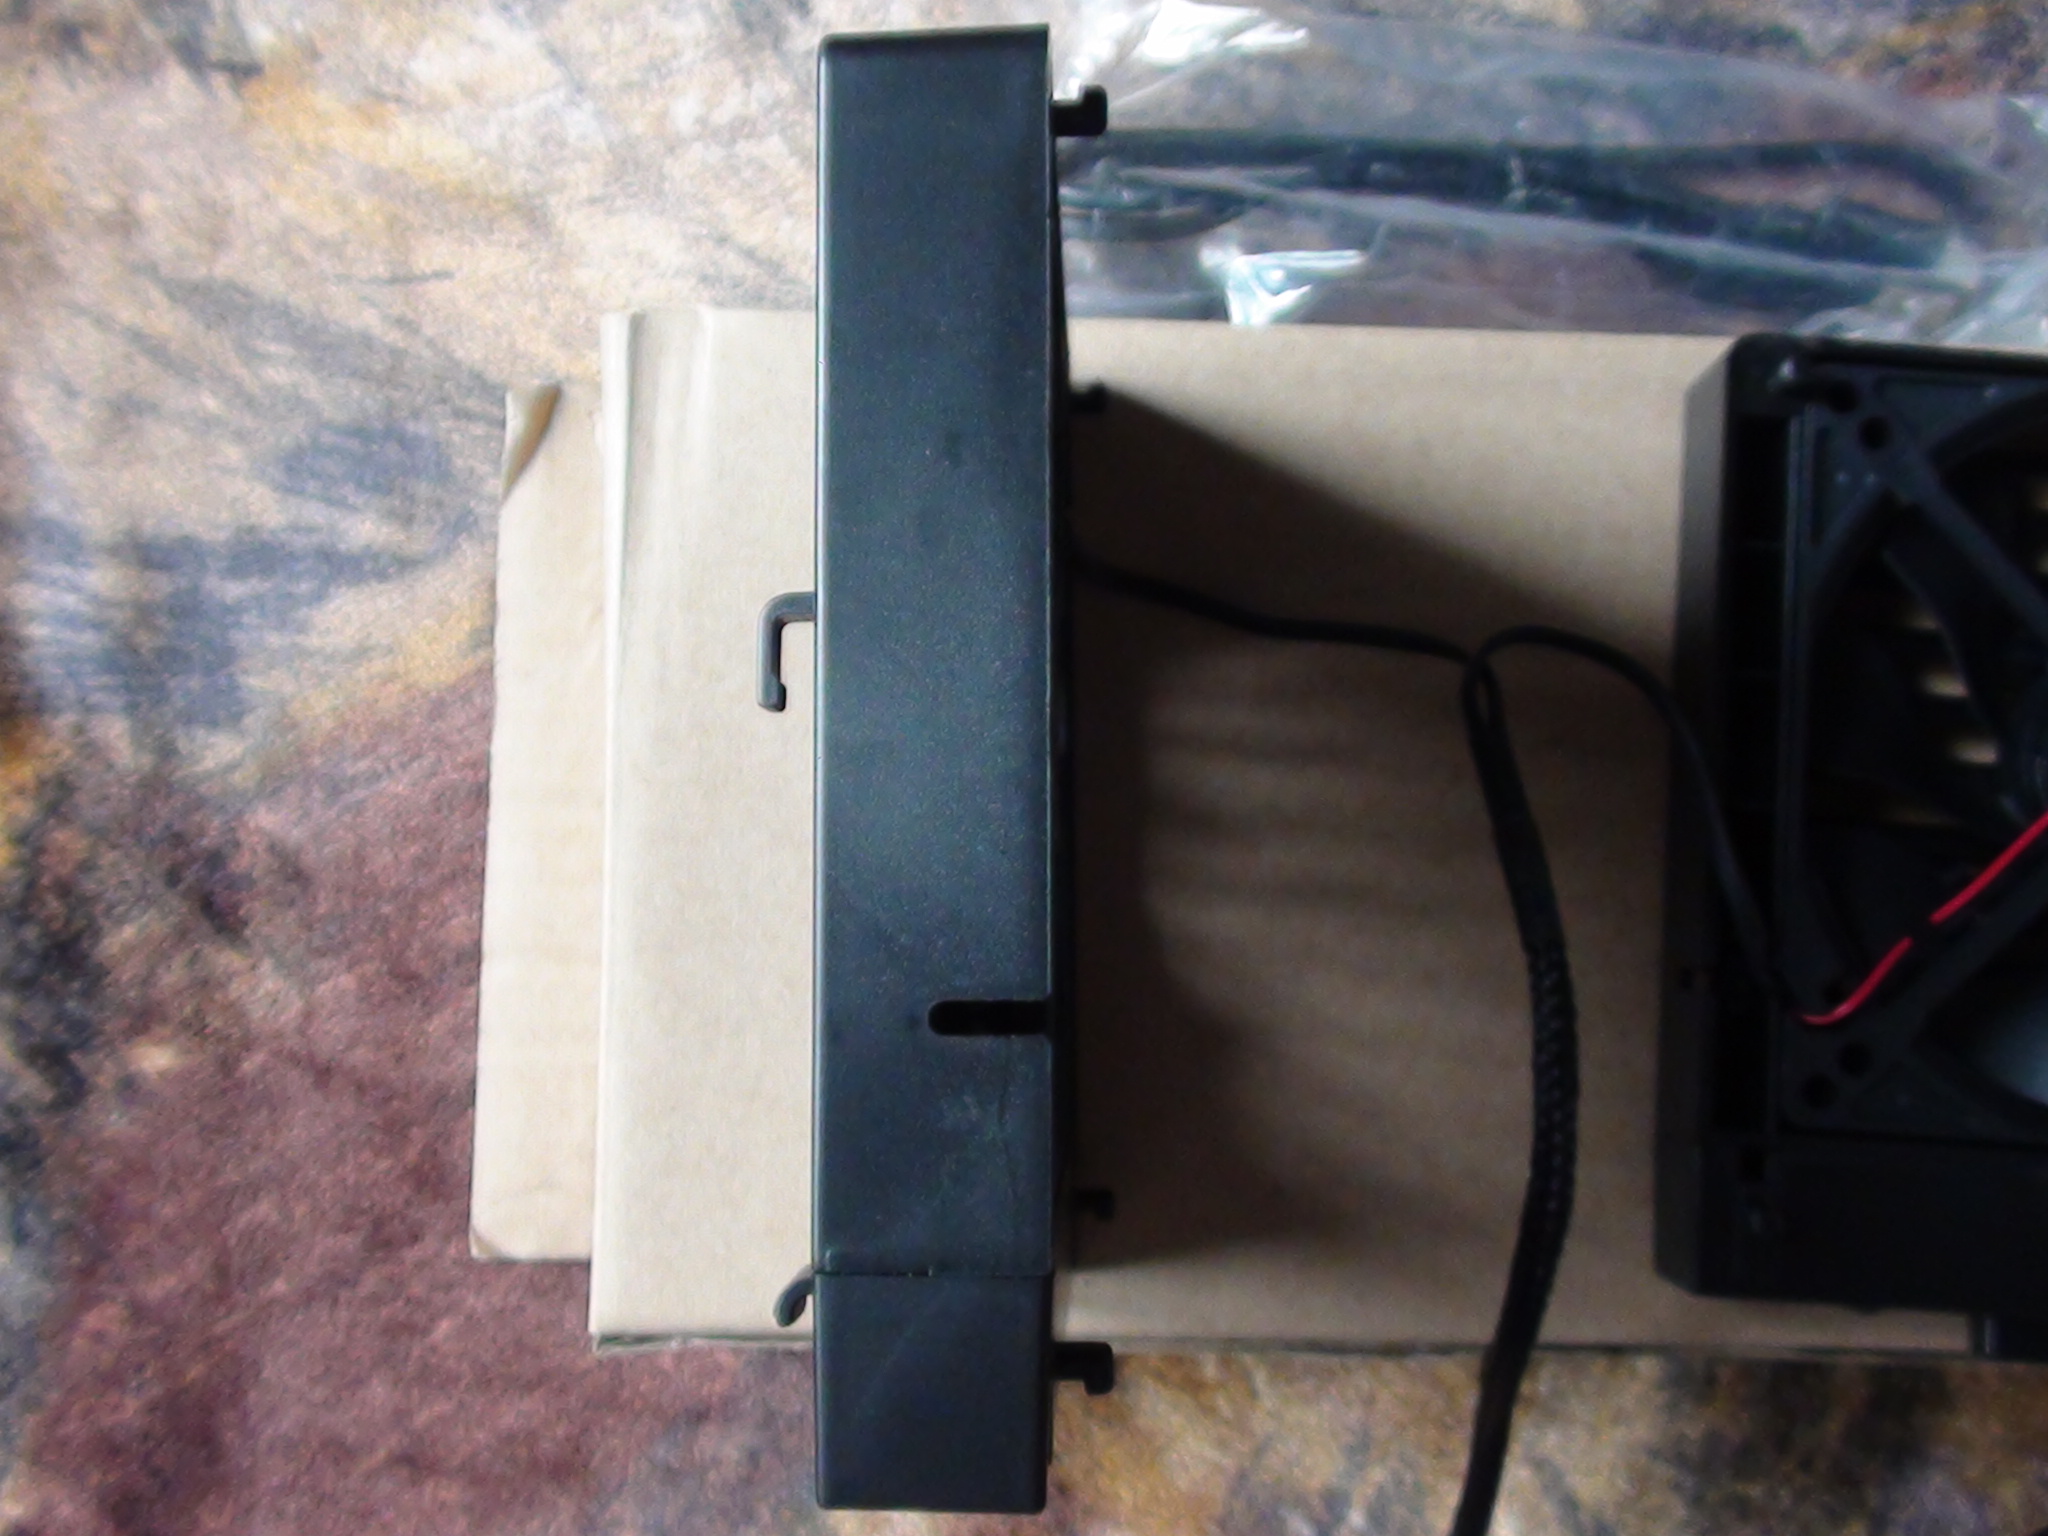
The two sides of the fans are quite different from each other. This side is the one that latches onto the back of the U Stand as illustrated by the latches on the top and bottom and the cable-managing grooves on the side. The total dimensions of each fan included are 100mm x 100mm x 15 mm:
Notice that there is an enclosure around the fan. Cooler Master sometimes uses existing fans instead of designing new ones for newer products which is something I like as they are essentially making use of something that is already proven. I thought it may have been the case for the U Stand but I could not find anything via the model number on the fan sticker. At first, I was confused and was wondering why they would make an enclosure in the first place but it became much clearer when I took a look at the other side:
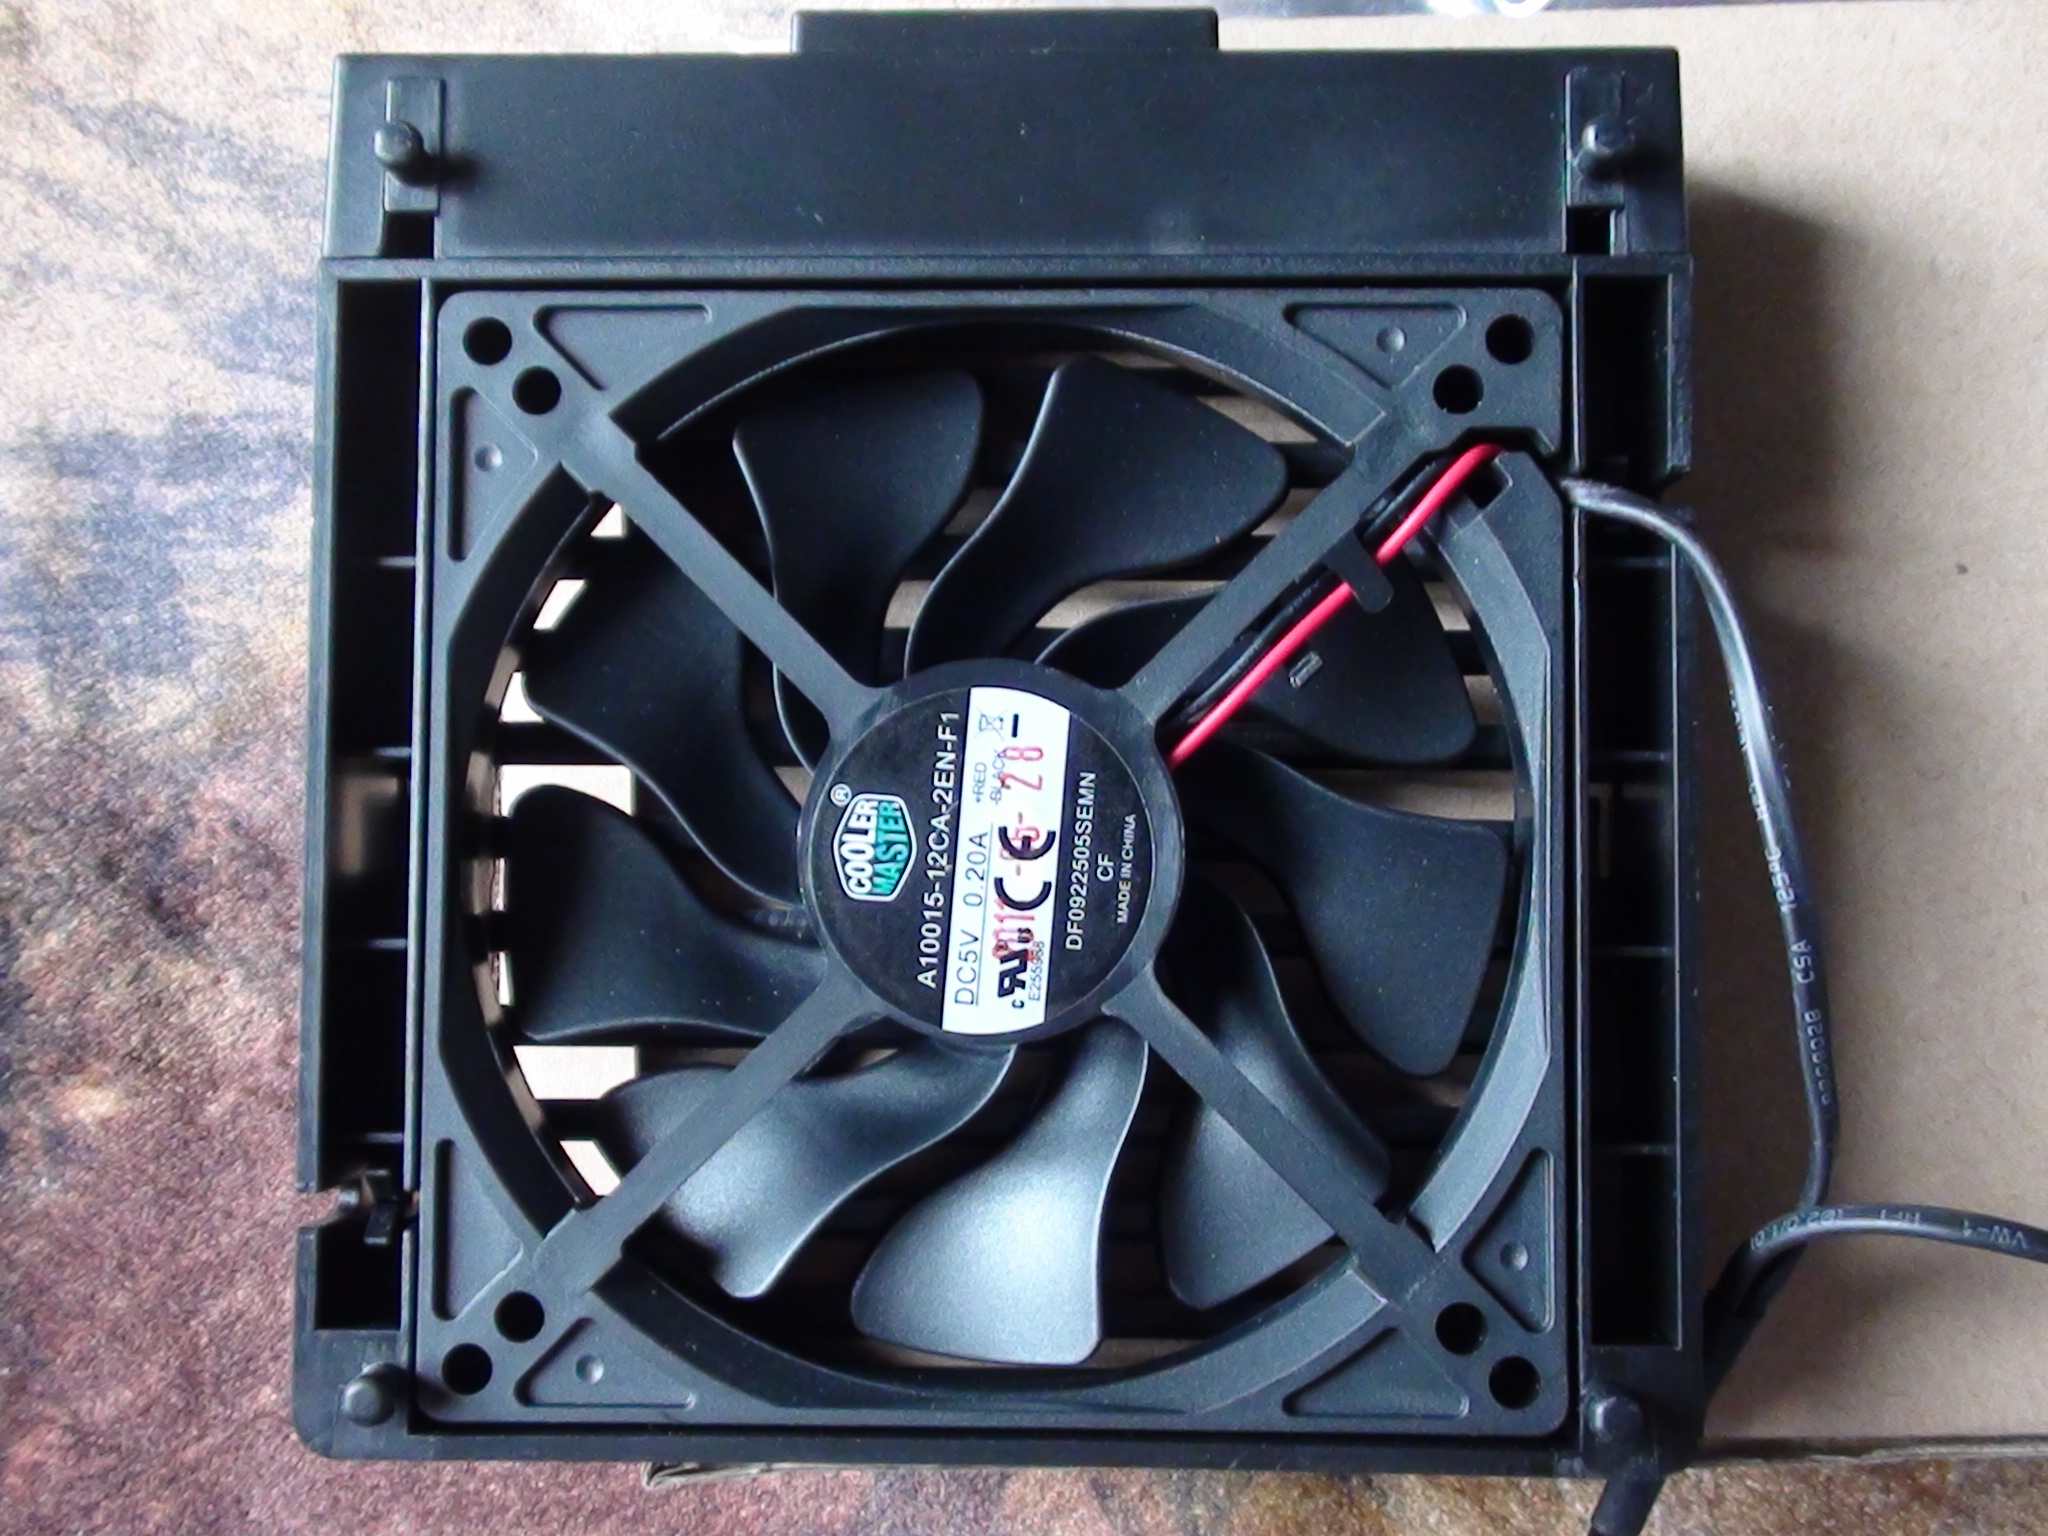
As you can see, there are four screws holding the fan in place and it can thus be removed if you need to clean it or even install it elsewhere, such as a desktop. It is a nice addition and really makes you appreciate the thought process of the engineers over at Cooler Master.
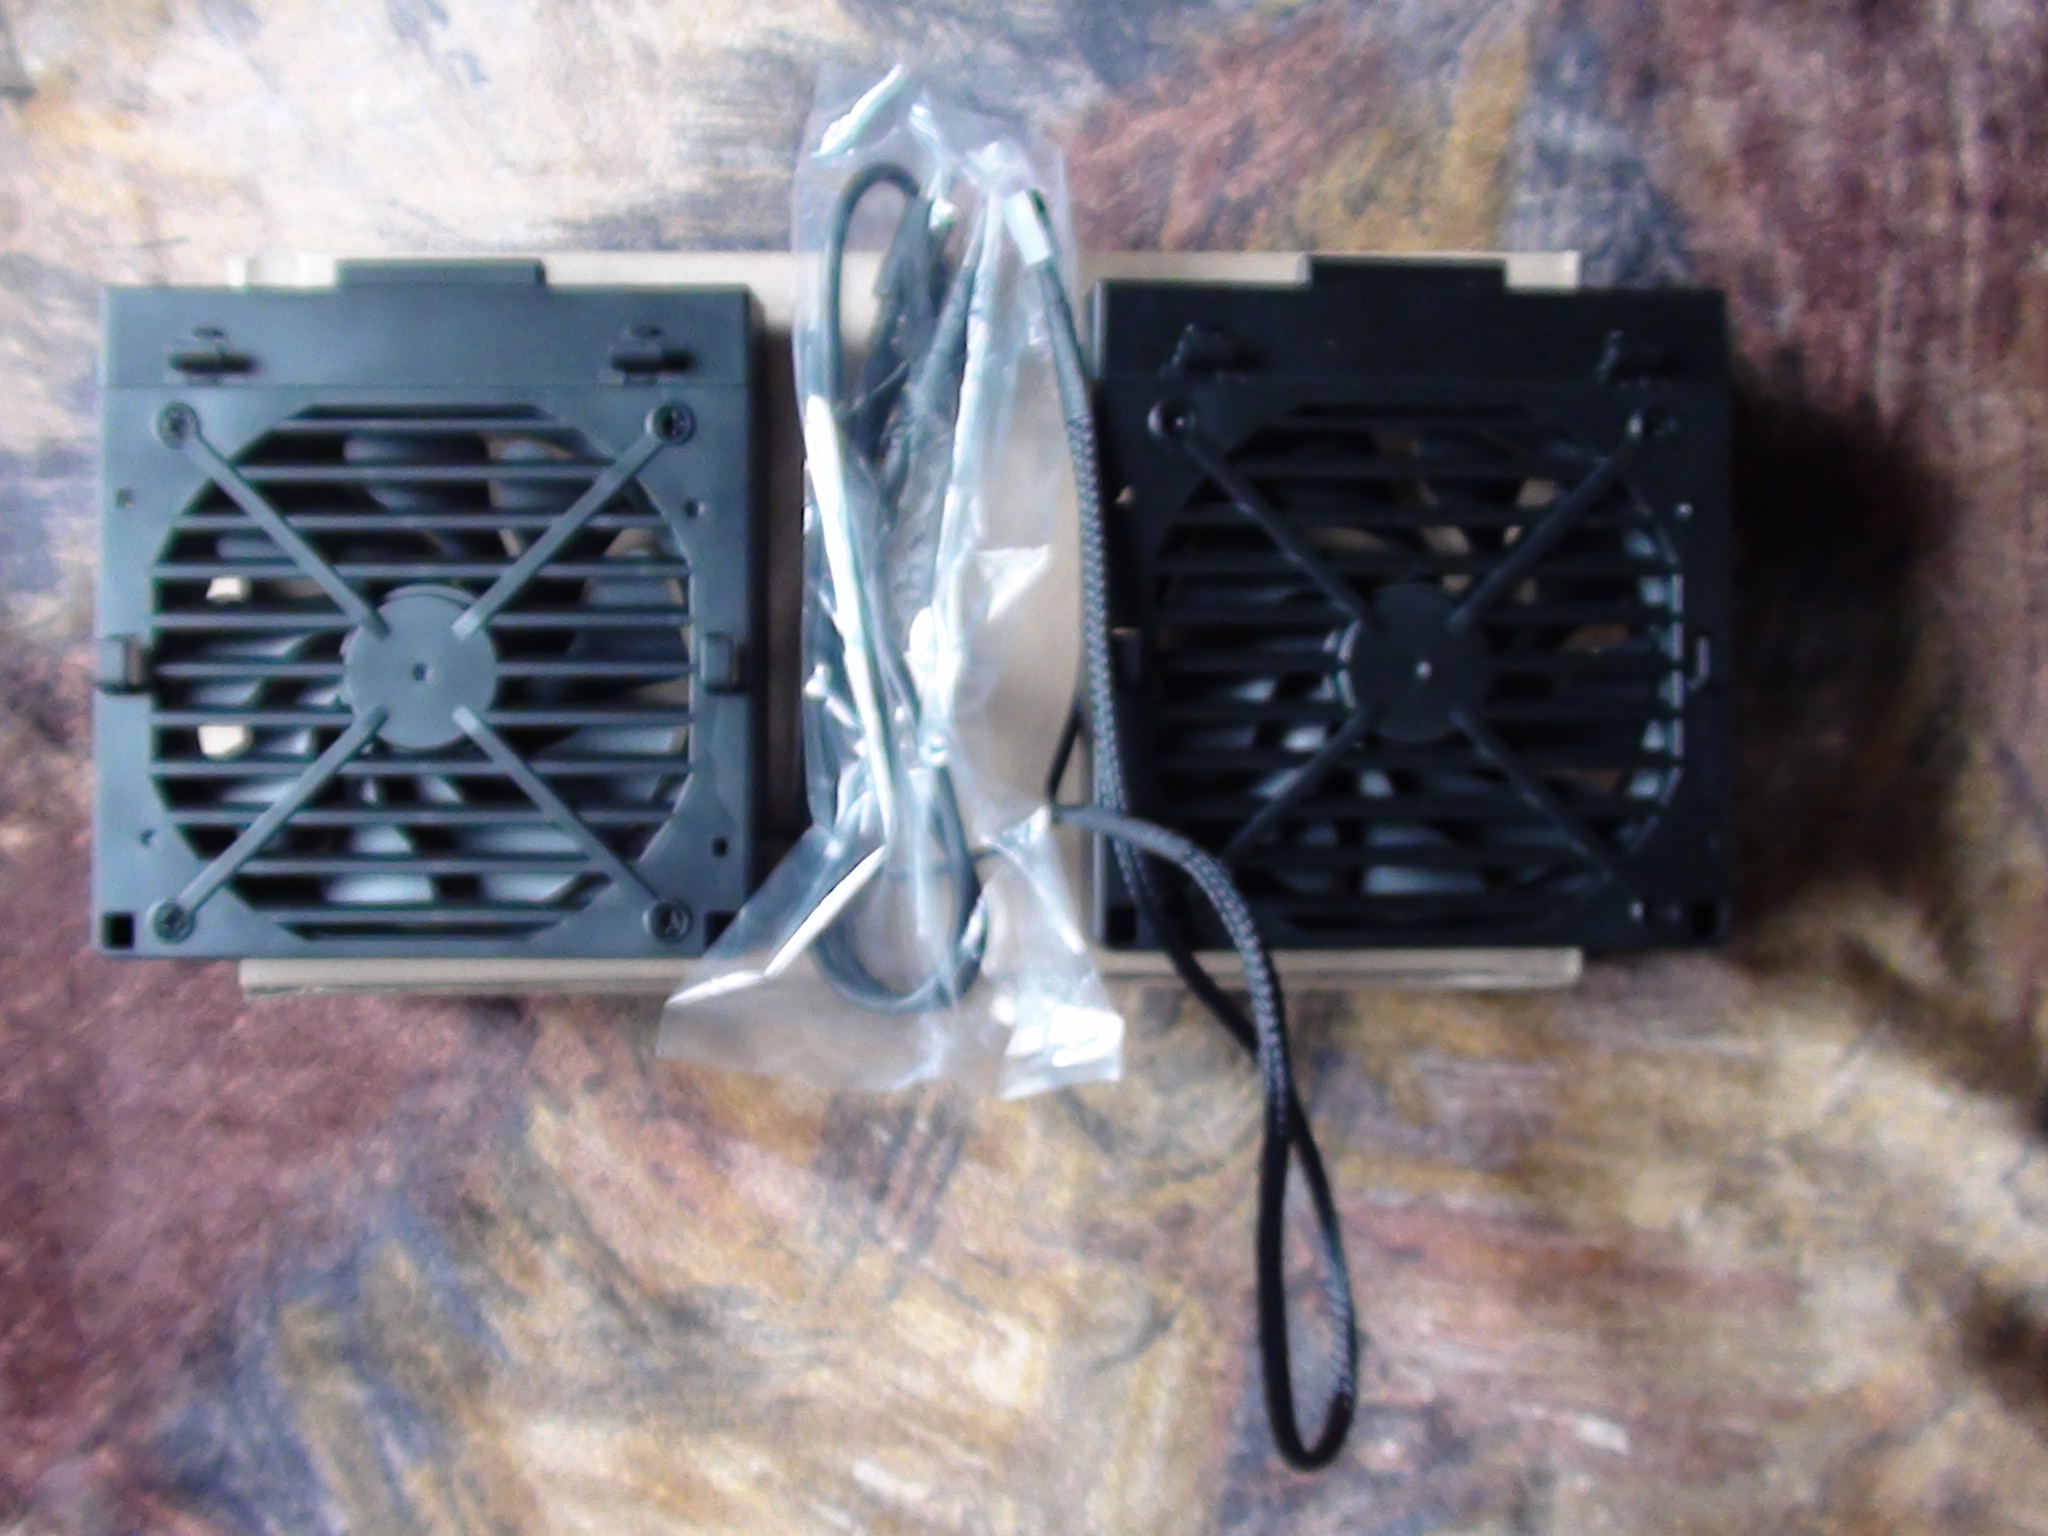
Around the enclosure, there are four hooks for managing the fan cable and a large grill as this is the side that looks outwards from the U Stand.
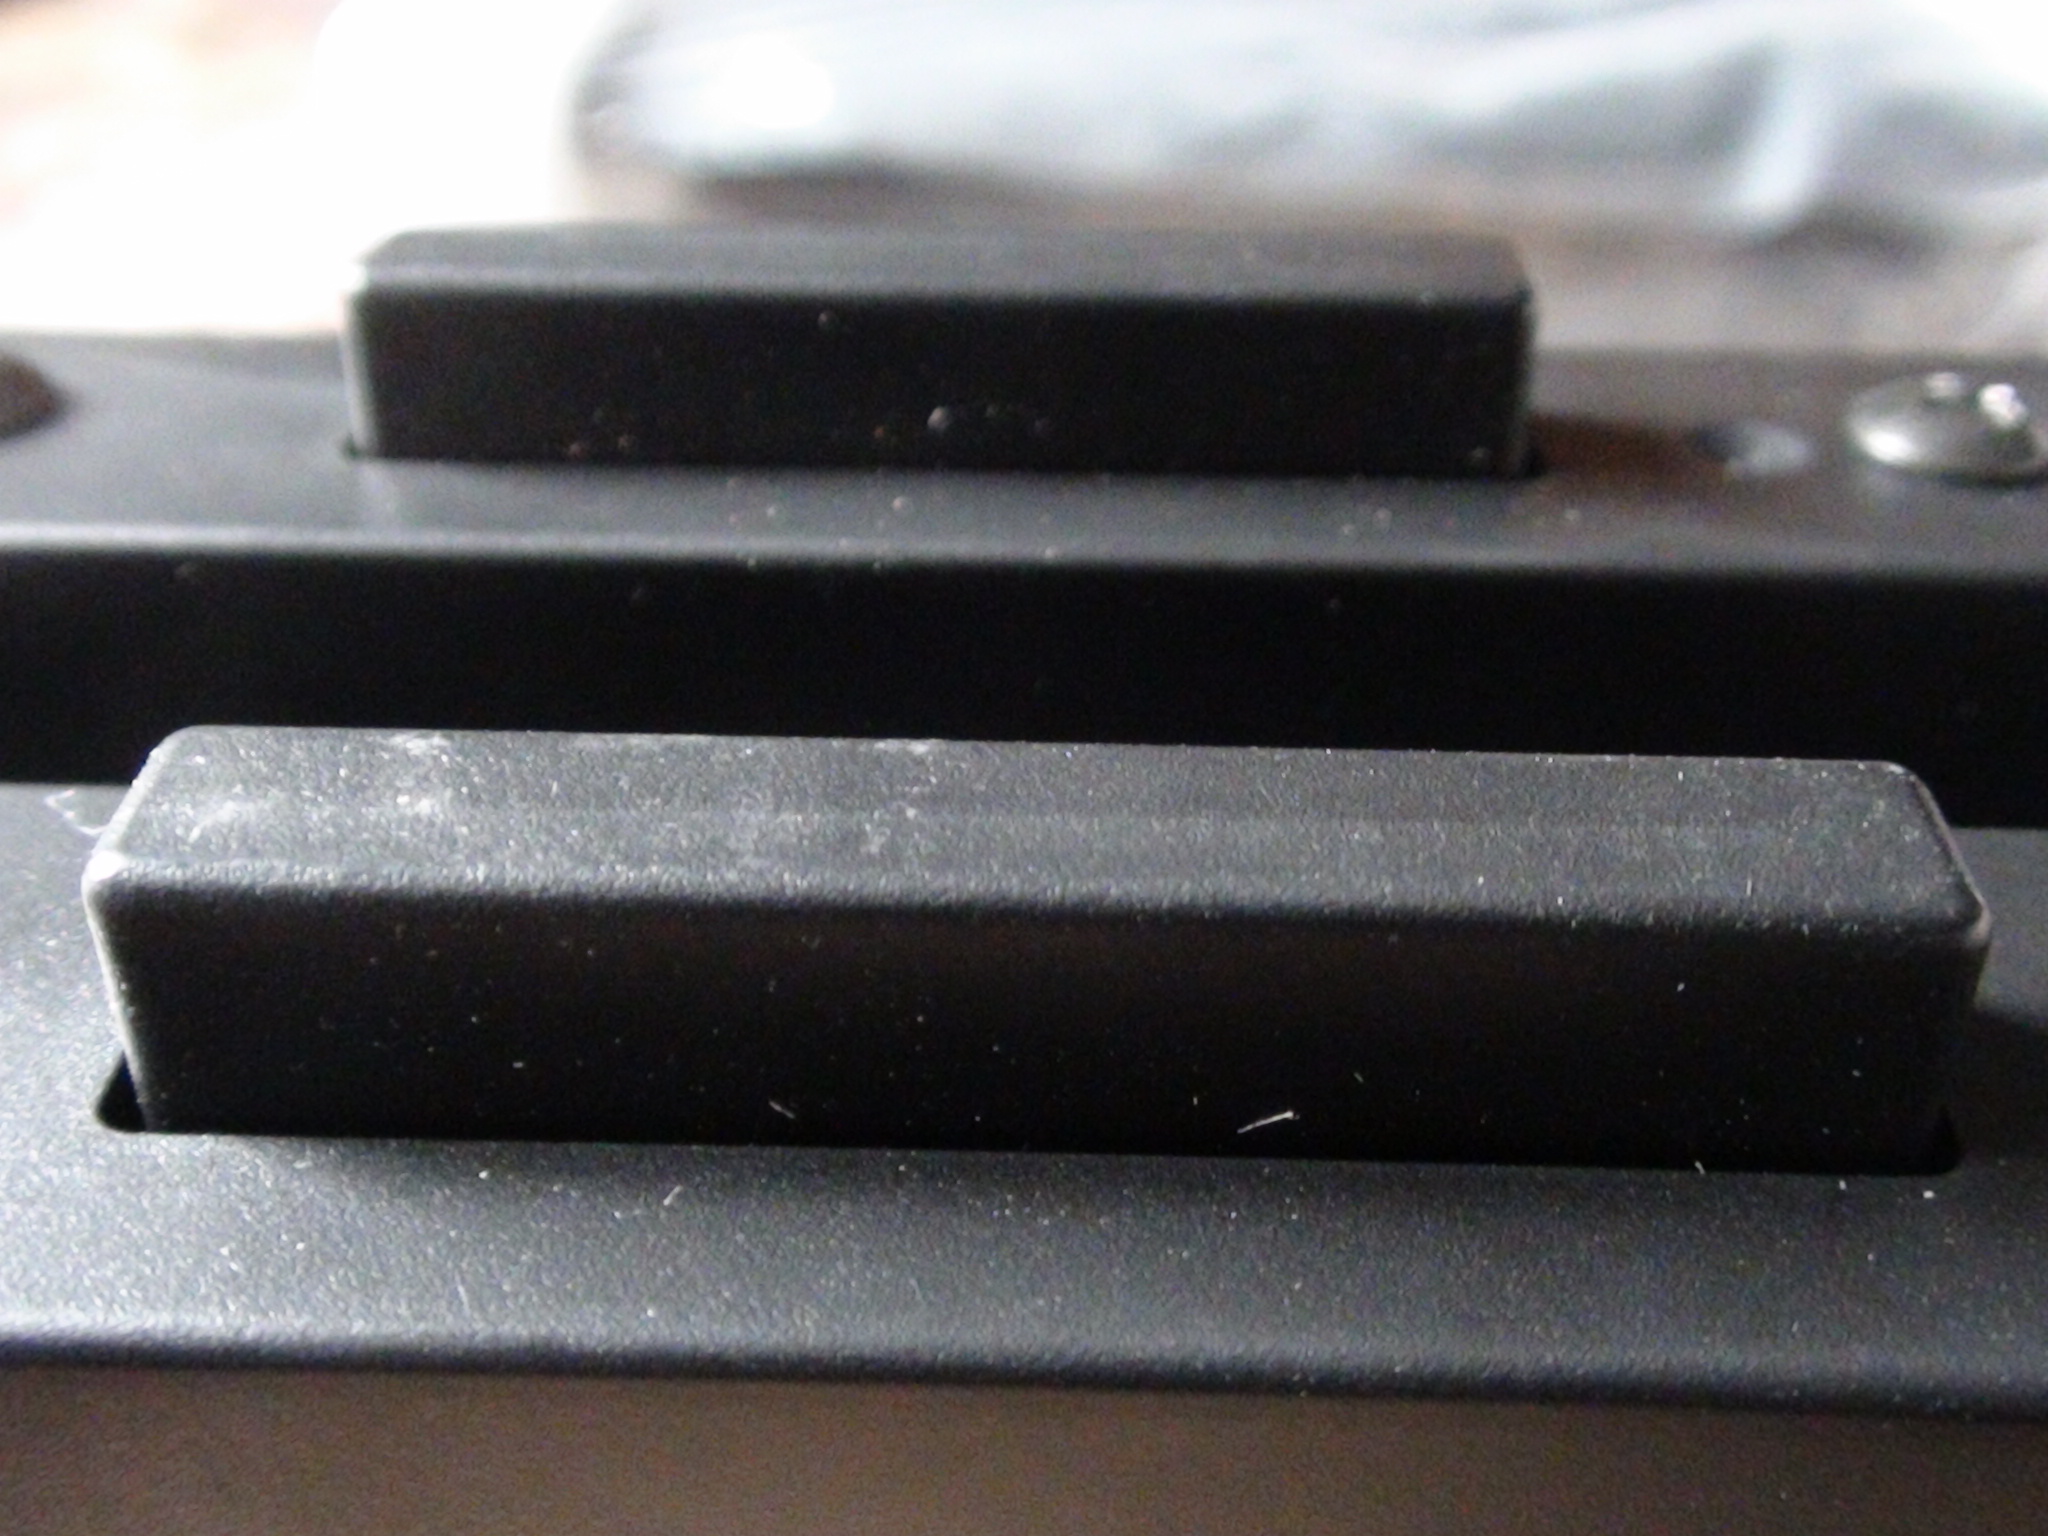
Here is a quick close up of the grooves that allow you to run wires between each fan:
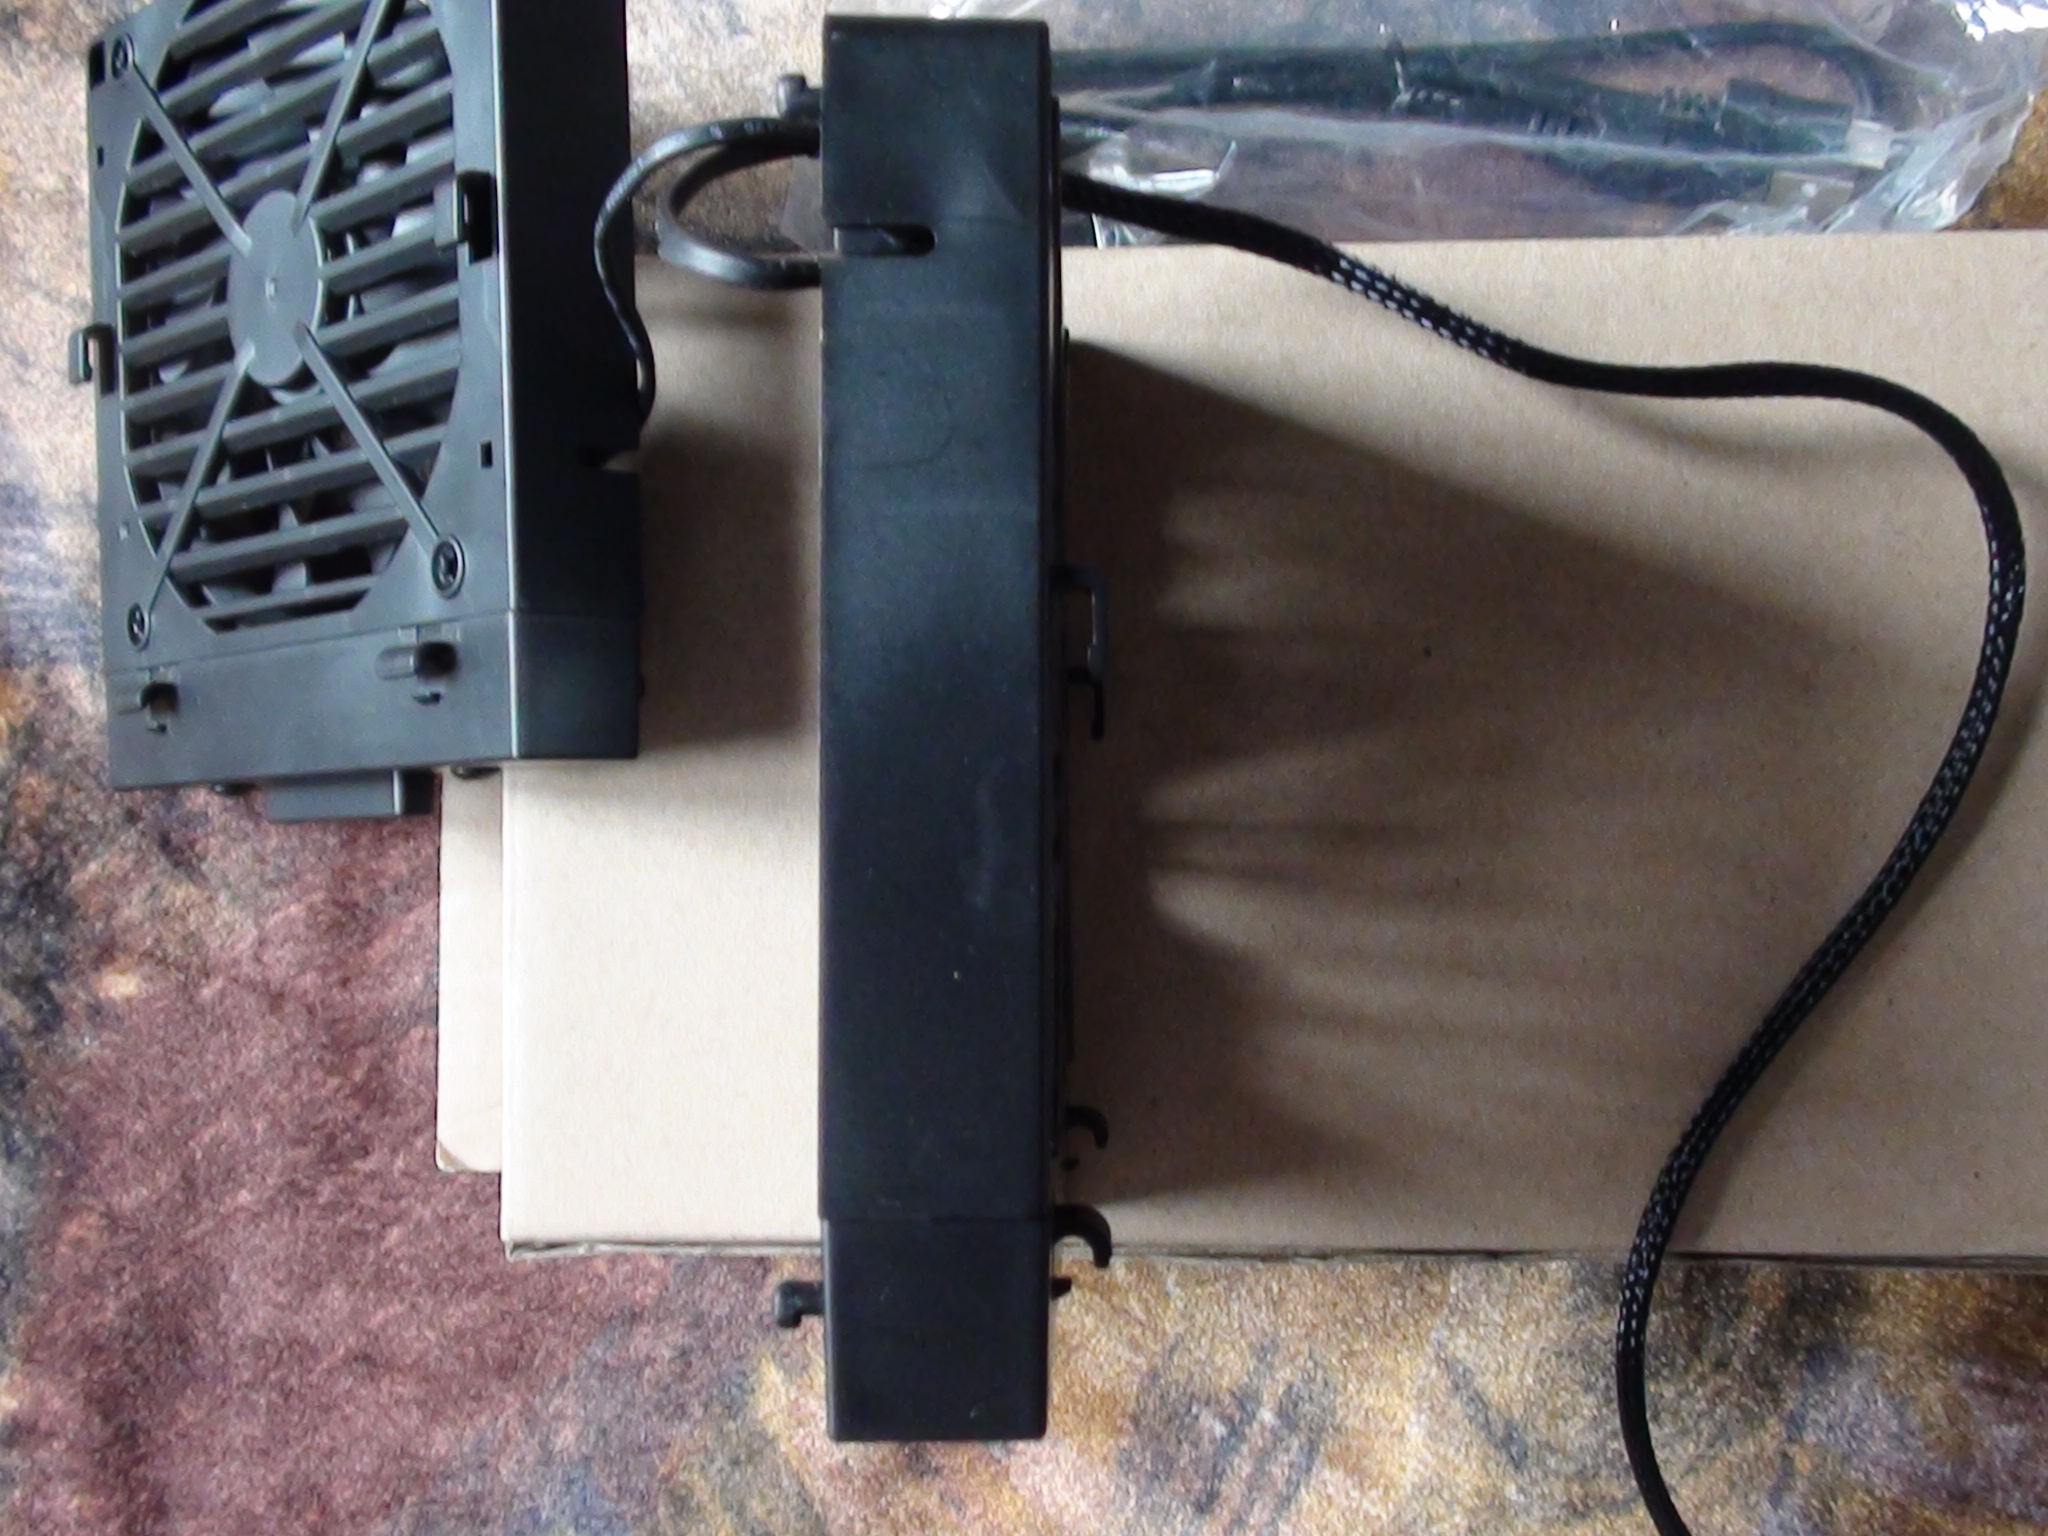
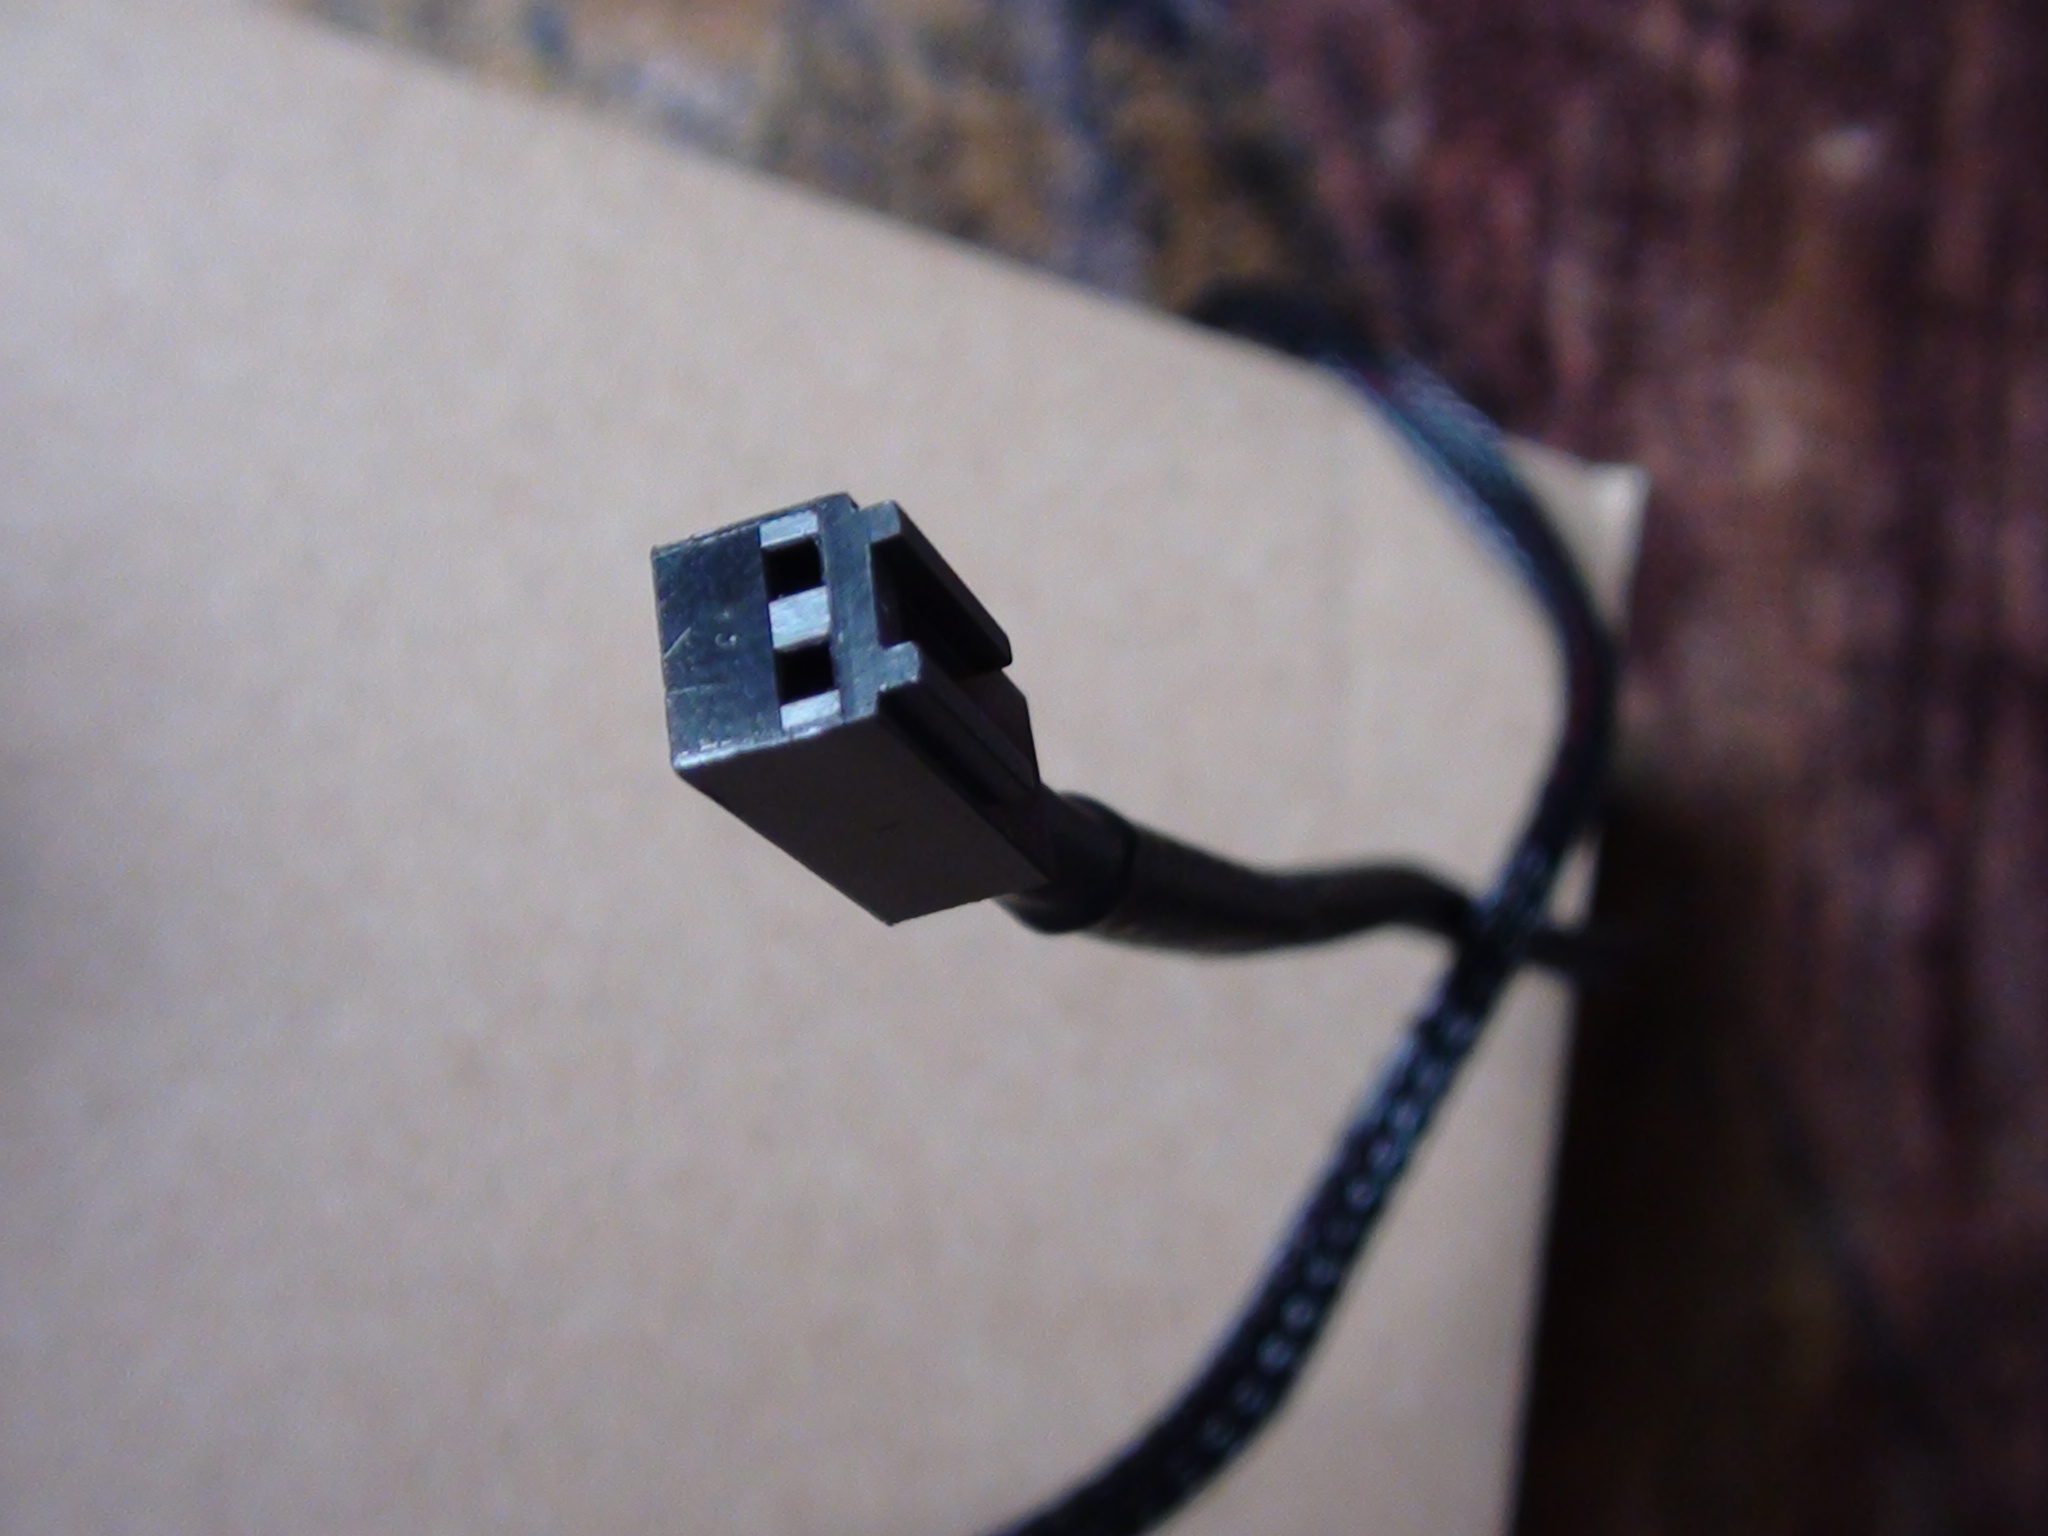
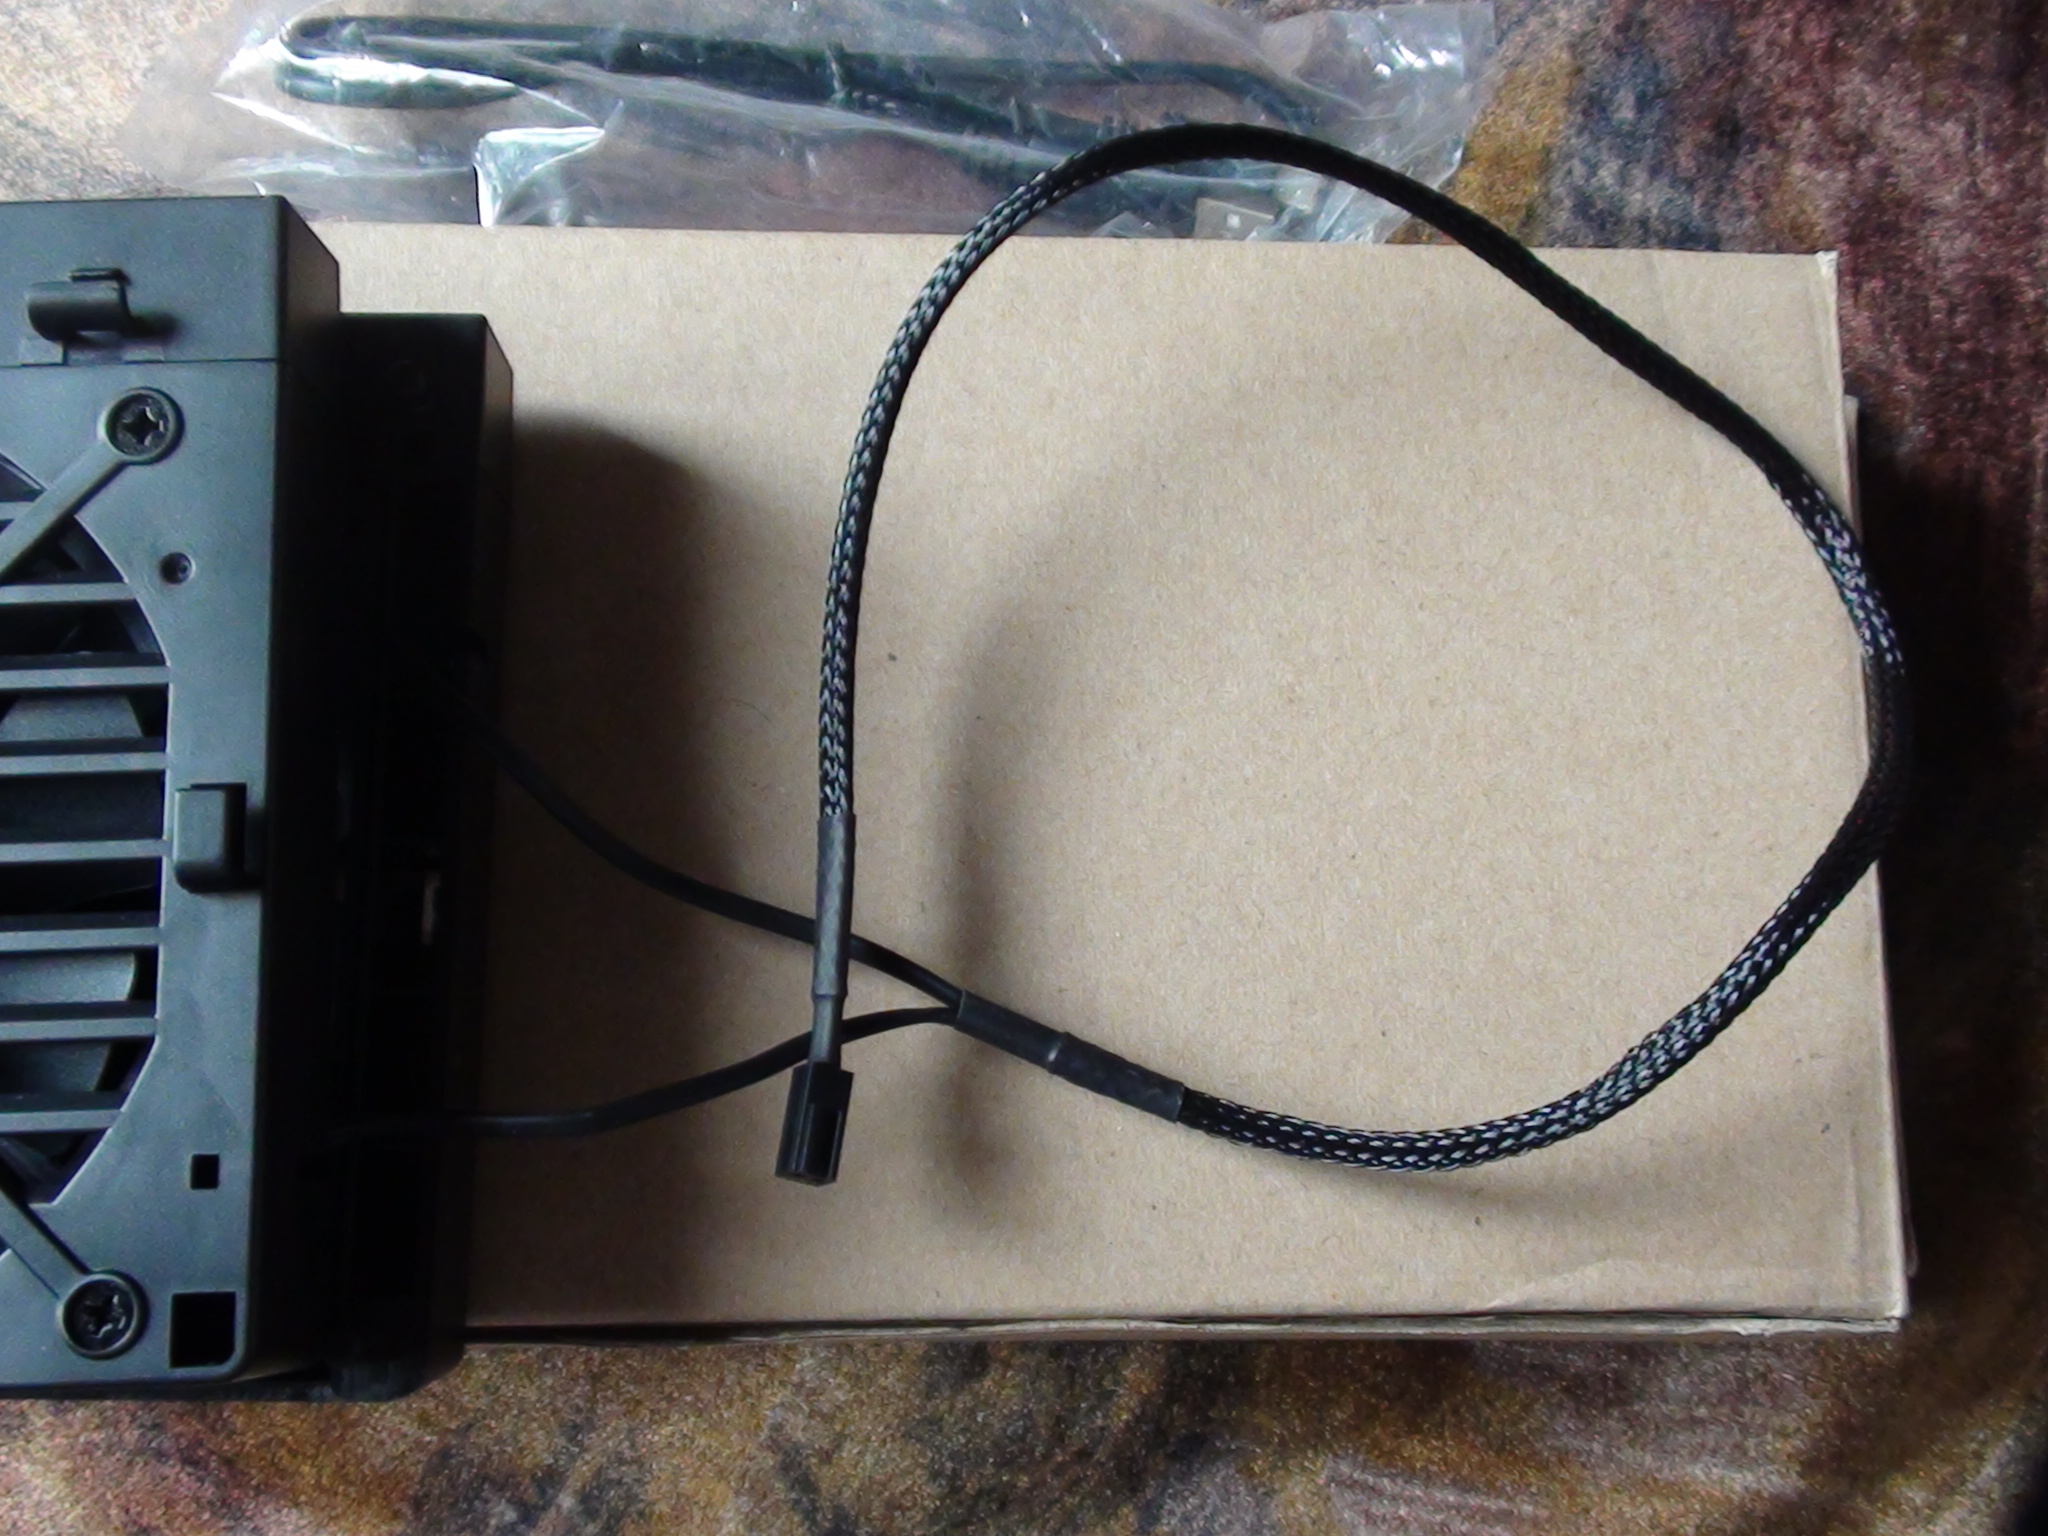
Speaking of wires, both fans are connected together via one cable with a two-pin power connector as the input, and to my happiness, the entire length of it from the enclosure(s) onward is braided!
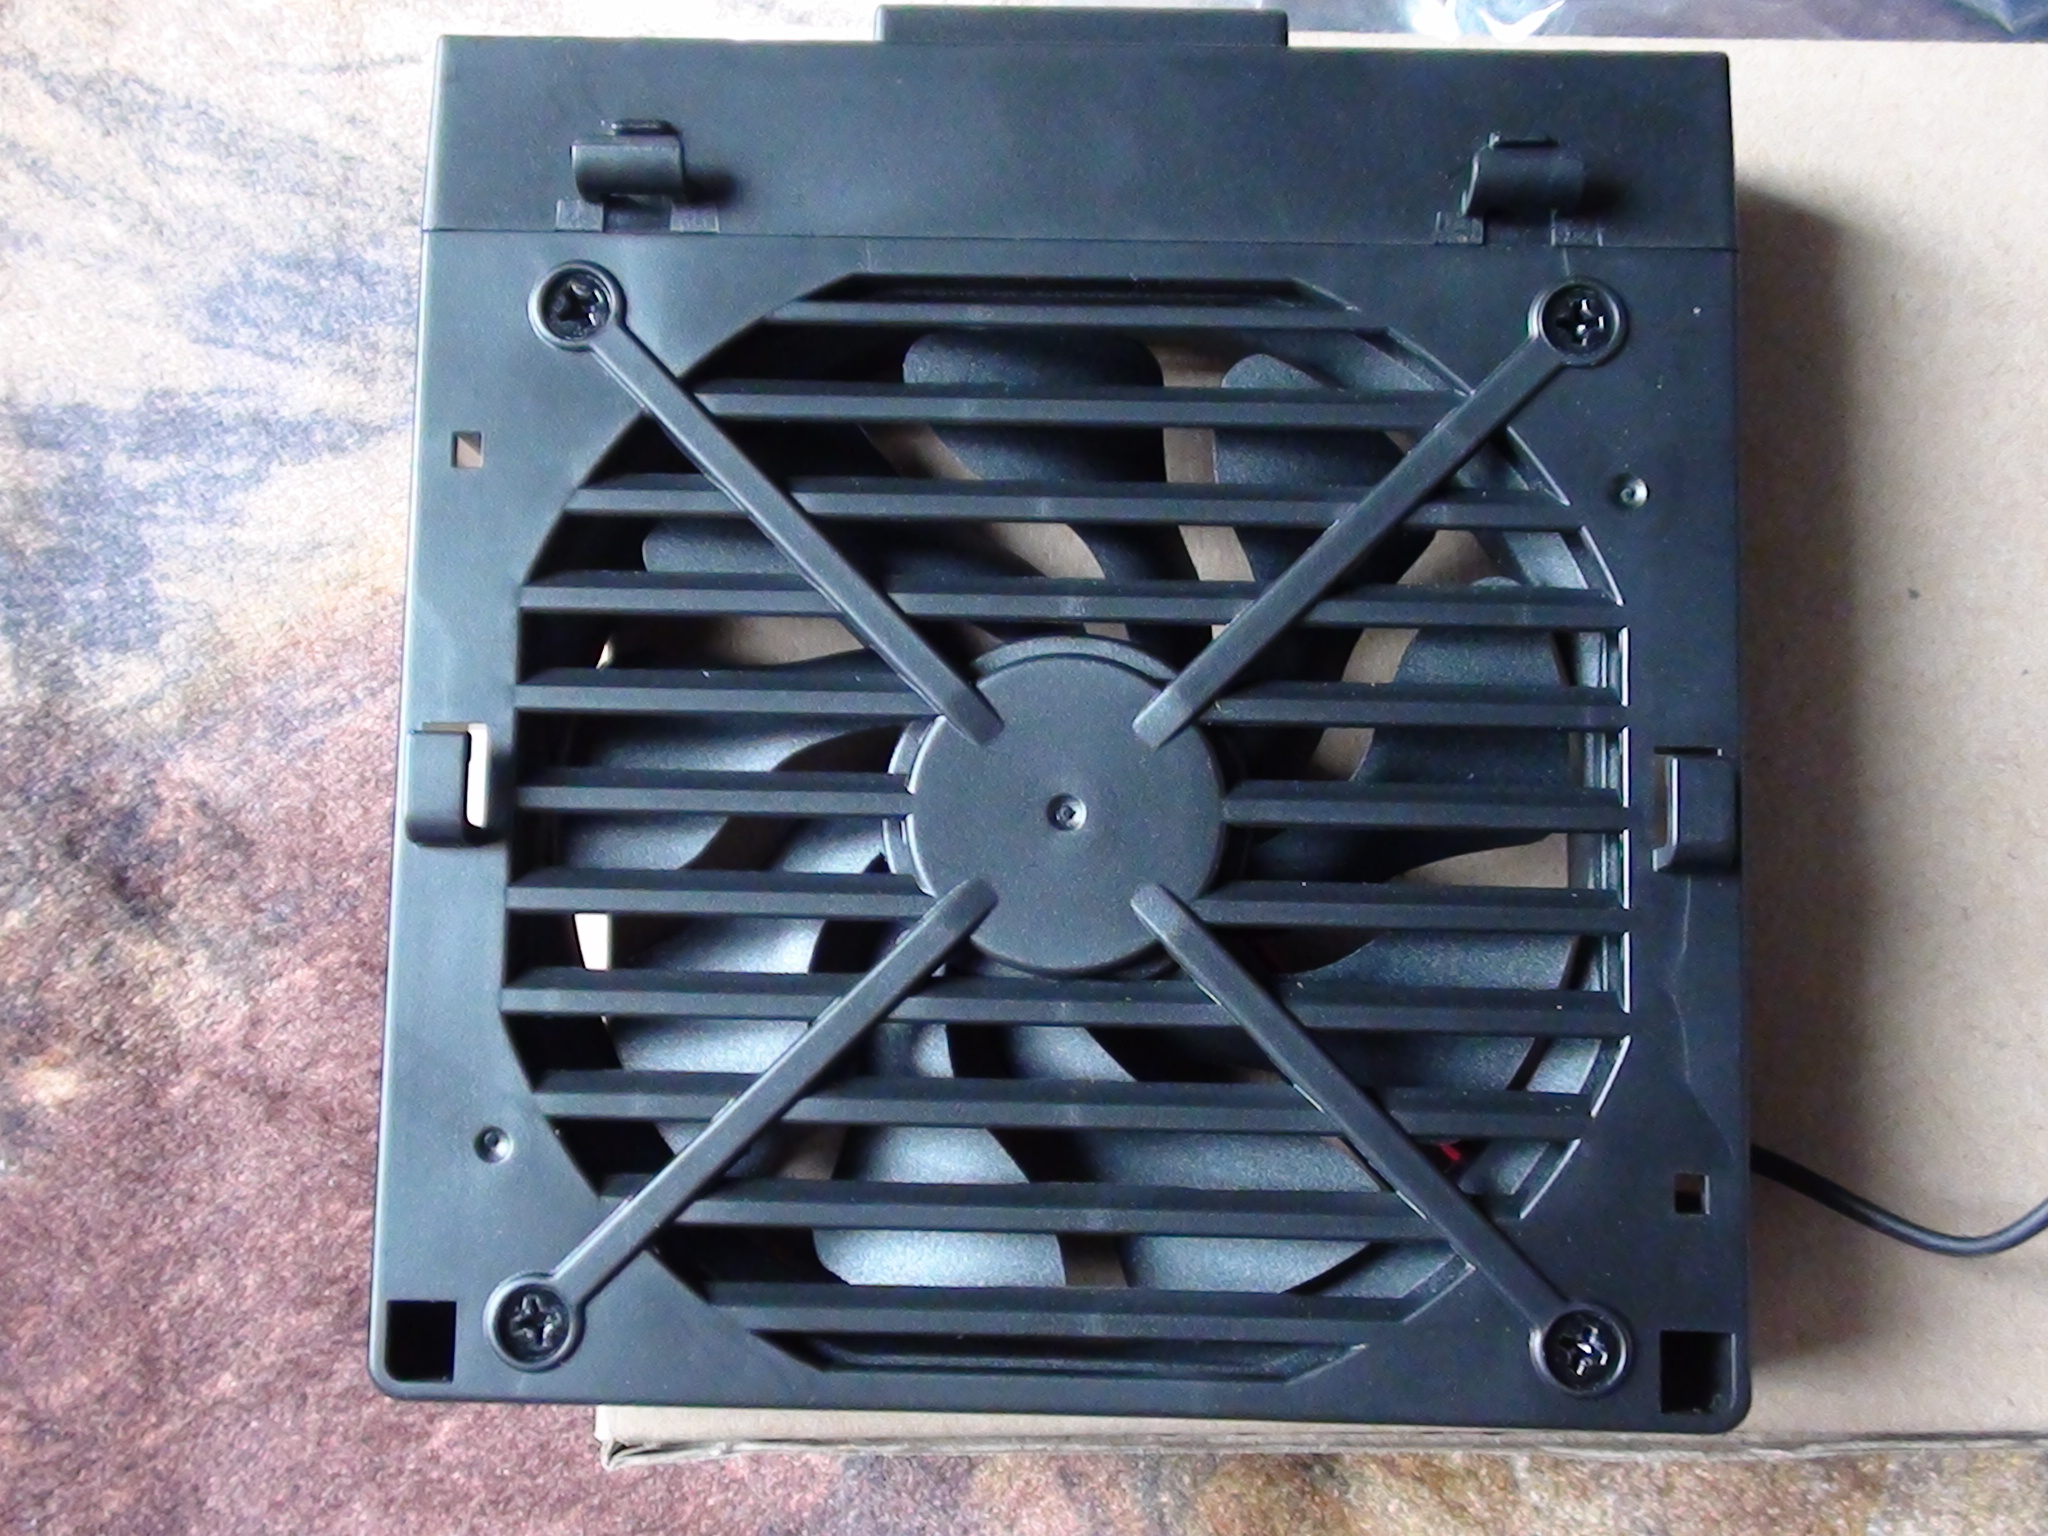
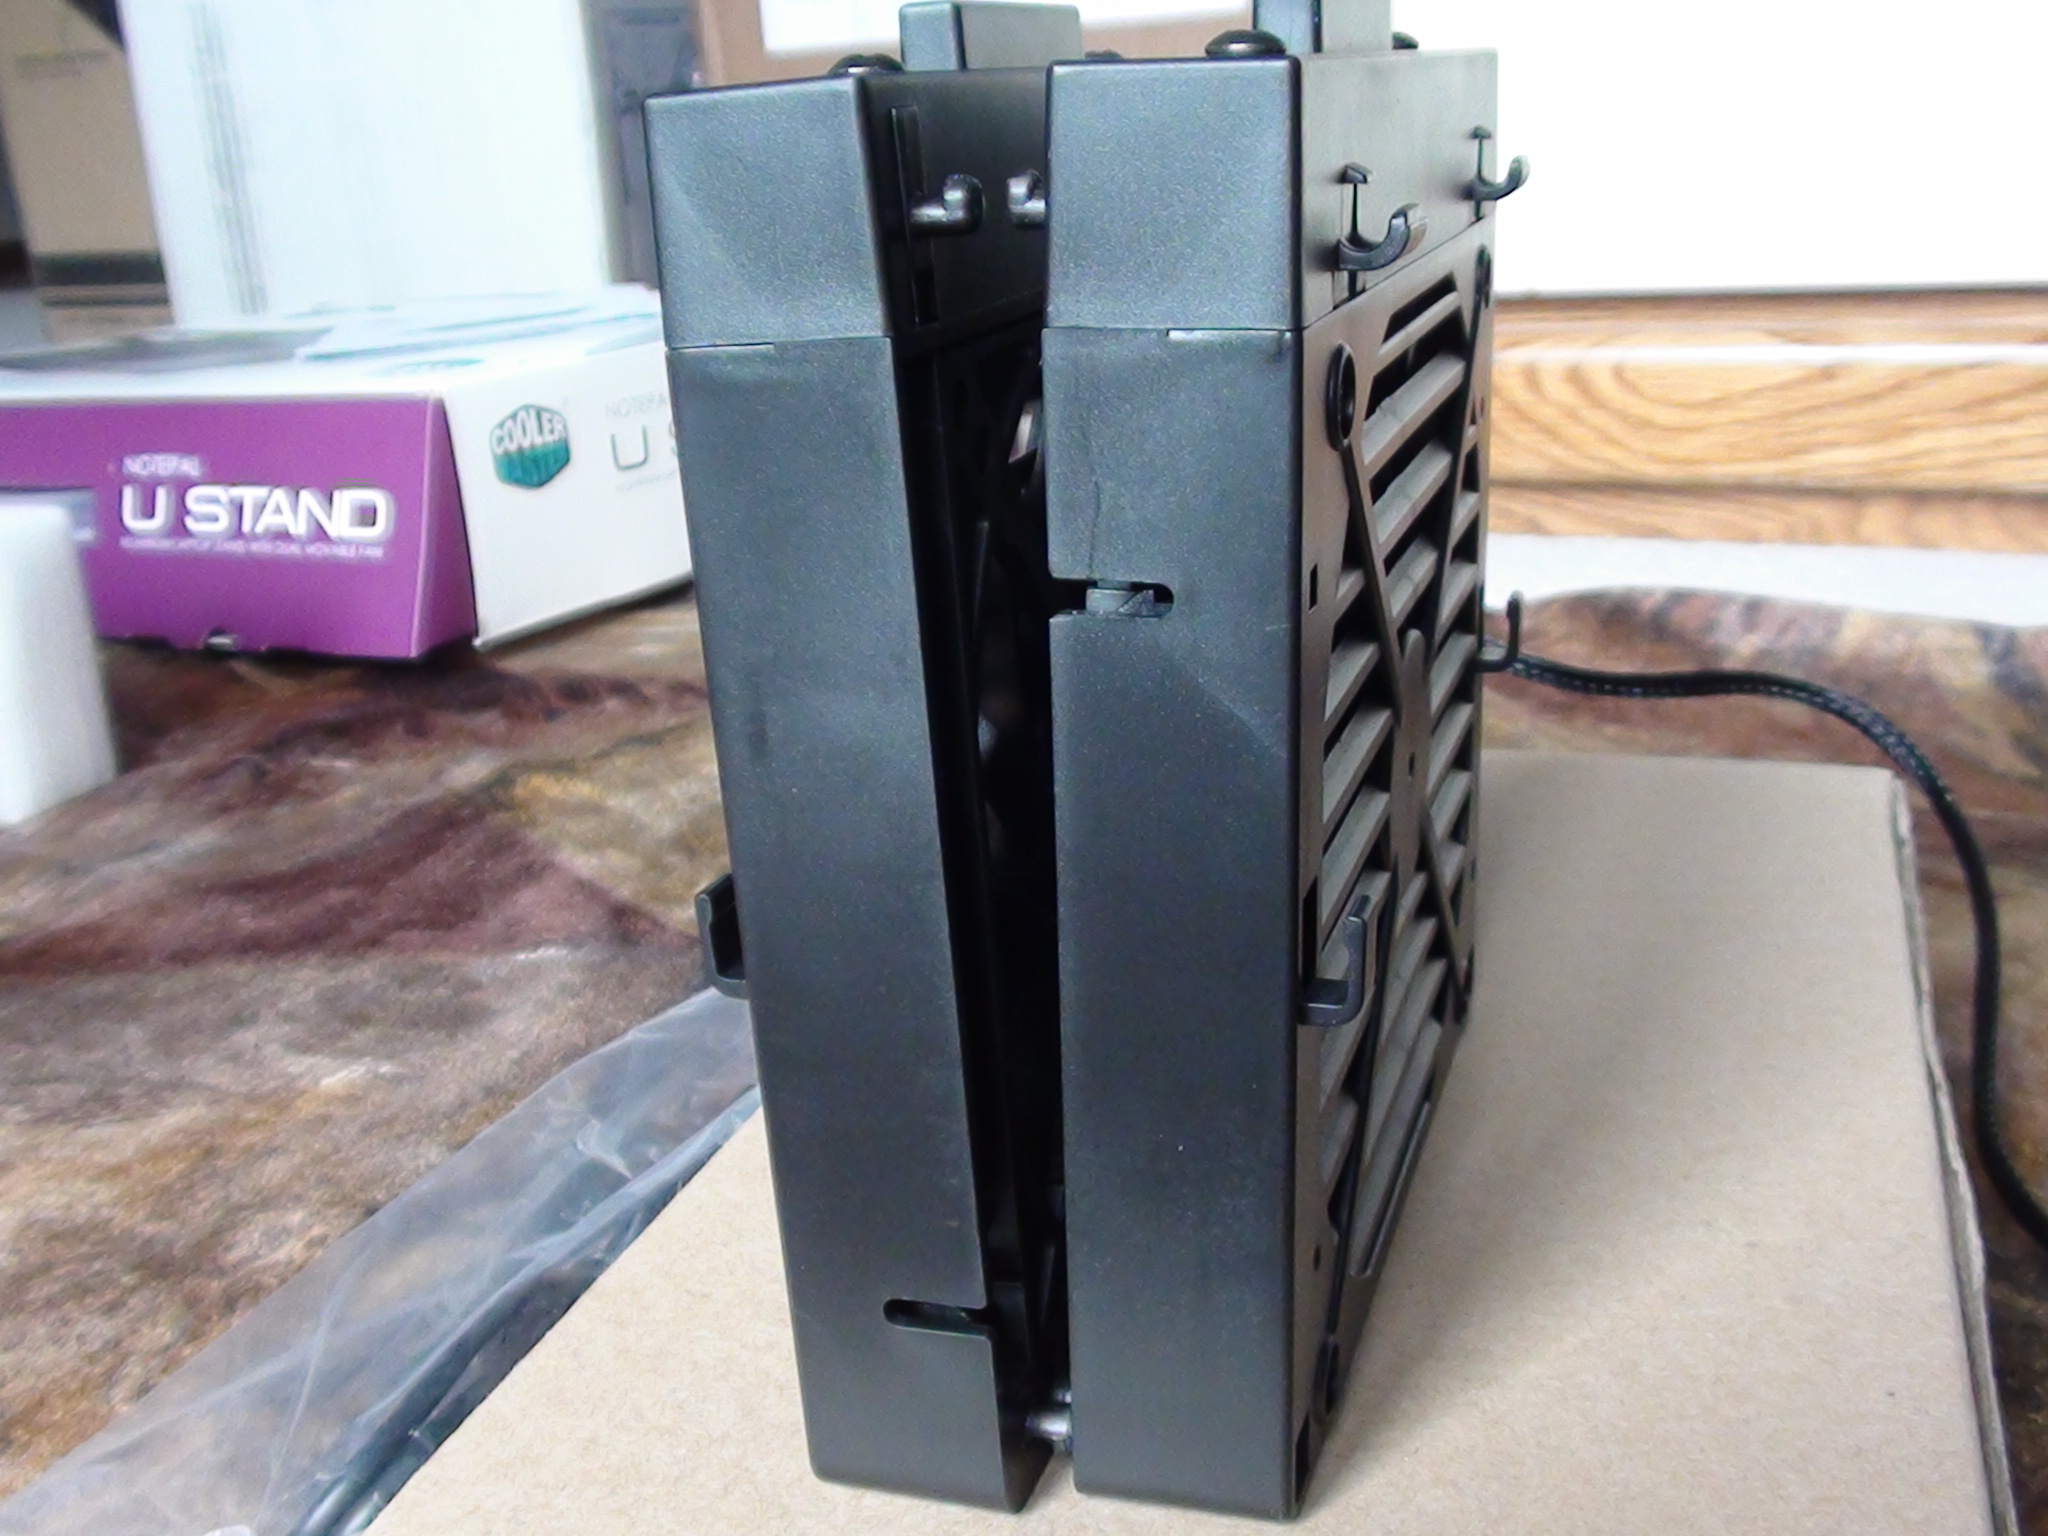
You may be wondering what the large button is at the top. That is the mechanism that pushes the top two latches on the back of the fan in place so it can be mounted onto the U Stand:
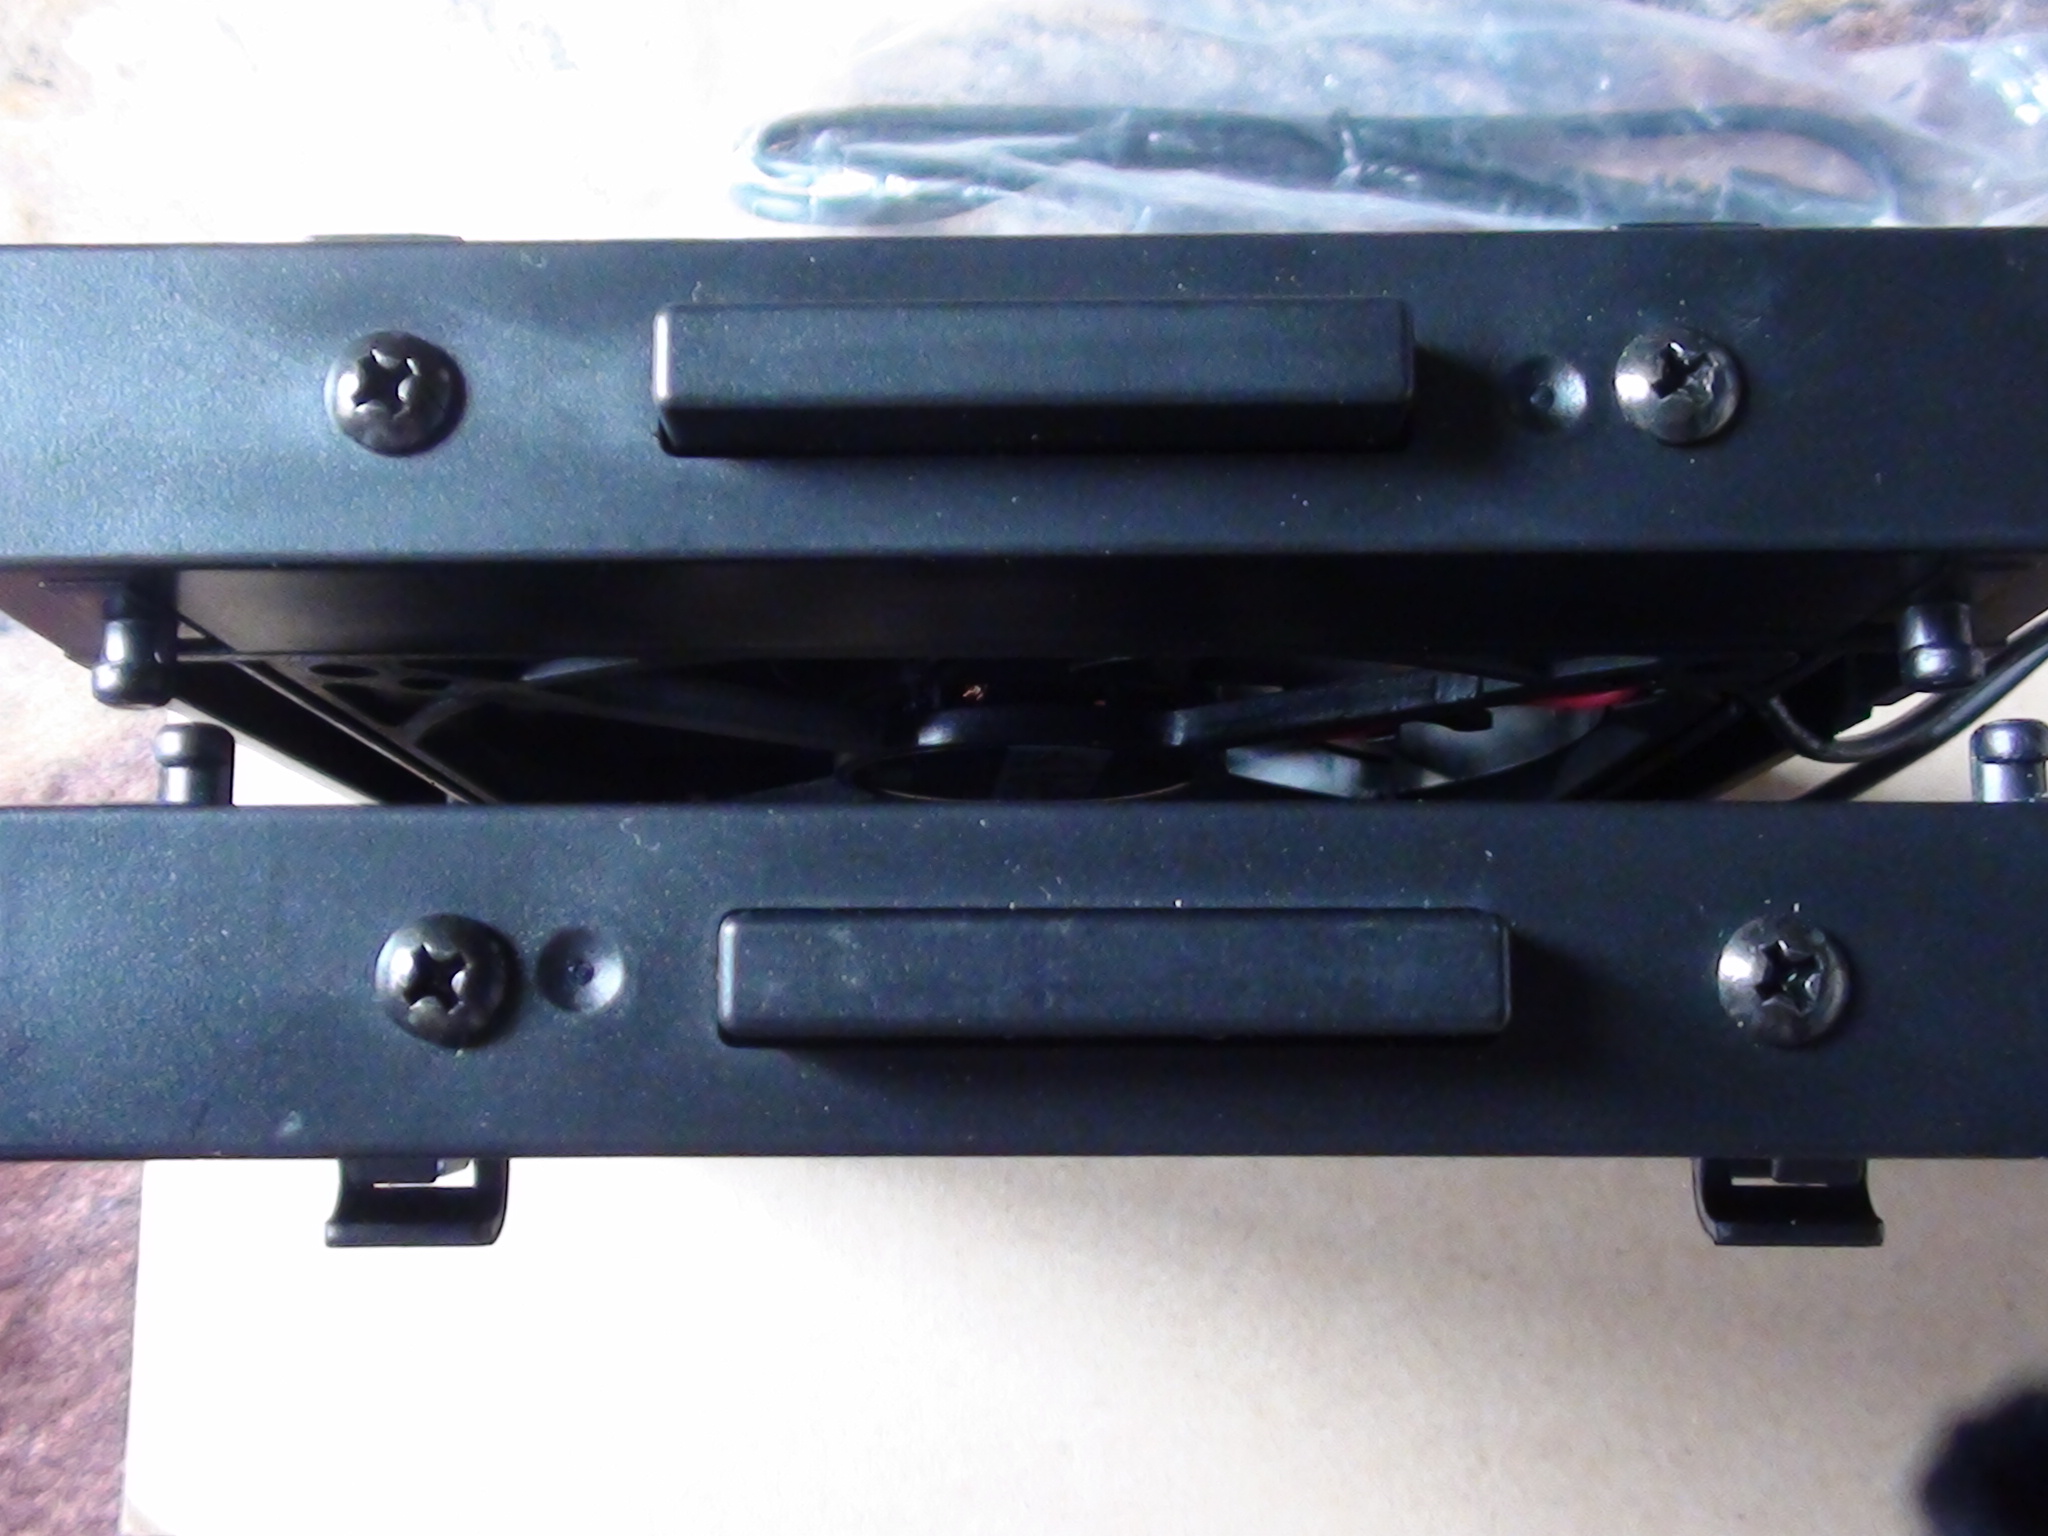
The holes on the U Stand are created so that bottom two latches of each fan can mount while the top two can only be installed when the push-button is depressed and held. This gives the fans added grip to stay firmly fastened onto the U Stand.
As far as noise levels go, the fans emit virtually no sound at all. One would have to put their ear right up to the fans to hear them, but for normal operation, it is as if they are not even there. Each fan pushes out a pretty good amount of air through the U Stand holes, adding another point for their unique design.
NEXT: The U Stand
INDEX
Page 1: Introduction
Page 2: Features and Specifications
Page 3: Packaging and Contents
Page 4: Packaging and Contents (Continued)
Page 5: The U Stand
Page 6: Testing Methodology and Results
Page 7: Final Words and Conclusion